


Sådan gør du hurtigt billedet skarpere i Photoshop - en komplet guide, du skal kende
Med det bedste billedredigeringsprogram, som eksperter vælger, kan du løfte hvert eneste billede, du har, til et nyt niveau. Adobe Photoshop har i længst tid været den mest pålidelige software, du kan downloade på Windows, Mac, iOS og Android. Takket være udvikleren Adobe har programmet allerede introduceret og revolutioneret redigering til sit maksimale potentiale. På grund af de avancerede funktioner er mange nye brugere blevet forskrækkede over det på grund af brugerfladen og den samlede funktionalitet. Det kan virke svært at bruge, men det er det ikke – især ikke når det gælder at gøre dit billede skarpere. Her gennemgår vi en komplet vejledning i, hvordan du hurtigt gør et billede skarpere i Photoshop.

Del 1. En komplet vejledning om, hvordan man gør billedet skarpere i Photoshop [3 effektive skarphedsmåder]
Skarpning af Photoshop-billeder kan overvælde dem, der ikke har brugt dette program. Men før vi fortsætter til selvstudiet, skal du downloade den officielle software på Adobe. Vælg venligst den korrekte downloadknap for at have den på dit skrivebord. Hvis du ikke har downloadet dette program på dit skrivebord, kan du bruge dets gratis prøveversion, men hvis du er færdig med prøveversionen, skal du købe en månedlig eller årlig plan. Efter det følgende alt, fortsæt til trinene efter dit valg, som vi inkluderer nedenfor.
1. vej. Sådan gør du billedet skarpt i Photoshop ved hjælp af High Pass:
Highpass giver dig mulighed for at fremhæve billedet og anvende et filter på billedet, der kan hjælpe dig med at skærpe kanterne på det billede, du uploader til Photoshop. Du kan følge selvstudiet, vi tilføjer nedenfor, for at lære, hvordan du anvender og bruger highpass på billeder, du har.
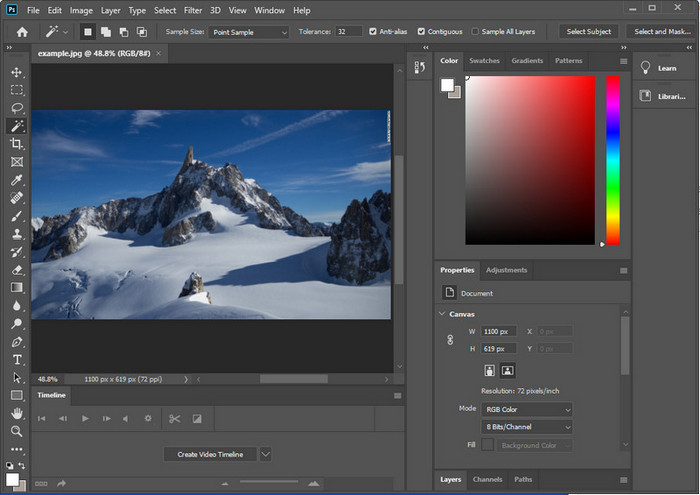
Trin 1. Start programmet, klik på File, og vælg Open for at uploade billedet og begynde at gøre det skarpere.
Trin 2. Dublér laget med det billede, du har uploadet i Photoshop.
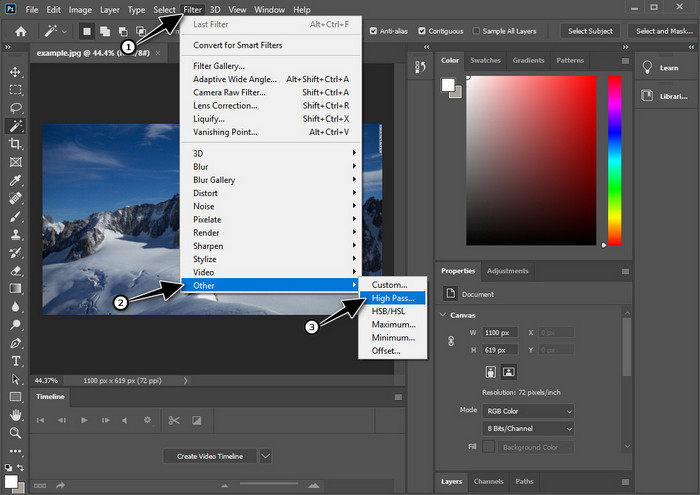
Trin 3. Øverst klikker du på menuen Filter, vælger Other og derefter High Pass. Du behøver ikke blive bekymret, hvis dit billede bliver gråt – det er helt normalt, når du tilføjer High Pass.
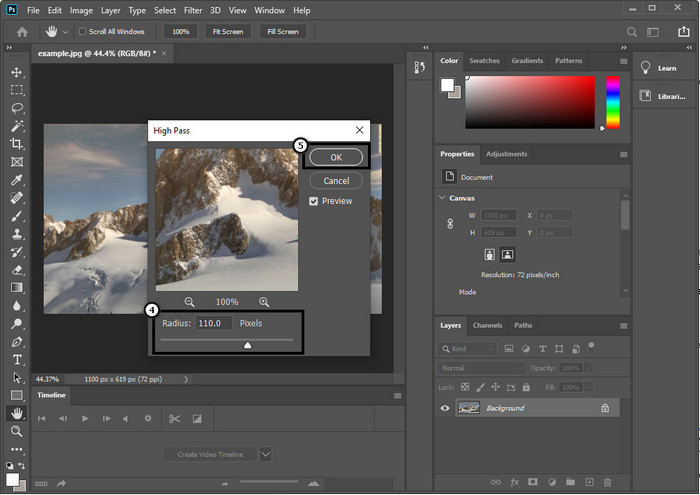
Trin 4. Et pop op‑vindue vises på skærmen, hvor du kan begynde at trække i slideren for at øge radius og få gode detaljer i billedet. Klik derefter på OK for at gemme det.
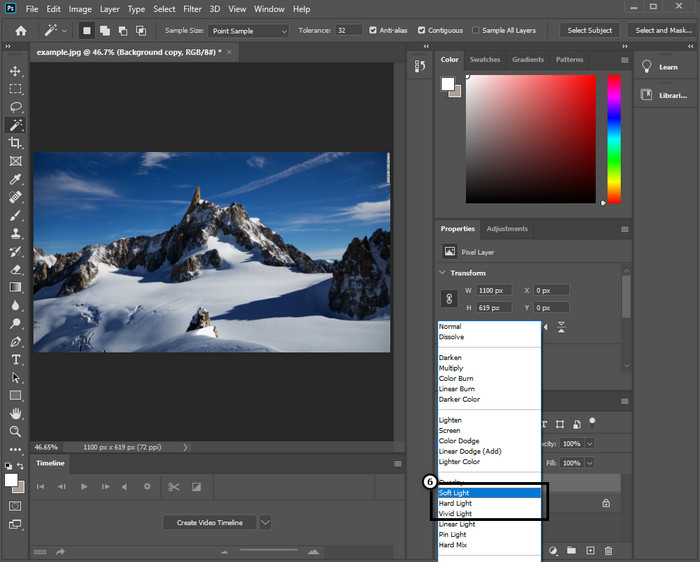
Trin 5. Gå tilbage til laget, klik på drop-down-knappen, og vælg, hvilken type lys du vil anvende på billedet – fra soft, hard og vivid light til skarphed. Gentag trin 3 til og med dette trin for at skærpe billedet igen.
2. Vej. Sådan gør du billedet skarpere i Photoshop med Smart Sharper:
Smart Sharpen er en effektiv funktion, du kan bruge i Adobe Photoshop til at gøre alle elementer i dit billede skarpere. Denne funktion er ikke en automatisk løsning; du skal justere nogle parametre for at få alting til at se skarpt ud. Hvis du vil bruge funktionen i Adobe, kan du følge de efterfølgende trin, vi har inkluderet.
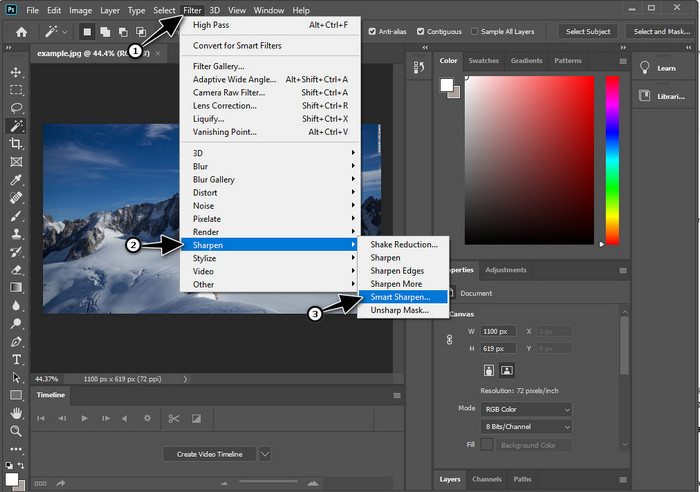
Trin 1. Når du har tilføjet det billede, du vil gøre skarpere, skal du klikke på menuen Filter.
Trin 2. I de muligheder, der vises, klikker du på Sharpen og derefter på Smart Sharpen.
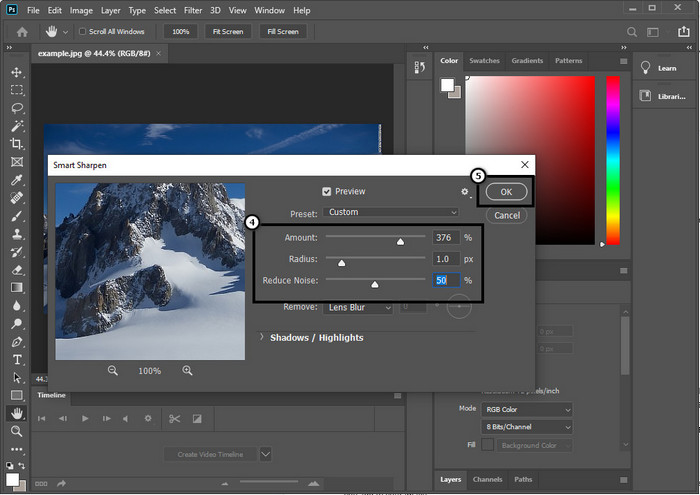
Trin 3. Justér mængden og radius for skarpheden efter din egen præference, og klik på OK for at gemme ændringerne. Så enkelt er det at gøre billedet skarpere med dette værktøj i softwaren.
3. vej. Sådan skærpes billedet på billedet ved at justere lysstyrke og kontrast:
I modsætning til de to måder, vi introducerede, fokuserer lysstyrke og kontrast på at fremhæve det billede, du uploader, for at få det til at se mere detaljeret ud, som hvad skærpeværktøjer gør. Få brugere kender denne mulighed, så hvis du vil bruge denne mulighed og begynde at skærpe det billede, du har, skal du følge trinene nedenfor.
Trin 1. Når du har uploadet dit billede til Photoshop, går du videre ved at klikke på menuen Image.
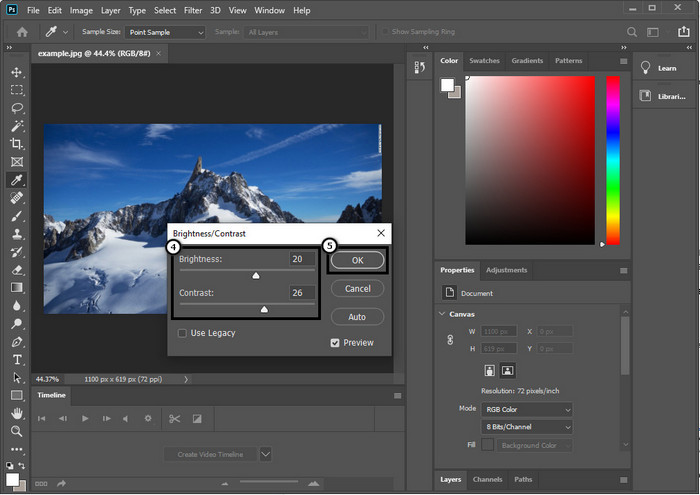
Trin 2. Flere muligheder vises; klik på Adjustment, og vælg derefter Brightness and Contrast.

Trin 3. Justér lysstyrke og kontrast ved at trække i slideren, og klik på OK for at gemme de ændringer, du har tilføjet til billedet.
Relateret:
Simpel guide til hurtigt at tilføje vandmærke til en video i Photoshop
Del 2. Bedste alternativ til Photoshop til at gøre billedet skarpere online [gratis service]
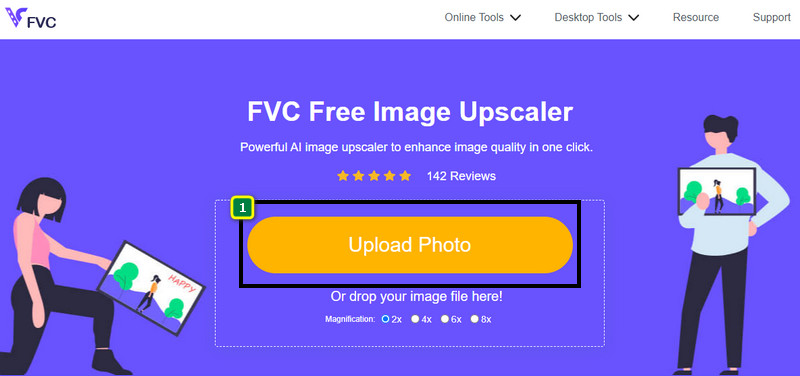
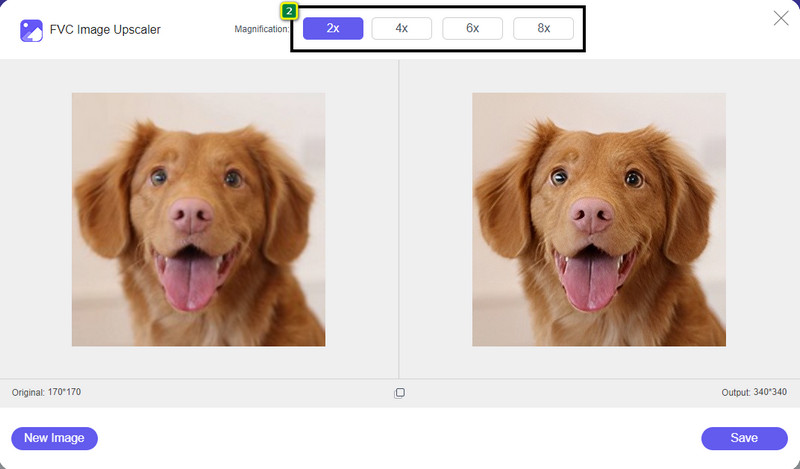
Hvordan skærper man et sløret billede i Photoshop uden selve appen? Du kan bruge FVC Free Image Upscaler. Dette onlineværktøj kan spare dig for at skulle gøre komplicerede ting her. Upload billedet, og lad den AI‑teknologi, som softwaren har, udføre arbejdet for dig. Du behøver heller ikke købe en softwarelicens eller en premiumversion, da det er gratis for alle brugere, der hurtigt har brug for at redigere deres billeder. Selv om du ikke er en redigeringsekspert, kan du stadig formå at gøre dit billede skarpere ved at følge trinene nedenfor.
Trin 1. Du skal klikke på dette link for at åbne webværktøjet og gøre dit foto skarpere.
Trin 2. På websiden skal du klikke på Upload Image for at indsætte det billede, du vil gøre skarpere. Der åbnes en mappe på skærmen; vælg billedet, og klik derefter på Open for at uploade det.
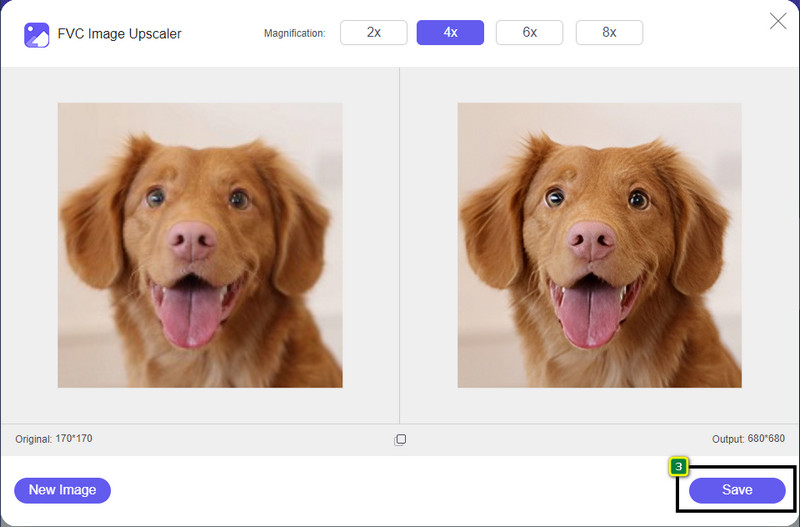
Trin 3. Der vil være forskellige forstørrelsesmuligheder til dit billede, så du nemt kan skærpe det ved hjælp af AI‑teknologien.
Trin 4. Nederst klikker du på knappen Save for at downloade det skærpede billede til din lokale harddisk.
Del 3. Ofte stillede spørgsmål om, hvordan man gør billeder skarpere i Photoshop
Hvad skal jeg gøre, hvis en gratis prøveversion af Photoshop er afsluttet?
Hvis du vil fortsætte med at bruge dette professionelle billedredigeringsprogram, som Adobe har udviklet, skal du købe et abonnement for at kunne blive ved med at bruge det. Men hvis du vil have en redigeringsoplevelse, der ligner Photoshop, kan du begynde at bruge FVC Free Image Upscaler.
Hvad kan jeg gøre med Photoshop?
Du kan lave et væld af billed- og videoredigering her, som den anden editor ikke tilbyder. Det er en komplet billedredigering, som du skal bruge for at skabe fantastiske ting som at omdanne 2D-billedet til en 3D og mange flere. Denne software er dog en smule kompliceret, og du bliver nødt til at tage dig tid til at mestre, hvordan du bruger den generelt.
Hvor kan jeg downloade Photoshop?
Adobe Photoshop understøtter Windows 10 med 64-bit eller nyere og Mac 10.15 Catalina eller nyere. Den understøtter også en mobilversion, Photoshop Express Photo Editor.
Konklusion
Med den vejledning, vi har givet om hvordan man gør et billede skarpere i Photoshop, kan du nu nemt gøre det skarpere på forskellige måder med den bedste editor. Hvad nu, hvis din gratis prøveperiode er udløbet, og du stadig vil skærpe et billede? Hvad skal du så gøre? Du behøver ikke bekymre dig, for vi har tilføjet et onlinealternativ til at skærpe billedet nemmere og gratis, så længe du har internet, nemlig FVC Free Image Upscaler.
-
 Lav Photo HD med de bedste måder, du kan finde på markedet
 Er du i tvivl eller vil du lave foto HD? Du kan følge den vejledning, vi tilføjer nedenfor, med forskellige løsninger, du kan bruge.
-
 Top 4 billedkvalitetsreducere, du kan bruge online og offline
 Disse billedkvalitetsreduktionsmidler kan hjælpe dig med at reducere kvaliteten af dit billede af nogle årsager. Hvis du havde brug for en, så læs denne artikel!
-
 Officielle måder at opskalere billede til 4k med en praktisk vejledning
 For at opskalere billedet til 4k skal du bruge en software på din enhed. Hvis du ikke har et, skal du vælge det værktøj, vi inkluderer her.