


Sådan optimerer du billedet til internettet ved hjælp af de 4 løsninger [hurtigt]
Optimering af et billede spiller en vigtig rolle på nettet, fordi det reducerer sidens indlæsningstid. Baseret på nyere undersøgelser forlader næsten halvdelen af de besøgende hjemmesiden med det samme, når billeder ikke er ordentligt optimeret, hvilket koster trafik og indtægter. Det er nødvendigt at lære, hvordan man gør det, hvis du vil reducere buffering og opbygge en stabil hjemmeside for at øge trafikken og dermed få flere indtægter. Det er let at gøre; med hjælp fra vejledningen, vi har tilføjet om hvordan man optimerer billeder til nettet på den nemmest mulige måde, kan du komme i gang.

Del 1. Bedste og gratis måder at optimere billede online på uden at ofre billedkvaliteten
1. FVC Free Image Upscaler
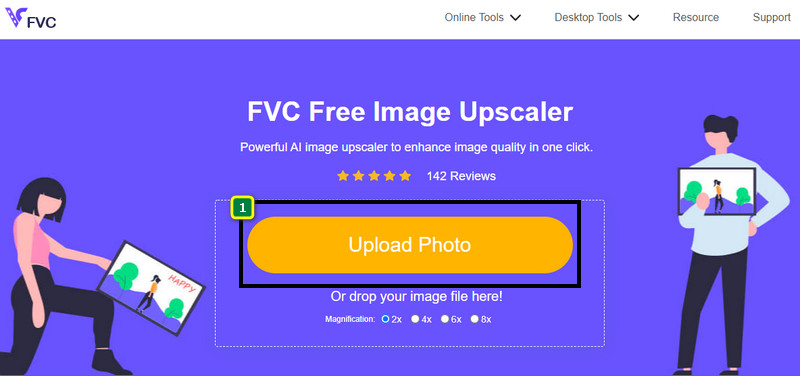
Leder du efter en måde at optimere dimensioner og billedformat (aspect ratio) på det billede, du vil bruge på nettet? FVC Free Image Upscaler er et værktøj, der kan optimere billeder ved hjælp af sin kraftige AI-teknologi. Denne upscaler kan ændre et billedes størrelse uden at gå på kompromis med dets detaljerede PPI, så du ikke oplever kvalitetstab. Desuden kan dette onlineværktøj rette slørede eller pixelerede billeder ved at spore og udbedre fejlene i dem. Før du eksporterer billedet, er der et forhåndsvisningsvindue, hvor du kan sammenligne før og efter. Så hvis du har brug for at ændre størrelsen på et billede til nettet, kan du følge de trin, vi har angivet nedenfor.
Trin 1. Åbn hjemmesiden ved at klikke på dette link.
Trin 2. Tryk på Upload Image for at indsætte det billede, du vil ændre størrelsen på, her.
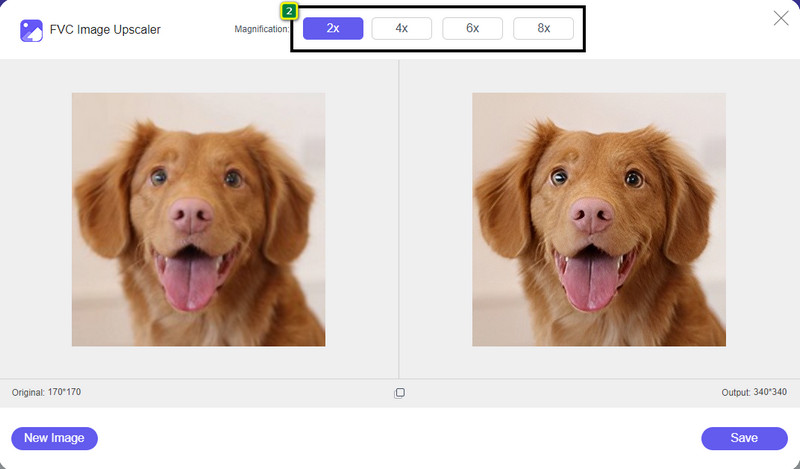
Trin 3. Vælg den indstilling, du vil anvende på dit billede for at ændre dets størrelse.
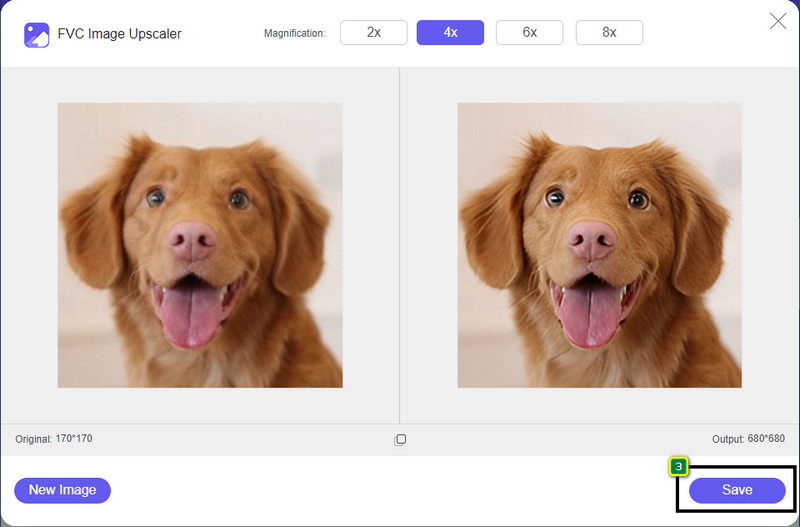
Trin 4. Tryk på Save for at downloade det billede, du har ændret størrelsen på, til din lokale disk.
2. FVC Free Image Compressor
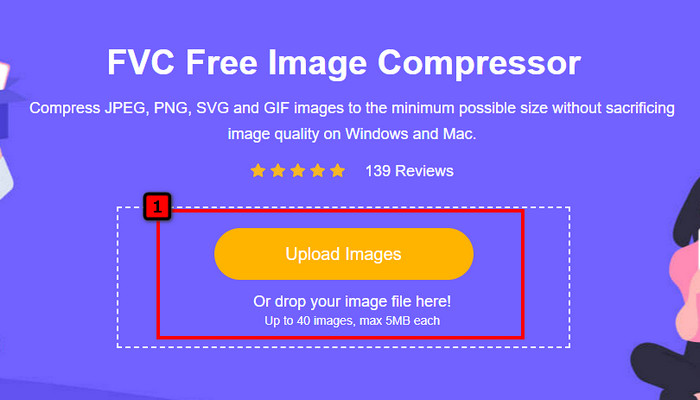
FVC Free Image Compressor gør det muligt for alle at optimere billeder til nettet ved at sænke filstørrelsen. Den lader dig komprimere populære formater, der bruges på forskellige hjemmesider, såsom PNG, JPG, SVG, BMP osv., hver med en størrelse på under 5 MB. Med dette værktøj kan du lægge flere billeder ind og få dem ned i en optimeret størrelse, så de indlæses hurtigere på nettet. Det er et AI-baseret værktøj, der giver det bedste komprimeringsforhold, som du ikke kan opnå med andre online kompressorer.
Trin 1. Besøg værktøjets officielle hjemmeside ved at søge på dets navn, eller klik på dette link for at få adgang til det i din webbrowser.
Trin 2. Træk og slip billedfilen, du vil uploade, her, eller klik på Upload Images; en mappe vil blive vist på din skærm, klik på den fil, du vil komprimere, og tryk på Open. Denne kompressor kan nedskalere mere end 40 billeder på samme tid.
Trin 3. Værktøjet vil automatisk reducere billedets filstørrelse baseret på AI-algoritmen. Derefter klikker du på Download for at eksportere den komprimerede version af billedet.

3. TinyPNG
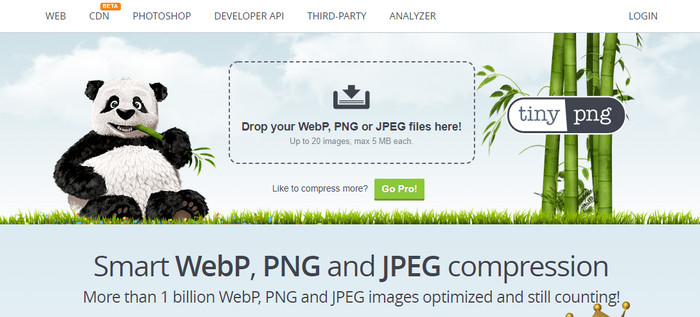
TinyPNG er en populær og pålidelig software, du kan bruge til at optimere billeder online. Det er en kompressor, der automatisk kan reducere billedet ned til 75 % af den oprindelige filstørrelse. Du kan uploade billederne fra din Dropbox, hvis de ikke ligger på din lokale disk. Du vil ikke få problemer med at lære at bruge denne billedkompressor, fordi udviklerne har gjort den meget enkel.
Selvom det er nemt at bruge, er det understøttede format her kun PNG og JPG, og der er ikke andet. Så hvis du vil komprimere BMP, GIF, SVG og flere filer, du har, kan du ikke gøre det her, fordi det ikke understøtter det nævnte format. Ikke desto mindre er dette nemt at bruge; du kan følge de trin, vi tilføjer.
Trin 1. Åbn din søgemaskine, og find TinyPNGs officielle hjemmeside.
Trin 2. Klik på importikonet for at uploade det billede, du vil komprimere; dette værktøj kan behandle 20 billeder på samme tid.
Trin 3. Vent på, at komprimeringsprocessen bliver færdig, og klik derefter på knappen Download for at gemme den komprimerede version af det billede, du har uploadet her.
Del 2. Optimer billede offline ved hjælp af den professionelle software på Windows og Mac
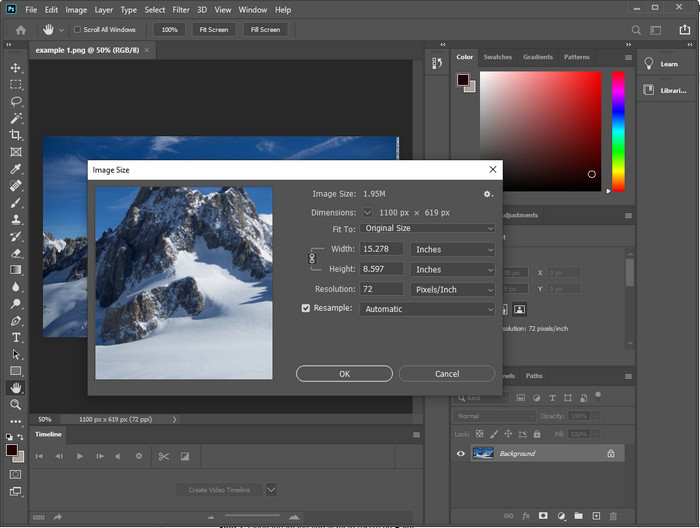
Photoshop kan udføre begge de opgaver, vi nævnte i den første del: ændring af billedstørrelse og nedskalering. Selvom dette værktøj ikke er lavet specifikt til den opgave, kan det stadig udføre dem som en del af dets ekstra avancerede funktioner. Med det kan du begynde at tilføje filtre eller redigere billedet efter din egen idé. Den eneste begrænsning er din fantasi – og hvor svært det er at bruge softwaren.
I modsætning til det onlineværktøj, vi nævnte, behøver du ikke en internetforbindelse for at bruge denne software, når du først har downloadet den på din enhed. Du skal dog købe softwaren for at bruge den, så hvis du vil se, hvordan du optimerer billedet til nettet på Photoshop, er der en instruktion, vi tilføjer nedenfor, som giver dig mulighed for at formindske og ændre størrelsen på billedet.
Trin 1. Download og start softwaren på din computer for at begynde at bruge den.
Trin 2. Upload det billede, du vil redigere, gå derefter til menuen Image og klik på Image Size. Ændr målene efter din specifikation, og klik derefter på OK for at gemme ændringerne. Hvis du ikke vil ændre billedets aspektforhold eller dimensioner, er det bedst at springe trin 2 over.
Trin 3. Gå til menuen File og tryk på Save as. En dialogboks vises på din skærm. Vælg den filstørrelse, du vil opnå, og tryk derefter på OK for at begynde at eksportere billedet.
Del 3. Ofte stillede spørgsmål om, hvordan man optimerer billedet til internettet
Hvad er det bedste billedformat til nettet?
Du må hellere bruge et billede med udvidelsen PNG og JPG, fordi disse formater er kendt for at være veloptimerede på forskellige hjemmesider. Alligevel bliver du nogle gange nødt til at optimere det ved at reducere eller ændre størrelsen på billedet, og det er her, det værktøj, vi tilføjede her, kom til at hjælpe.
Hvilket bringer flere detaljer på nettet; PNG eller JPG?
Begge rasterbilleder klarer sig godt på hjemmesiden; de indlæses hurtigere og optimerer hjemmesider. Alligevel er der stadig forskelle mellem disse to formater, såsom når du vil bruge ren fotografering uden gennemsigtighed til nettet, skal dit go-to-format være JPG eller JPEG. Men hvis du ønsker at have 1-bit gennemsigtighed på dit web med store detaljer, er PNG her for at hjælpe dig.
Gør det dårlig kvalitet ved at ændre billedstørrelsen?
Hvis du overkomprimerer et billede, kan kvaliteten blive dårlig, men det kan undgås, hvis du ikke komprimerer for hårdt. Når du komprimerer billedet, er det bedre at reducere det med mindst 45 % til 70 %, så vi kan undgå kvalitetstab. Men du kan gøre brug af en billedforbedrer til at forbedre billedkvaliteten.
Konklusion
Nu hvor du ved, hvordan du optimerer dit billede, må du hellere gøre det, så du får flere besøg og tiltrækker en masse opmærksomhed. Med den tutorial, vi tilføjer ovenfor, er vi sikre på, at du kan gøre det nemt og hurtigt uden at påvirke kvaliteten. Hvis du har brug for at ændre størrelse eller komprimere, anbefaler vi, at du bruger det FVC-produkt, vi inkluderer her, for at løse problemet uden at downloade noget installationsprogram.
-
 Lav Photo HD med de bedste måder, du kan finde på markedet
 Er du i tvivl eller vil du lave foto HD? Du kan følge den vejledning, vi tilføjer nedenfor, med forskellige løsninger, du kan bruge.
-
 Top 4 billedkvalitetsreducere, du kan bruge online og offline
 Disse billedkvalitetsreduktionsmidler kan hjælpe dig med at reducere kvaliteten af dit billede af nogle årsager. Hvis du havde brug for en, så læs denne artikel!
-
 Officielle måder at opskalere billede til 4k med en praktisk vejledning
 For at opskalere billedet til 4k skal du bruge en software på din enhed. Hvis du ikke har et, skal du vælge det værktøj, vi inkluderer her.