


Kako povećati razlučivost slike na radnoj površini besplatno i uz plaćanje
Do you have an interest in capturing high-quality images? Well, you must know that you will need a high PPI or pixels per inch to have fine detail on the image you capture. It can be frustrating if you find that the image you capture doesn't have a high PPI, which could lead to a poor quality image when you print or share on the web. Luckily, there are ways you can do to make the image have a higher PPI. The tools we include here prove that they can increase the pixels of your image to turn them into a high-quality output. Keep on reading this post as we introduce and show a tutorial on how to increase the resolution of images to achieve the best image output.

Dio 1. Kako povećati razlučivost slike besplatno na mreži [dostupno na svim web preglednicima]
FVC Free Image Upscaler
FVC Free Image Upscaler can be the one you'll need to know how to increase the photo resolution easily and for free. This online tool doesn't upscale your image thru the resampling method. Still, it uses an automatic enhancer to detect the blurred parts of your images. If the image you upload lost pixels, this tool could aid the problem by producing new pixels for the image to make them high quality. After upscaling the image, you can see the difference between the before and after. So, if you want to know how to aid this problem with this tool, you can copy the easy steps we add to upscale the image.
How to Upscale an Image with the FVC Free Image Upscaler:
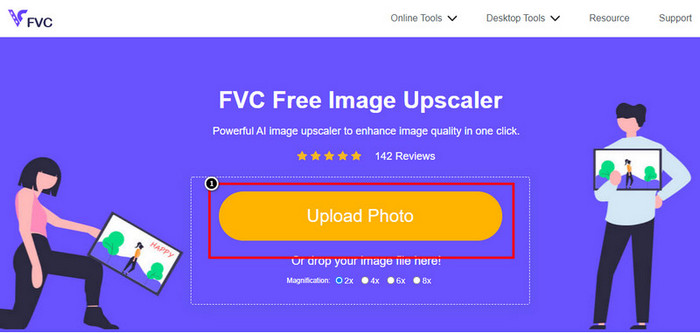
Step 1. You can tick this link to open the main website of the FVC, where you can start upscaling the image.
Step 2. On the main website, click the Upload Image to import the image you want to increase the resolution.
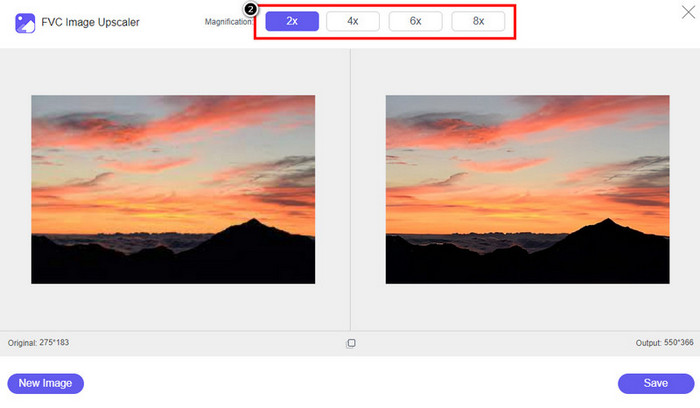
Step 3. After uploading, two columns will show on your screen: the original image and the upscaled version. Choose what Magnification you want to apply to the image to upscale it.
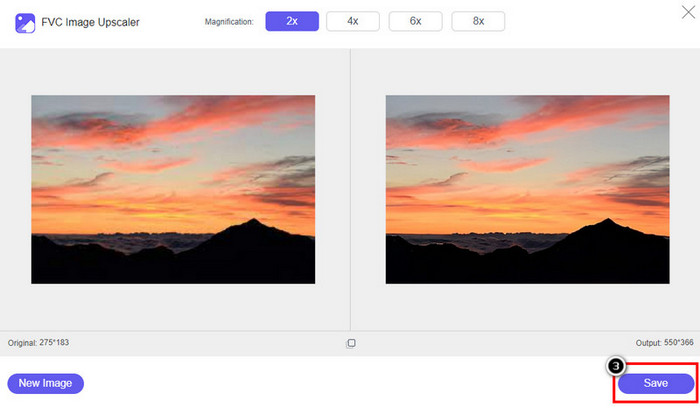
Step 4. Press Save to download the final output on your local drive; as easy as that, you have finished upscaling the image.
Povećač slike
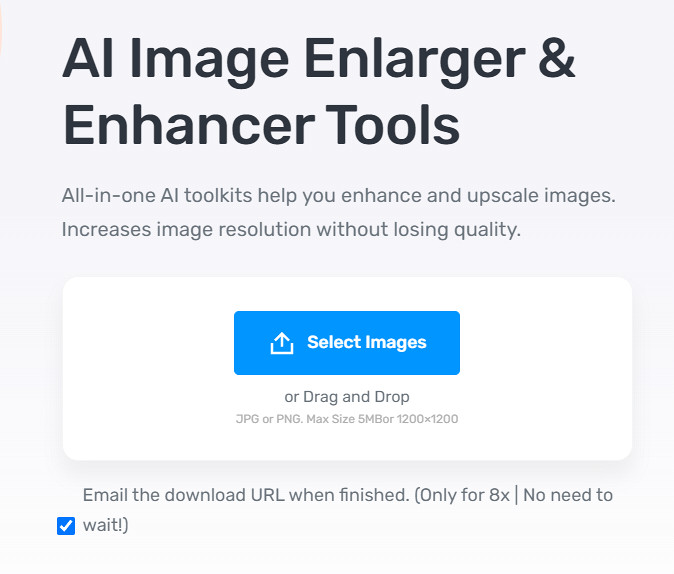
Image Enlarger can lead you on how to increase the resolution of an image on the web. This tool still uses the traditional resampling method, which works well for multiple images. Here, you can upload images in JPG, PNG, GIF, and BMP format with a max dimension of 4100 x 4100 with a 5 MB file size or lesser. However, there is no preview here to see the image's appearance after you increase the resolution. Though it could be a problem for many because we wonder what the image would look like. Nevertheless, this online tool has already proven itself to other users. Now is the right time to prove that it can be a good choice for upscaling by following the included steps.
How to Enhance a Photo with the Image Enlarger:
Step 1. Open the official website of this image enhancer on your browser.
Step 2. Click Choose File to upload the image you want to upscale; you can also enter the URL here to upload the image if you want.
Step 3. Change the target width and height number according to your preference to upscale the image. Add the correct measurement you want to achieve to get the perfect dimension for the image.
Step 4. Press the Start button to upscale the image you upload earlier.
Picverse
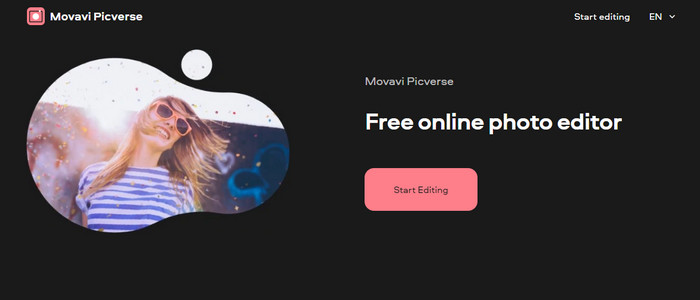
Picverse is a Movavi-supported tool you can use to increase photo resolution online for free. This tool uses an essential image editing feature that can correct the color of the images to make them look better. However, this tool doesn't reproduce new pixels to increase the resolution of the image you upload here. But the impact you can make to your image if you edit it here is excellent compared to other image editors you can use on the web. Overall, you can experience a mini-professional editor if you try to use this software. Want to know how to do it? You can follow the steps we add with this tool.
How to Make High-Resolution Images with the Picverse:
Step 1. Visit the official website, and click the Upload Image to load up the image you want to enhance the quality.
Step 2. Now that the images you want to improve are here, you can start improving the image by adjusting these settings.
Additional: If you want to apply an effect to your image, you can select the effects option and choose the effect you want that is available here. Also, you can adjust the strength of each effect according to your preference.
Step 3. To apply all the changes to the image, click the Save button.
Dio 2. Kako napraviti slike visoke razlučivosti u sustavu Windows i macOS izvan mreže [Plaćena i besplatna verzija]
Adobe Photoshop
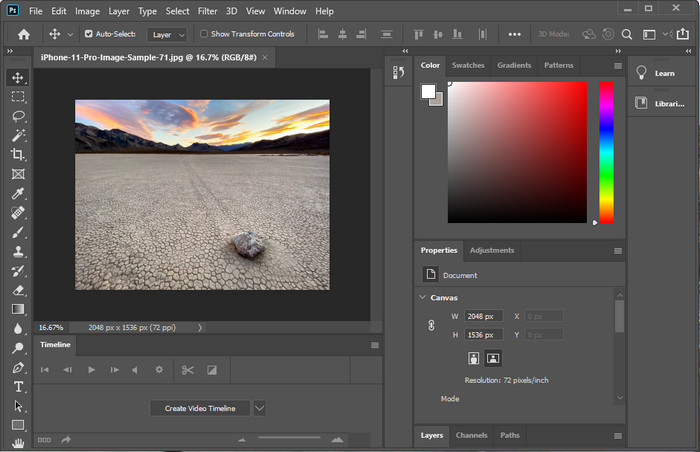
Ne smijemo zaboraviti Adobe Photo jer je to profesionalni alat; morate znati kako napraviti fotografiju veće rezolucije. Nije nam novo da ovaj softver može dodati piksele na sliku kako bi njezina rezolucija postala najbolja. Uz njegove automatizirane značajke, svojoj slici možete dodati više piksela nakon što je poboljšate. Iako ovdje mijenjate veličinu slike, ona ima značajku koja vam može pomoći da povećate slike bez njihovog rastezanja. Ali prije korištenja ovog profesionalnog alata morat ćete ga kupiti na službenoj web stranici Adobea. Pretpostavimo da nemate novca da ga kupite. U tom slučaju možete isprobati besplatnu probnu verziju da biste iskusili koliko je ovaj alat profesionalan. Ako ste preuzeli ovaj softver na svoju radnu površinu, možete slijediti korake koje smo dodali u nastavku da biste povećali veličinu slike ovdje.
How to Make a Picture Higher Resolution with the Adobe Photoshop:
Step 1. Upload the image you want to increase the resolution here by clicking the File.
Step 2. On the upper toolbar, click Image and press Image Size to increase your image's resolution.
Step 3. In the dialog box, input the measurement you want to achieve and press OK to apply it.
Step 4. Open the File and click Save. Another dialog box will show where you can manipulate the image quality and save it.
GIMP
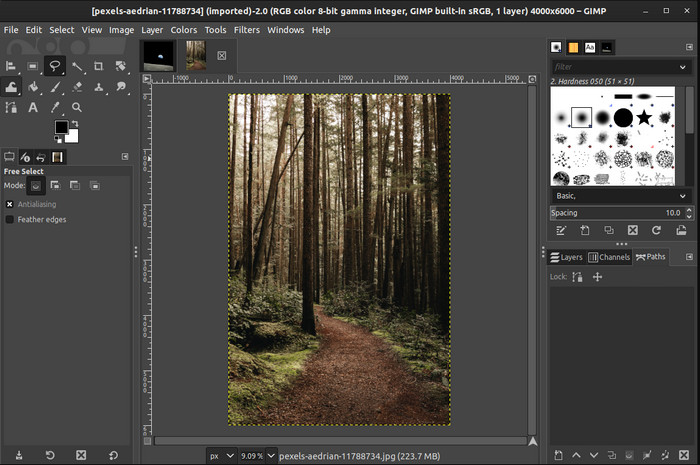
GIMP is an alternative to Photoshop you can download and help you convert low-resolution photos to high. It became a known alternative to Photoshop because of how good this editor does to the image you have, but Photoshop has more tools. With it, you can easily handle increasing the resolution of the image on Windows or Mac by downloading it. As we said, the tool is similar to the Adobe image editor; its complexity is far beyond what a newbie can handle. But if you follow the guideline we add here; you can use the software and then adjust the image you have with GIMP.
How to Increase Resolution of a Photo with GIMP:
Step 1. Download the software on your device, follow the installation process, and launch it if everything is settled.
Step 2. Go to File and click Open to upload the image you want to increase the resolution.
Step 3. Open the Image menu and select Scale Image to start scaling the image with the GIMP.
Step 4. After clicking the Scale Image, a set of options will show where you can manipulate the image resolution. Adjust the value of each to increase the image’s resolution.
Step 5. Press the Scale button to save the value you add on each.
Dio 3. Često postavljana pitanja o tome kako povećati rezoluciju slike
Što je bolje, GIMP ili Photoshop, za povećanje rezolucije slike?
GIMP i Adobe Photoshop su vrhunski softveri i imaju gotovo izravnane uređivače slika koje možete preuzeti na svoj uređaj. Međutim, Photoshop je daleko bolji u smislu povećanja rezolucije slike.
Je li preuzimanje softvera potrebno za poboljšanje rezolucije slike?
Preuzimanje softvera može biti zgodno kada nemate internet i želite poboljšati rezoluciju, ali preporučujemo korištenje web alata ako imate pristojan internet. Kao FVC Free Image Upscaler, ovaj je alat pouzdan alat za povećanje slike kojemu možete pristupiti na webu bez preuzimanja datoteka.
Je li izazovno unaprijediti sliku?
Neki ljudi smatraju da je ovaj izazov problematičan zbog njihovog alata, ali ovdje vam sve činimo praktičnijim. Nakon što ste pročitali ovaj članak, sada imate veliko znanje o tome kako se jednostavnije nositi s ovim problemom.
Zaključak
Dakle, što mislite koji ćete softver koristiti zbog njegovih prednosti? Da biste povećali razlučivost fotografije online ili offline, trebat će vam softver i vodič o tome kako ih koristiti; to je ono što dodajemo ovom članku. Možete odabrati ono što mislite da vam najbolje odgovara i slijedite korake koje smo dodali kako biste lako riješili ovaj problem.
-
 Kako ukloniti Animaker vodeni žig bez troškova [Provjereni načini]
 Kako ukloniti Animaker vodeni žig? S najboljim alatima koje smo uključili u ovaj blog možete ih koristiti da biste se riješili vodenog žiga.
-
 Vodič za uklanjanje vodenog žiga s izvornog grafikona [100% radi]
 Za uklanjanje vodenog žiga s Origin Graph-a trebat će vam pomoć. Pomoć koja vam je potrebna uključena je u ovaj članak, možete ga pročitati da biste znali.
-
 Kako lako ukloniti vodeni žig u SmartDrawu [2 provjerena načina]
 Kako ukloniti vodeni žig u Smart Drawu? Ako imate isto pitanje, možete se pouzdati u ovaj članak jer smo vam odgovorili!