


Cara Mengoptimalkan Gambar untuk Web Menggunakan 4 Solusi [Cepat]
Mengoptimalkan gambar memegang peranan penting di web karena dapat mengurangi waktu pemuatan situs. Berdasarkan studi terbaru, ketika gambar tidak dioptimalkan dengan baik, hampir setengah pengunjung langsung meninggalkan situs web, yang berakibat pada berkurangnya trafik dan pendapatan. Mempelajari cara melakukannya diperlukan jika Anda ingin mengurangi buffering dan membangun situs web yang andal untuk meningkatkan trafik dan mendapatkan lebih banyak pemasukan. Caranya mudah; dengan bantuan tutorial yang kami sertakan tentang cara mengoptimalkan gambar untuk web dengan cara yang paling sederhana.

Bagian 1. Cara Terbaik & Gratis untuk Mengoptimalkan Gambar Secara Online Tanpa Mengorbankan Kualitas Gambar
1. Peningkatan Gambar Gratis FVC
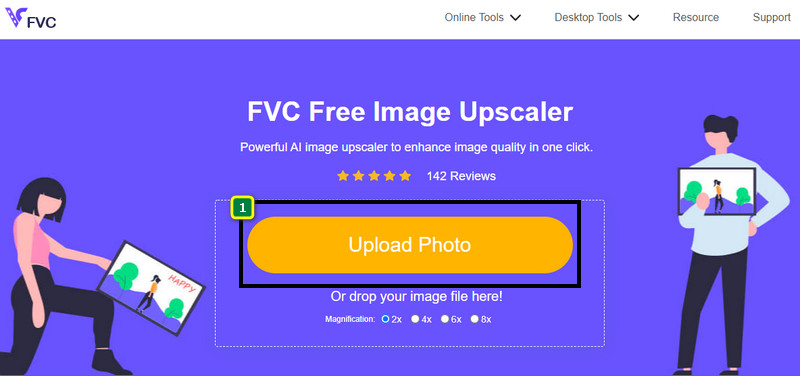
Apakah Anda sedang mencari cara untuk mengoptimalkan dimensi dan rasio aspek gambar yang ingin Anda gunakan di web? FVC Free Image Upscaler adalah alat yang mampu mengoptimalkan gambar dengan bantuan teknologi AI yang canggih. Peng-upscale ini dapat mengubah ukuran gambar tanpa mengorbankan detail PPI sehingga Anda tidak akan mengalami penurunan kualitas. Selain itu, alat online ini dapat memperbaiki gambar buram atau berpiksel dengan melacak ketidaksempurnaan pada gambar tersebut. Sebelum mengekspor gambar, tersedia panel pratinjau untuk membandingkan sebelum dan sesudah. Jadi, jika Anda perlu mengubah ukuran gambar untuk web, Anda dapat mengikuti langkah-langkah yang kami tambahkan berikut ini.
Langkah 1. Buka situs web dengan mengklik tautan ini.
Langkah 2. Tekan Upload Image untuk memasukkan gambar yang ingin Anda ubah ukurannya di sini.
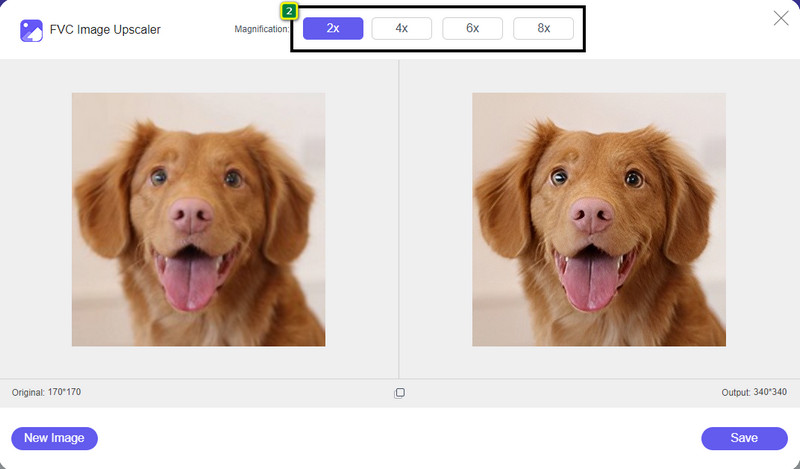
Langkah 3. Pilih opsi yang ingin Anda terapkan pada gambar untuk mengubah ukurannya.
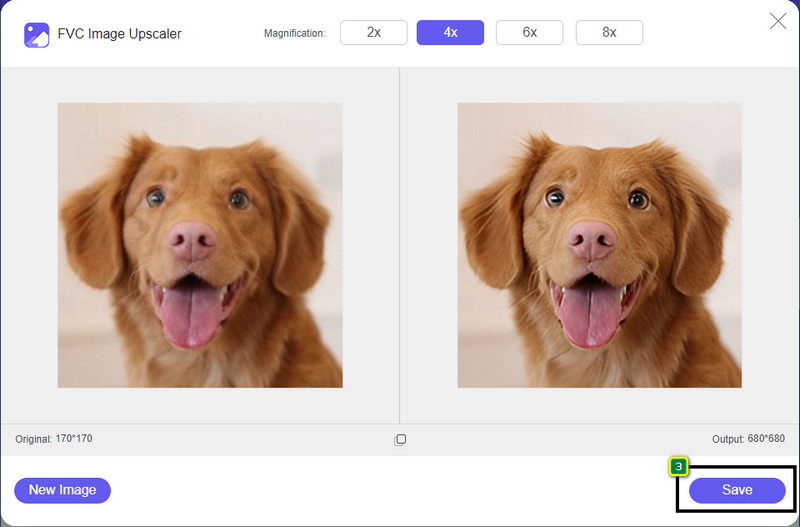
Langkah 4. Tekan Save untuk mengunduh gambar yang sudah Anda ubah ukurannya ke penyimpanan lokal.
2. Kompresor Gambar Gratis FVC
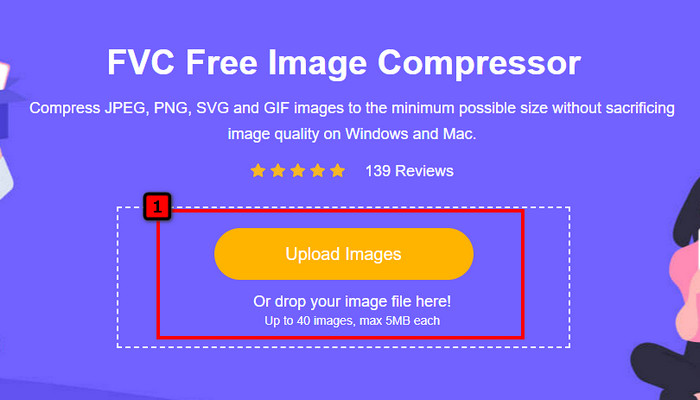
FVC Free Image Compressor memungkinkan siapa pun mengoptimalkan gambar untuk web dengan menurunkan ukuran file-nya. Alat ini memungkinkan Anda mengompres format populer yang digunakan di berbagai situs web seperti PNG, JPG, SVG, BMP, dan lain-lain, dengan batas kurang dari 5 MB per gambar. Dengan ini, Anda dapat menjatuhkan banyak gambar sekaligus ke ukuran yang sudah dioptimalkan sehingga akan lebih cepat dimuat di web. Ini adalah alat berteknologi AI yang menyediakan rasio kompresi terbaik yang tidak bisa Anda dapatkan pada kompresor online lainnya.
Langkah 1. Kunjungi situs resmi alat ini dengan mencari namanya, atau Anda dapat mengklik tautan ini untuk mengaksesnya di browser web Anda.
Langkah 2. Seret dan jatuhkan file gambar yang ingin Anda unggah ke sini, atau Anda dapat mengklik Upload Images; sebuah folder akan muncul di layar Anda, klik file yang ingin Anda kompres lalu tekan Open. Kompresor ini dapat mengecilkan lebih dari 40 gambar secara bersamaan.
Langkah 3. Alat ini akan secara otomatis mengecilkan ukuran file gambar berdasarkan algoritme AI. Setelah itu, klik Download untuk mengekspor versi gambar yang sudah dikompres.

3.PNG kecil
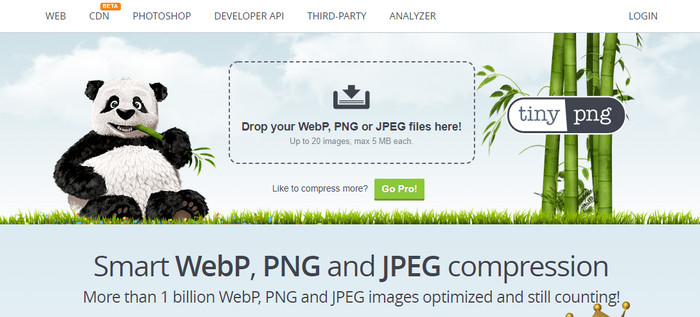
TinyPNG adalah perangkat lunak populer dan andal yang bisa Anda gunakan untuk mengoptimalkan gambar secara online. Ini adalah kompresor yang secara otomatis mengecilkan gambar hingga 75% dari ukuran aslinya. Anda dapat mengunggah gambar dari Dropbox jika gambar tersebut tidak berada di penyimpanan lokal Anda. Anda tidak akan kesulitan mempelajari cara menggunakan kompresor gambar ini karena pengembang merancangnya dengan sangat sederhana.
Meskipun mudah digunakan, format yang didukung di sini hanya PNG dan JPG, dan tidak ada yang lain. Jadi, jika Anda ingin mengompresi file BMP, GIF, SVG, dan lainnya yang Anda miliki, Anda tidak dapat melakukannya di sini karena tidak mendukung format tersebut. Namun demikian, ini mudah digunakan; Anda dapat mengikuti langkah-langkah yang kami tambahkan.
Langkah 1. Buka mesin pencari Anda, dan temukan situs resmi TinyPNG.
Langkah 2. Klik ikon impor untuk mengunggah gambar yang ingin Anda kompres; alat ini mampu memproses 20 gambar secara bersamaan.
Langkah 3. Tunggu proses kompresi selesai, lalu klik tombol Download untuk menyimpan versi gambar terkompresi yang Anda unggah di sini.
Bagian 2. Optimalkan Gambar Offline Menggunakan Perangkat Lunak Profesional di Windows & Mac
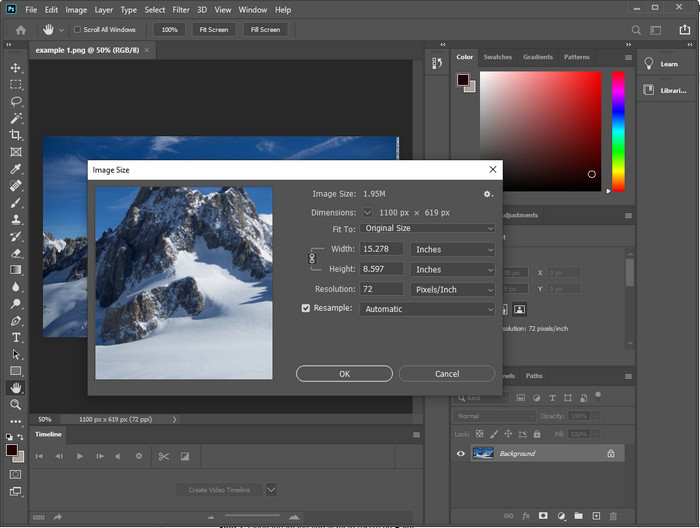
Photoshop mampu melakukan kedua tugas yang kami sebutkan pada bagian pertama: mengubah ukuran dan mengecilkan ukuran file foto. Meskipun alat ini bukan dibuat khusus untuk tugas tersebut, Photoshop tetap dapat melakukannya sebagai bagian dari fitur lanjutan tambahannya. Dengan alat ini, Anda dapat mulai menambahkan filter atau mengedit gambar sesuai ide Anda. Satu-satunya batasan adalah imajinasi Anda dan tingkat kesulitan menggunakan perangkat lunak ini.
Berbeda dengan alat online yang kami sebutkan, Anda tidak memerlukan koneksi internet untuk menggunakan perangkat lunak ini setelah Anda mengunduhnya di perangkat Anda. Namun, Anda perlu membeli perangkat lunak untuk menggunakannya, jadi jika Anda ingin melihat cara mengoptimalkan gambar untuk web di Photoshop, ada instruksi yang kami tambahkan di bawah ini, yang memungkinkan Anda mengecilkan dan mengubah ukuran gambar.
Langkah 1. Unduh dan jalankan perangkat lunak ini di desktop Anda untuk mulai menggunakannya.
Langkah 2. Unggah gambar yang ingin Anda edit, lalu buka menu Image dan klik Image Size. Ubah satuan ukurannya sesuai spesifikasi Anda, lalu klik OK untuk menyimpan perubahan. Jika Anda tidak ingin mengubah rasio aspek atau dimensi gambar, sebaiknya lewati langkah 2.
Langkah 3. Buka menu File dan tekan Save as. Sebuah kotak dialog akan muncul di layar Anda. Pilih ukuran file yang ingin Anda capai, lalu tekan OK untuk mulai mengekspor gambar.
Bagian 3. FAQ tentang Cara Mengoptimalkan Gambar untuk Web
Apa format gambar terbaik untuk web?
Anda lebih baik menggunakan gambar dengan ekstensi PNG dan JPG karena format ini dikenal dioptimalkan dengan baik di situs web yang berbeda. Namun, terkadang Anda perlu mengoptimalkannya dengan memperkecil atau mengubah ukuran gambar, di situlah alat yang kami tambahkan di sini datang untuk membantu.
Yang menghadirkan lebih banyak detail di web; PNG atau JPG?
Kedua gambar raster bekerja dengan baik di situs web; mereka memuat lebih cepat dan mengoptimalkan situs web. Namun masih ada perbedaan antara kedua format ini, seperti ketika Anda ingin menggunakan fotografi murni tanpa transparansi untuk web, format masuk Anda harus JPG atau JPEG. Tetapi jika Anda ingin memiliki transparansi 1-bit di web Anda dengan sangat detail, PNG siap membantu Anda.
Apakah mengubah ukuran gambar membuat kualitas menjadi buruk?
Jika Anda mengompres gambar secara berlebihan, kualitasnya bisa menjadi buruk, tetapi hal itu dapat dihindari selama Anda tidak mengompresnya terlalu jauh. Setelah mengompres gambar, sebaiknya kurangi ukurannya sekitar 45% hingga 70% agar kita dapat menghindari kehilangan kualitas. Namun, Anda dapat menggunakan penjernih gambar untuk meningkatkan kualitas gambar.
Kesimpulan
Sekarang setelah Anda tahu cara mengoptimalkan gambar Anda, lebih baik Anda melakukannya agar Anda mendapatkan lebih banyak kunjungan dan menarik banyak perhatian. Dengan tutorial yang kami tambahkan di atas, kami yakin Anda dapat melakukannya dengan mudah dan cepat tanpa mempengaruhi kualitas. Jika Anda perlu mengubah ukuran atau mengompres, sebaiknya gunakan produk FVC yang kami sertakan di sini untuk menyelesaikan masalah tanpa mengunduh penginstal apa pun.
-
 Buat Foto HD dengan Cara Terbaik yang Dapat Anda Temukan di Pasar
 Apakah Anda bertanya-tanya atau ingin membuat foto HD? Anda dapat mengikuti tutorial yang kami tambahkan di bawah ini dengan berbagai solusi yang dapat Anda gunakan.
-
 4 Pengurang Kualitas Gambar Teratas yang Dapat Anda Gunakan Online & Offline
 Pengurang kualitas gambar ini dapat membantu Anda mengurangi kualitas gambar karena beberapa alasan. Jika Anda membutuhkannya, Anda membaca artikel ini!
-
 Cara Resmi untuk Meningkatkan Gambar ke 4k Dengan Tutorial Praktis
 Untuk meningkatkan gambar ke 4k, Anda memerlukan perangkat lunak di perangkat Anda. Jika Anda belum memilikinya, Anda harus memilih alat yang kami sertakan di sini.