


Keluarkan Objek daripada Foto dengan 6 Perisian Berkesan [Percuma]
Jutaan jurugambar, termasuk mereka yang masih baru berjinak-jinak, mengambil berbilang tangkapan pemandangan matahari terbenam, pantai, tempat pelancongan, bulan dan banyak lagi. Dengan imej, kita boleh mengekspresikan siapa diri kita yang sebenar. Hanya dengan satu klik mudah, anda boleh mencetuskan kreativiti semua orang dan sisi artistik yang tersembunyi dalam diri mereka. Bukan setiap kali kita menangkap gambar, kita akan mendapat imej yang benar-benar sempurna; kadangkala, kita perlu membuang objek tertentu yang tidak sepatutnya ada dalam foto yang anda ambil. Adakah anda perlukan alat untuk mengalih keluar objek daripada foto? Di sini, kami akan memperkenalkan pelbagai cara dan alat yang boleh anda gunakan untuk membuang objek yang tidak diperlukan pada imej yang anda tangkap serta-merta.

Bahagian 1. Alih Keluar Objek daripada Foto Menggunakan Pembuang Objek Terbaik [Perkhidmatan Web]
FVC Free Watermark Remover ialah pilihan pertama kami untuk mengalih keluar objek daripada foto secara dalam talian secara percuma. Dengannya, anda boleh memadamkan apa sahaja yang mengganggu imej sempurna anda serta-merta tanpa memuat turun perisian ke komputer, walaupun anda tiada sebarang pengalaman dalam jenis penyuntingan ini. Anda boleh bergantung pada alat ini kerana anda hanya perlu menyerlahkan objek tersebut, dan ia akan mengalih keluar objek pada imej tanpa meninggalkan sebarang kesan. Kami mendapati alat ini menghiburkan dan berkesan untuk membuang perkara yang tidak perlu pada imej; jika anda mahu menggunakan alat ini, salin langkah yang kami sertakan di bawah.
Langkah 1. Untuk membuka objek dan mengalih keluar pembangunan FVC, anda boleh klik pautan ini ke laman web rasminya.
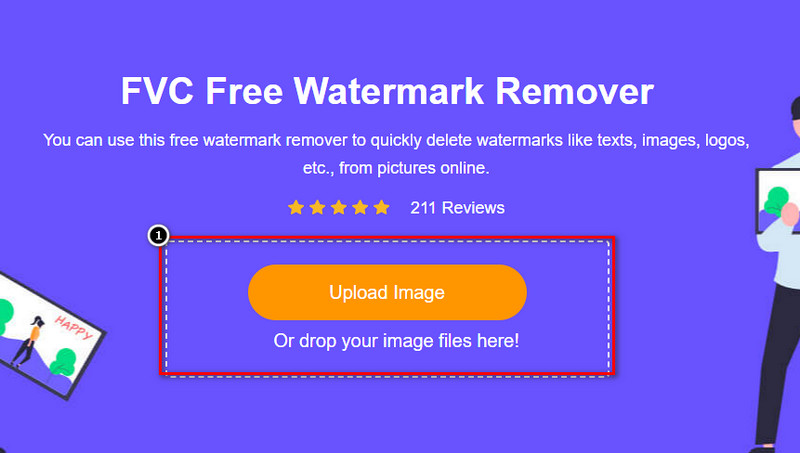
Langkah 2. Tekan Upload Image untuk mengimport foto yang anda ambil yang mempunyai objek tidak diperlukan padanya.
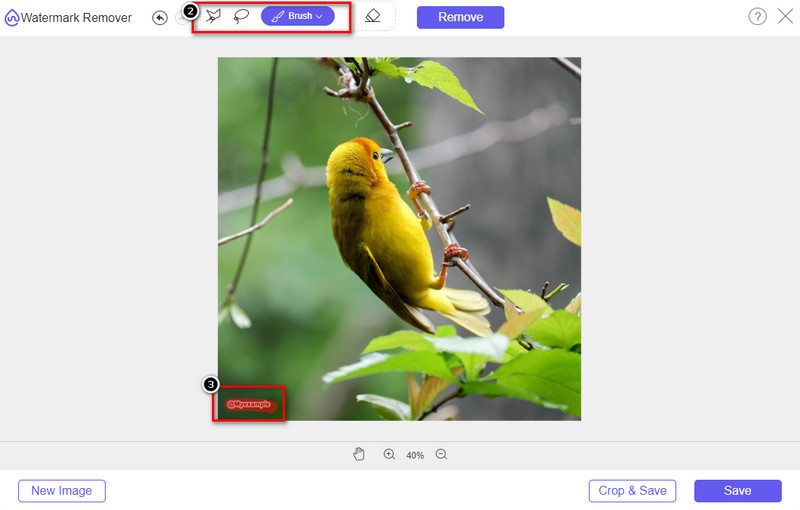
Langkah 3. Dengan alat yang tersedia di sini, anda perlu menyerlahkan objek tersebut.
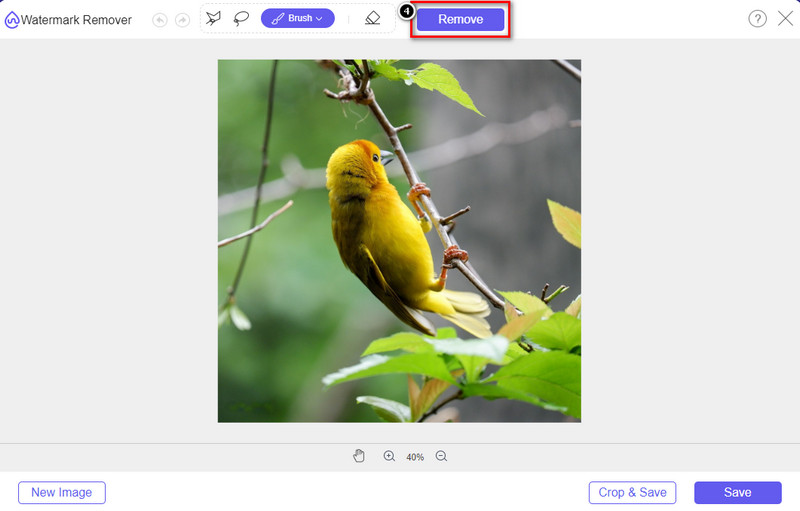
Langkah 4. Tekan butang Remove untuk menghapuskan objek itu dengan bantuan teknologi AI yang disokong oleh alat ini.
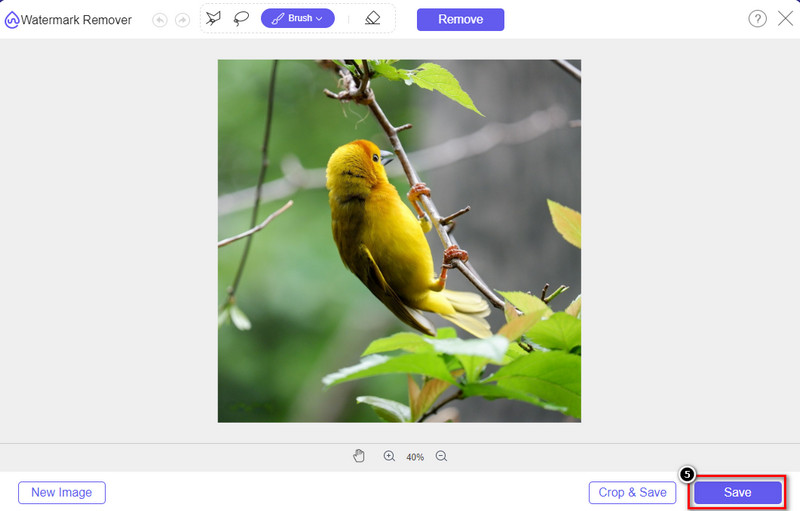
Langkah 5. Untuk memuat turun imej sempurna yang anda sunting di sini, klik Save.
Bahagian 2. Alih Keluar Objek daripada Foto Secara Profesional Menggunakan Program Desktop [Windows & Mac]
Photoshop
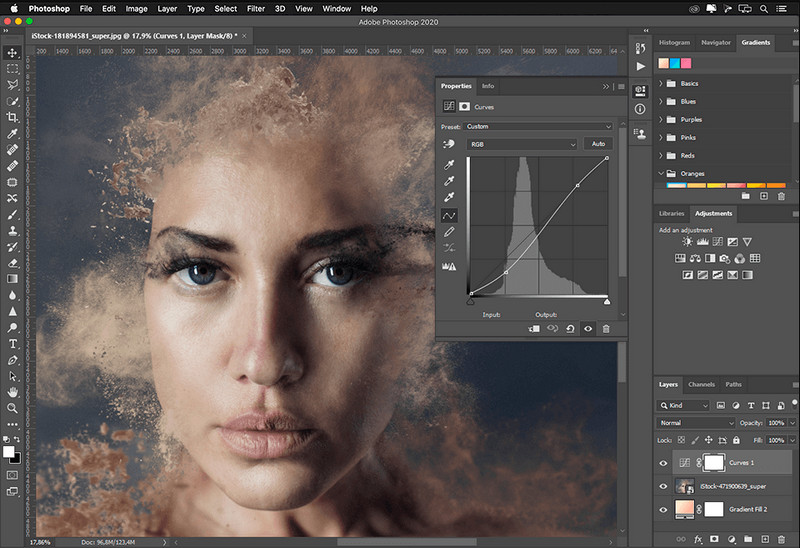
Jika anda memerlukan alat profesional untuk mengalih keluar objek daripada foto, maka Photoshop adalah jawapannya! Alat ini ialah penyunting imej lengkap yang dipersembahkan dengan bangga oleh Adobe kepada kami. Tiada apa yang menghalang anda daripada menjadikan imej kelihatan luar biasa dengan ciri dan fungsinya. Oleh kerana popularitinya di kalangan profesional, ramai pemula cuba menggunakan perisian ini untuk mengedit dan mencipta imej mereka. Jadi, jika anda ingin mengetahui cara menggunakan alat profesional ini, maka anda boleh mengikuti tutorial yang kami tambahkan di bawah.
Langkah 1. Buka laman web rasmi Adobe, kemudian muat turun Photoshop pada komputer anda.
Langkah 2. Klik File dan tekan Open untuk memuat naik imej yang anda perlu sunting di sini.
Langkah 3. Pada bahagian kiri, pilih Magic Wand Tool untuk menjejak objek pada imej secara automatik.
Langkah 4. Pergi ke bahagian Edit dan pilih di bawahnya Content-Aware Fill.
Langkah 5. Selepas anda membukanya, ia akan mengalih keluar tera air secara automatik, kemudian klik OK.
GIMP
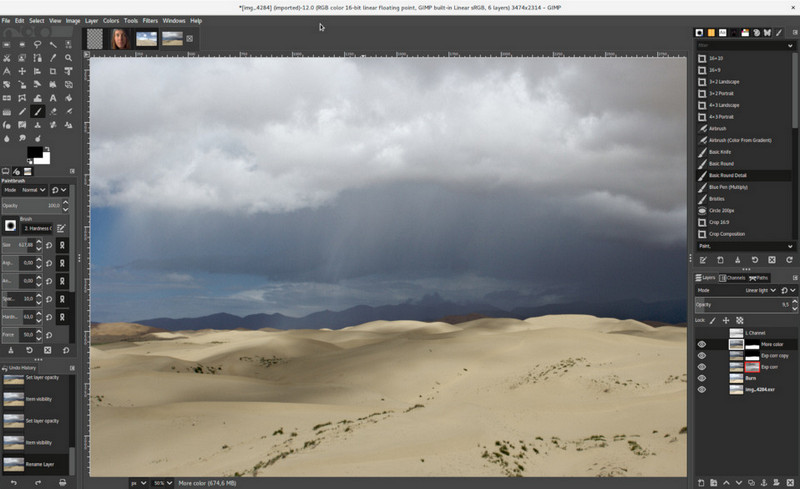
GIMP ialah penyunting imej lengkap yang boleh anda gunakan untuk mengalih keluar objek daripada foto pada Mac, Linux dan Windows secara percuma. Ia ialah alat yang boleh dipercayai seperti Photoshop. Walaupun alat ini menjadi pilihan utama apabila membincangkan alternatif untuk Adobe Photoshop, alat ini masih dalam pembangunan aktif. Dengan alat ini, anda boleh menyunting imej anda secara mendalam supaya kelihatan menarik di mata khalayak. Anda juga boleh menyesuaikan antara mukanya jika anda mahu memudahkan kerja. Jika anda berhasrat memuat turun alat ini untuk penyuntingan profesional, kami boleh memastikan anda akan mencapainya. Walaupun ia adalah penyunting sumber terbuka, alat ini masih perlu dimuktamadkan kerana GUI-nya masih dalam pembangunan. Jadi jika anda mahu menggunakannya, langkah di bawah akan membimbing anda untuk mengajar cara mengalih keluar objek daripada foto pada GIMP. Langkah yang disediakan di bawah akan membimbing anda.
Langkah 1. Muat turun kemudian lancarkan perisian supaya anda boleh memuat naik imej yang perlu anda sunting. Juga, muat turun pemalamnya, iaitu pemalam Resynthesizer.
Langkah 2. Pada alat di bahagian kiri, pilih Free Select dan tukar mod kepada Add Current Selection.
Langkah 3. Lukis pada objek yang anda mahu alih keluar; selepas berjaya menjejak objek, tekan Enter pada papan kekunci anda.
Langkah 4. Untuk menggunakan pemalam yang anda muat turun, pergi ke Filter, kemudian Enhance, dan klik Heal Selection.
Langkah 5. Kemudian kotak dialog akan muncul, ubah lebar persampelan jika perlu, tetapkan sampel kepada all-around, dan Filling the Order kepada random. Tekan OK untuk mula mensintesis objek di dalam imej.
Apl Foto pada Mac
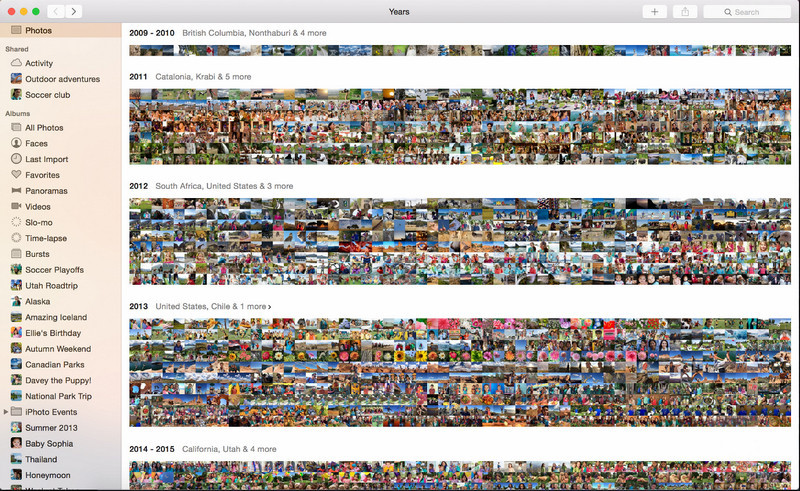
Photo App ialah fungsi terbina dalam pada produk Apple terkini seperti Mac. Aplikasi ini telah dipra-pasang, jadi anda boleh abaikan bahagian memuat turun dan terus gunakan alat ini. Perisian ini bukan penyunting imej kerana tujuannya adalah menjadi pustaka dan pelihat foto pada peranti Mac atau iOS. Walaupun anda tidak mempunyai penyunting imej profesional pada Mac, anda boleh memanfaatkan fungsi ini untuk mendapatkan hasil yang kelihatan profesional dengan satu klik sahaja. Jadi, jika anda mahu mengalih keluar objek menggunakan Photo App, anda boleh rujuk langkah yang kami sertakan dan ikutinya dengan betul.
Langkah 1. Buka Photos App pada Mac anda dan pilih imej yang mempunyai objek tidak diperlukan.
Langkah 2. Di bahagian kanan atas, klik butang Edit untuk mula menyunting imej.
Langkah 3. Di bahagian kanan, anda akan lihat pilihan Retouch; klik padanya untuk menggunakan fungsi tersebut.
Langkah 4. Klik dan seret tetikus anda ke kawasan yang anda mahu alih keluar.
Langkah 5. Tekan butang Done untuk menyimpan perubahan yang anda terapkan pada imej.
Bahagian 3. Alih Keluar Objek daripada Foto Menggunakan Aplikasi pada Android & iOS
Photoshop FIX
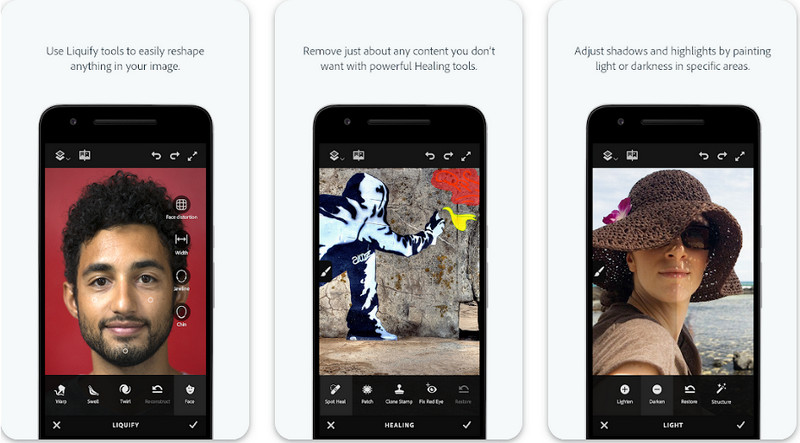
Photoshop FIX ialah aplikasi Android berkesan untuk mengalih keluar objek daripada foto yang berfungsi secara profesional tetapi mudah digunakan. Ia adalah aplikasi sumber terbuka yang boleh anda muat turun pada peranti anda sebaik sahaja anda membuka PlayStore. Walaupun alat ini sumber terbuka, anda boleh lihat bahawa ciri pengalihan objeknya memang sangat baik. Ia adalah salah satu aplikasi yang paling banyak dimuat turun pada peranti Android untuk melakukan tugas ini. Jadi, jika anda mahu tahu cara menggunakan aplikasi ini, teruskan membaca di bawah.
Langkah 1. Muat turun aplikasi pada peranti Android anda.
Langkah 2. Tekan On My Phone untuk memaparkan semua imej dalam pustaka anda. Pilih imej yang anda mahu sunting.
Langkah 3. Untuk menggunakan fungsi pengalihan objek aplikasi ini, klik Healing.
Langkah 4. Di sini, anda boleh gunakan dua pilihan untuk mengalihkannya. Untuk memberus keluar objek, pilih Spot Heal. Tetapi jika anda mahu mengklon piksel, anda mesti memilih Clone Stamp. Serlahkan tera air dengan pilihan anda.
Langkah 5. Simpan imej ke gulungan kamera anda, dan itu sahaja!
Retouch Foto
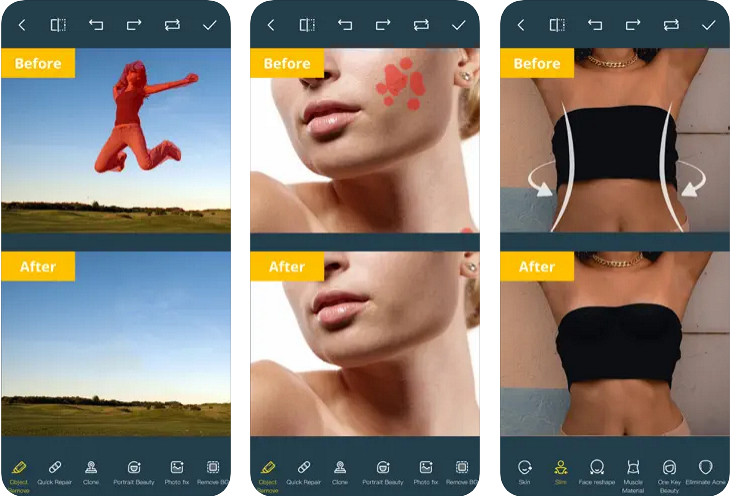
Photo Retouch ialah aplikasi yang boleh dipercayai untuk mengalih keluar objek daripada foto pada iPhone tanpa masalah. Walaupun anda bukan pakar dalam membuang objek pada imej anda, anda tetap boleh mengalihkannya dengan berkesan. Anda boleh memuat turun aplikasi ini di AppStore secara percuma jika anda mahu mencubanya. Anda juga boleh mengalih keluar latar belakang dan tera air pada foto anda jika anda memerlukannya. Jika anda sudah bersedia menggunakan aplikasi ini untuk menghapuskan objek pada imej anda, anda boleh ikut langkah yang kami sertakan.
Langkah 1. Muat turun aplikasi rasmi, kemudian lancarkannya.
Langkah 2. Klik Photo Eraser, kemudian Photo. Pilih imej dengan latar belakang yang tidak diingini yang anda mahu alih keluar, dan pastikan imej itu berada dalam Photos pada iPhone anda.
Langkah 3. Di bahagian bawah, pilih pilihan Object Removal.
Langkah 4. Gunakan berus yang disokong oleh aplikasi ini untuk menjejak objek yang anda mahu alih keluar dan klik GO untuk menghapuskan objek tersebut.
Berkaitan:
Alih Keluar Tera Air Dreamstime
Alih Keluar Tera Air Penapis Picsart
Bahagian 4. Soalan Lazim tentang Cara Mengalih Keluar Objek daripada Foto
Mengapa saya perlu mengalih keluar objek daripada foto?
Terdapat banyak masa untuk kita menangkap sesuatu, dan terdapat Photobombers. Objek ini adalah masalah bagi kebanyakan profesional pada orang lain kerana ia tidak menyerlahkan imej yang anda tangkap. Jadi, daripada mengambil semula imej, anda boleh membaca cara ideal berikut untuk mengalih keluar objek pada foto anda.
Bolehkah saya memotong imej untuk mengalih keluar objek?
Ya awak boleh. Jika objek yang anda ingin alih keluar pada sisi foto, maka anda boleh cuba memangkas imej dengan editor terbina dalam anda. Walau bagaimanapun, pilihan ini bukan pilihan, terutamanya jika objek berada di bahagian tengah atau berhampiran imej yang anda tangkap. Memangkas imej akan memotong foto, jadi lebih baik berfikir dua kali jika anda ingin mencuba pilihan ini.
Mengapa saya tidak boleh memuat naik imej untuk mengalih keluar objek?
Anda tidak boleh memuat naik imej; sama ada imej rosak atau sambungan imej tidak disokong. Jika imej anda rosak, terdapat cara untuk membetulkannya. Anda boleh menemuinya di web jika anda mencarinya. Biasanya, ia boleh menjadi sambungan fail imej; untuk menyelesaikan masalah ini, anda perlu menukarnya.
Kesimpulannya
Mengalih keluar objek daripada foto adalah mudah kerana alat dan aplikasi yang kami gunakan dalam artikel ini. Jadi, alat manakah yang paling anda sukai? Kami berharap panduan yang kami tambahkan ini membantu anda menyelesaikan masalah dengan mudah.
-
 Cara Menukar Imej Resolusi Rendah kepada Resolusi Tinggi Dalam Talian
 Jika anda ingin mengetahui cara menukar imej resolusi rendah kepada imej resolusi tinggi dalam talian, maka artikel ini adalah untuk anda. Baca sepenuhnya untuk mengetahui caranya.
-
 Kaedah Mudah Cara Membuang Tera Air Kalis Pucuk
 Alih keluar tera air kalis pucuk dengan mengikuti kaedah mudah ini. Gunakan penanggal tera air yang menakjubkan ini untuk mengalih keluar tera air Kalis Pucuk daripada imej anda dengan mudah.
-
 Cara Mengeluarkan Tera Air Bandicam Dengan Mudah [3 Cara Berkesan]
 Bagaimana untuk membuang tera air Bandicam? Dengan alatan, kami menambah di sini anda akan tahu cara menanganinya dengan berkesan!