


Word で画像を圧縮する: 初心者のための究極ガイド
Word 文書を作成するときに、写真を添付する必要がある場合があります。これらの写真は、視覚的な魅力を加えたり、文書を補足する資料や添付ファイルを追加したりします。これは効果的なコミュニケーションを実現する優れた方法ですが、ファイル サイズが大きい写真を追加すると、より多くのストレージ スペースが消費され、ファイルを開くのに時間がかかります。その結果、ファイルを開く人だけでなく、ファイルを送信する送信者にも不便が生じます。
ですが、ここで朗報です!この記事では、Wordで画像を圧縮する2つの方法と、Word用の画像を簡単に圧縮する代替手段をご紹介します。この機会に写真を最適化して、効率的なWord文書を作成しましょう。

パート1. Wordで画像を圧縮する
Microsoft Word は世界中で広く使用されているワードプロセッシングソフトウェアで、ユーザーはあらゆる Word 文書を作成し、写真を添付することができます。ただし、大きなファイル画像が添付されているため、Word 文書は多くのスペースを占め、管理が困難になります。しかし、ユーザーは Word 文書内で画像を直接圧縮することができます。Word で画像を圧縮する方法は、次の 2 つです。
方法 1. Windows の Word で画像を圧縮する
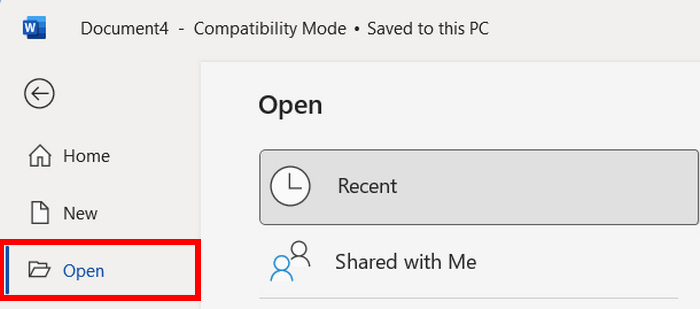
ステップ1.Wordソフトを開くと、左側に3つのボタンが表示されます。その中から開くを選択し、圧縮したい写真が含まれているWordファイルを起動します。
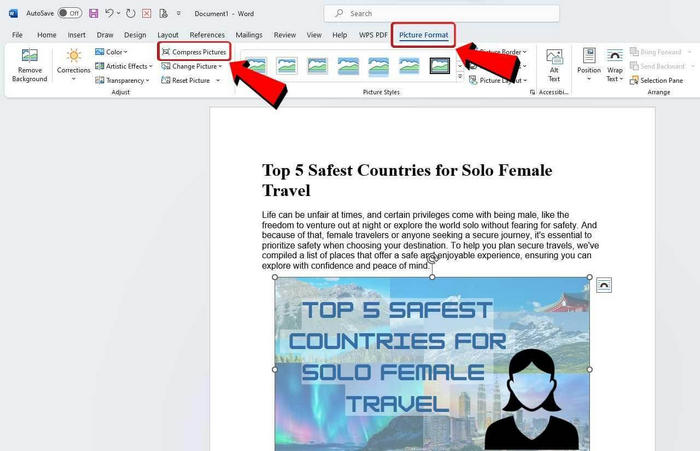
ステップ2.写真を圧縮するには、ファイル内をスクロールして圧縮したい画像を見つけます。見つかったら、その画像をクリックします。その後、図の形式タブに移動し、下に並んでいるリボンの中から図の圧縮をクリックします。
ステップ3.ここでは、写真を圧縮する方法として次の2つのオプションがあります。
・この画像だけに適用する: このオプションを選ぶと、文書内の他の画像には影響せず、選択した画像だけが圧縮されます。
・トリミングされた部分を削除する:画像をトリミングしている場合は、このオプションにチェックを入れることをおすすめします。トリミングされた画像は、文書の背景にトリミング前の領域が残り、ファイルサイズに影響するためです。
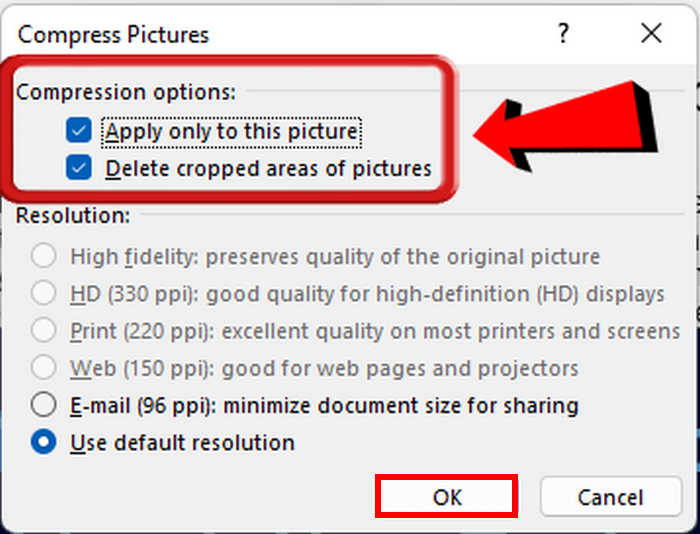
ステップ4.解像度については、既定の解像度を使用を選択することを強くおすすめします。これにより、画質とサイズ削減のバランスが良くなります。設定が完了したら、OKボタンをクリックします。
この方法は、Windows ユーザーにとって便利です。これにより、Word ファイルのファイル サイズが削減され、ドキュメントを保存、共有、開くときにスムーズな操作が可能になります。ただし、Word で画像を圧縮すると、画像の品質が著しく低下し、画像の鮮明度と詳細が損なわれることがあります。これは、専門的なプレゼンテーションや詳細なグラフィックなど、ドキュメントの視覚的要素が重要な場合には問題となる可能性があります。
方法 2. Mac の Word で画像を圧縮する
ステップ1.まず、圧縮したい画像が含まれている文書にアクセスするため、Wordファイルを開きます。
ステップ2.次に、Word文書内で圧縮したい画像を見つけ、右クリックします。その後、図の形式に進み、リボンの中から圧縮オプションを選択します。

ステップ3.「図の圧縮」ウィンドウで、図の品質として高品質(High Fidelity)を選択します。さらに、Windowsの場合と同様に、トリミングされた部分を削除するにチェックを入れてください。これにより、背景に残っているトリミング前の領域が削除されます。
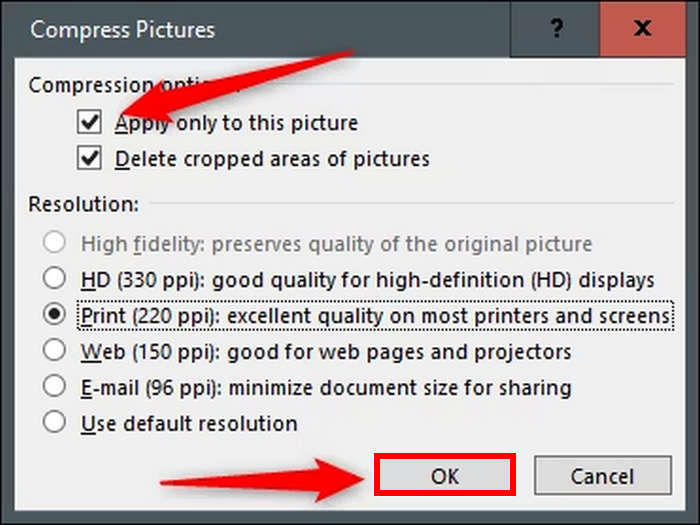
ステップ4.最後に、適用対象の項目で、このファイル内のすべての画像または選択した画像のみのいずれかを選択できます。選び終えたら、OKボタンをクリックします。
Windows と同様に、この方法は Mac ユーザーが Word ソフトウェアで直接写真を圧縮してドキュメント ファイルを最適化するのに役立ちます。これにより、画像のサイズを縮小するために他の画像圧縮ツールを使用する必要がなくなります。ただし、専用の画像圧縮ツールを使用する場合とは異なり、画像の品質が明らかに低下する可能性があります。
パート 2. ワンクリックで画像を圧縮する最良の方法 [簡単かつ高速]
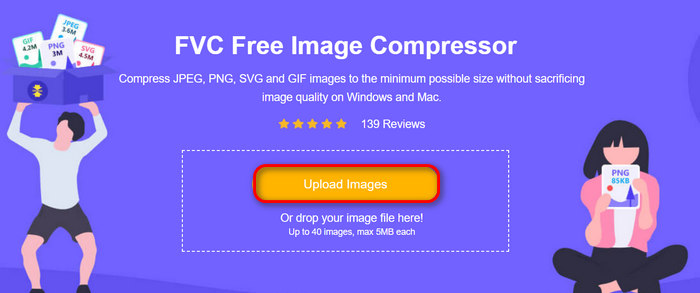
Word上で直接画像を圧縮すると、画質の劣化が目立つことがあります。そのため、ほかのツールであらかじめ画像を圧縮してからWord文書に挿入する、といった代替手段を利用することもできます。FVC Free Image Compressorは、そのための最適な代替ツールです。これは無料のオンライン画像圧縮ツールで、Word用の画像を素早く簡単に圧縮したいユーザーに理想的です。ワンクリックで写真は自動的にリサイズされ、画質もほとんどそのまま保たれます。また、このツールは非常に使いやすく、直感的に操作できます。さらに、Wordファイルに添付したい画像がたくさんある場合でも、一度に最大40枚まで同時圧縮できるバッチ処理機能を活用できます。
FVC Free Image Compressorを使用して画像を圧縮する方法は次のとおりです。
ステップ1.ブラウザで「FVC Free Image Compressor」と入力して検索します。
ステップ2.公式サイトにアクセスしたら、Upload Imagesをクリックして、圧縮したい写真を取り込みます。
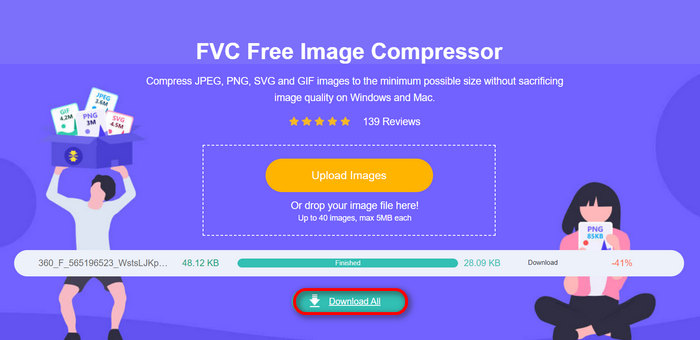
ステップ3.圧縮処理が完了するまで待ちます。完了すると、処理終了を示すバーと、圧縮前後のサイズ情報が表示されます。その後、Downloadをクリックして画像を保存します。
FVC Free Image Compressor を使用すると、圧縮に労力がかかりません。また、このツールは完全に無料で非常に使いやすいため、Word 文書に圧縮された写真を使用したい場合に最適な代替手段となります。
パート 3. Word で画像を圧縮することに関する FAQ
Word で画像を管理するにはどうすればよいですか?
Word で画像を管理するには、画像が文書内にうまく収まるようにするためにいくつかの手順が必要です。[画像の書式設定] タブを使用して、画像のサイズ変更、トリミング、レイアウトの調整を行うことができます。また、文書の効率性を維持するために、品質をあまり損なわずに画像を圧縮してファイル サイズを小さくすることもお勧めします。
写真を Word 文書に変換するにはどうすればよいですか?
画像を Word 文書に変換するには、光学文字認識ソフトウェアを使用できます。このテクノロジは、スキャンした紙の文書、PDF など、さまざまな種類の文書を編集および検索可能なデータに変換します。画像を Word 文書に挿入し、組み込みまたはサードパーティの OCR ツールを使用してテキストを抽出するだけです。
Word でトリミングして画像ファイルのサイズを縮小するにはどうすればよいですか?
Word でトリミングして画像ファイルのサイズを縮小するには、まず画像を選択し、トリミング ツールを使用して画像の必要な部分のみを残します。トリミング後、画像の書式設定オプションにアクセスし、画像の圧縮を選択します。圧縮設定では、画像のトリミングされた領域を削除して不要な部分を取り除き、ファイル全体のサイズを縮小します。最後に、必要な解像度を選択し、変更を適用して、画像の品質とファイル サイズの縮小のバランスを取ります。
結論
まとめると、Wordで画像を圧縮する必要性は、大きな画像ファイルを含む文書は扱いづらく、読み込みにも時間がかかりやすい、という点にあります。ですが、この記事で紹介した方法を使えば、画像を簡単に圧縮して文書を最適化できます。
今すぐ画像の圧縮を開始して、Word 文書をより管理しやすく、効率的にしましょう。
-
 デスクトップ/オンラインで TS を FLV に変換する 4 つの検証済みメソッド
 デフォルトでは、コンピューターまたはモバイルでTSを開くことはできません。ビデオファイルを視聴する唯一の方法は、具体的なガイドを使用してTSをFLVまたはその他の形式に変換することです。
-
 品質を損なうことなくTSファイルを圧縮する2つの効果的な方法
 高解像度の TS ビデオ ファイルをデバイスに保存したいですか?この記事では、TS ビデオ変換のその他の方法を示します。
-
 MTSファイル– MTSファイルとは何ですか?MTSをMP4 / MOV / MKV/AVIに変換する方法
 MTSファイルとは何ですか?どうすれば再生できますか?この投稿では、MTSファイルの基本的な手順を説明します。さらに、MTSファイルをMP4、MOV、AVI、MPEG、MTS、MKV、またはその他の高品質の形式に変換する3つの簡単な方法を入手できます。