


4つのソリューションを使用してWeb用に画像を最適化する方法[すばやく]
Web上で画像を最適化することは、サイトの読み込み時間を短縮するうえで非常に重要な役割を果たします。最近の調査によると、画像が適切に最適化されていない場合、訪問者の約半数がすぐにサイトを離れてしまい、結果としてトラフィックや収益の損失につながります。バッファリングを減らし、信頼性の高いウェブサイトを構築してアクセス数を増やし、その見返りとして収入を増やしたいのであれば、そのやり方を学ぶ必要があります。その方法は難しくありません。本チュートリアルでは、できるだけ簡単な手順でWeb用に画像を最適化する方法を紹介します。

パート 1. 画質を犠牲にすることなくオンラインで画像を最適化するための最良かつ無料の方法
1. FVC無料画像アップスケーラー
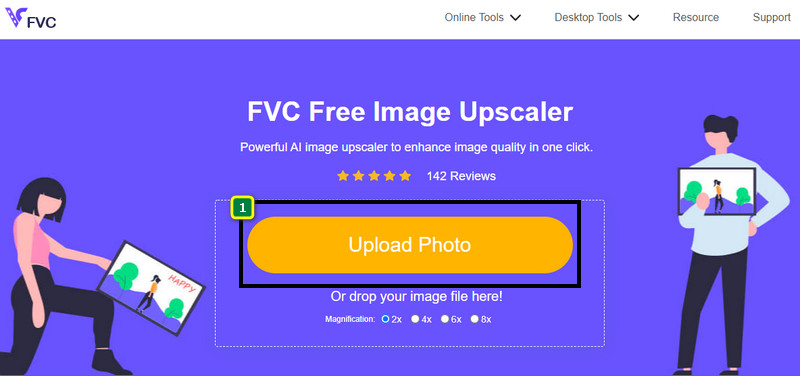
Webで使用したい画像の寸法やアスペクト比を最適化する方法をお探しですか? FVC Free Image Upscaler は、高度なAI技術を用いて画像を最適化できるツールです。このアップスケーラーは、画素密度(PPI)の細部を損なうことなく画像サイズを変更できるので、画質の低下を心配する必要がありません。また、このオンラインツールは、画像上の欠点をトレースすることで、ぼやけた画像やピクセル化した画像を修正することも可能です。書き出し前には、処理前と処理後を比較できるプレビュー画面も用意されています。Web用に画像サイズを変更したい場合は、次に紹介する手順に従ってください。
ステップ1. このリンクをクリックしてサイトを開きます。
ステップ2. Upload Image を押して、リサイズしたい画像をここに読み込みます。
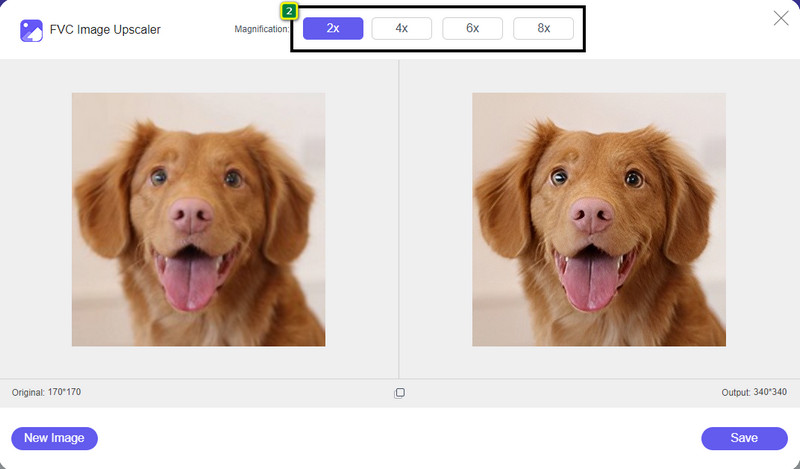
ステップ3. 画像をリサイズするために適用したいオプションを選択します。
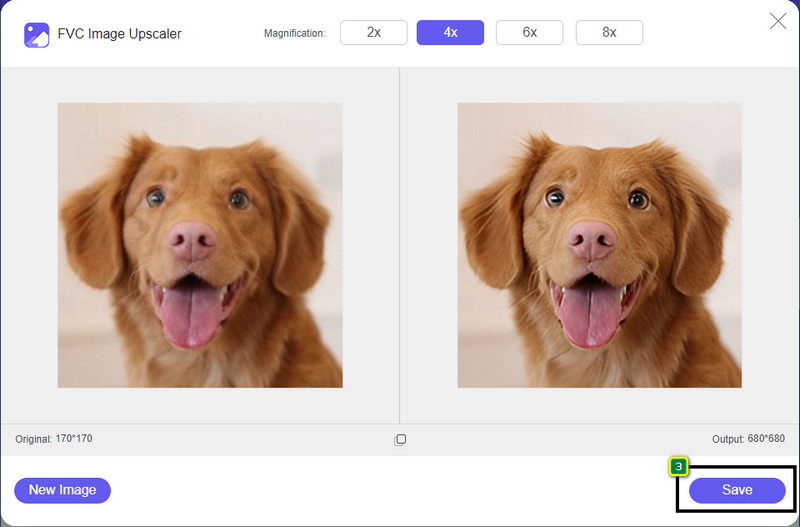
ステップ4. Save を押して、リサイズした画像をローカルドライブにダウンロードします。
2. FVCフリー画像コンプレッサー
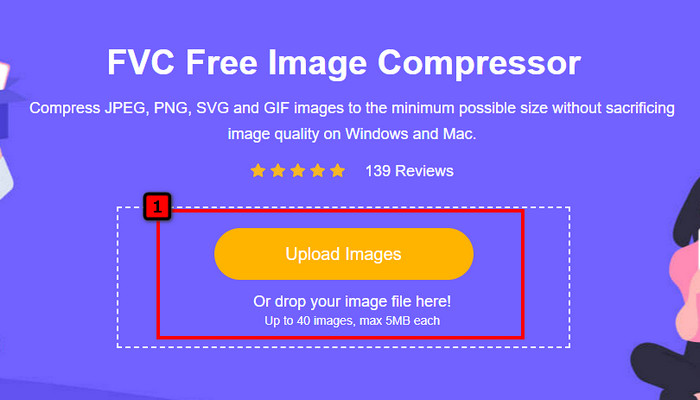
FVC Free Image Compressor を使えば、ファイルサイズを小さくすることで誰でもWeb用に画像を最適化できます。PNG、JPG、SVG、BMPなど、さまざまなサイトで使われている一般的な形式を、1ファイル5MB未満で圧縮可能です。複数の画像をまとめてドロップすることで、Web上でより素早く読み込める最適なサイズに圧縮できます。これは、他のオンライン圧縮ツールでは実現しにくい、最高レベルの圧縮率を提供するAI技術搭載ツールです。
ステップ1. ツール名で検索して公式サイトにアクセスするか、このリンクをクリックして、ブラウザ上で開きます。
ステップ2. 圧縮したい画像ファイルをここにドラッグ&ドロップするか、Upload Images をクリックします。するとフォルダが表示されるので、圧縮したいファイルを選び、Open を押します。このコンプレッサーは、最大40枚以上の画像を同時に縮小できます。
ステップ3. ツールがAIアルゴリズムに基づいて自動的に画像ファイルのサイズを縮小します。その後、Download をクリックして、圧縮後の画像をエクスポートします。

3. TinyPNG
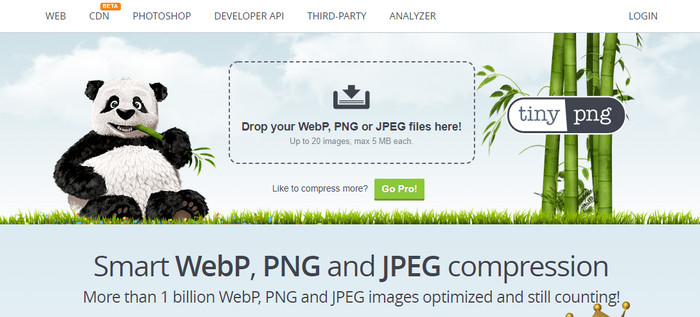
TinyPNG は、オンラインで画像を最適化するために広く利用されている信頼性の高いソフトウェアです。元の画像サイズの最大75%まで自動的に圧縮できるコンプレッサーです。ローカルドライブに画像がない場合でも、Dropboxに保存されている画像をアップロードできます。開発者が非常にシンプルな操作性で設計しているため、この画像コンプレッサーの使い方に困ることはないでしょう。
使い方は簡単ですが、ここでサポートされている形式は PNG と JPG のみで、他には何もありません。したがって、BMP、GIF、SVG、およびその他のファイルを圧縮したい場合は、上記の形式をサポートしていないため、ここでは実行できません。それでも、これは使いやすいです。追加の手順に従うことができます。
ステップ1. 検索エンジンを開き、TinyPNG の公式サイトを見つけてアクセスします。
ステップ2. インポートアイコンをクリックして、圧縮したい画像をアップロードします。このツールは、最大20枚の画像を同時に処理できます。
ステップ3. 圧縮処理が完了するまで待ち、完了したら Download ボタンをクリックして、ここにアップロードした画像の圧縮版を保存します。
パート 2. Windows および Mac でプロフェッショナル ソフトウェアを使用して画像をオフラインで最適化する
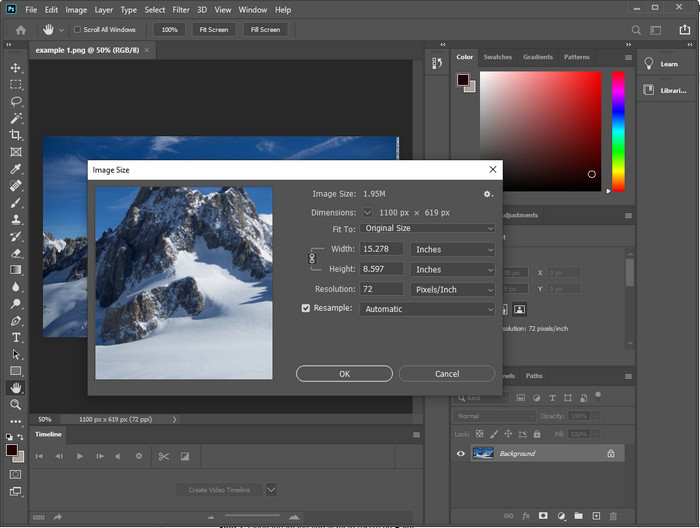
Photoshop は、前半で紹介した画像のリサイズと容量削減の両方に対応できます。このツールは本来その目的専用に作られたわけではありませんが、高度な追加機能の一部としてこれらの作業を行うことが可能です。加えて、フィルターを適用したり、アイデアに合わせて画像を細かく編集したりすることもできます。制限となるのはあなたの想像力と、このソフトの操作の難しさだけです。
前述のオンライン ツールとは異なり、デバイスにダウンロードした後は、このソフトウェアを使用するためにインターネット接続は必要ありません。ただし、それを使用するにはソフトウェアを購入する必要があります。そのため、Photoshop で Web 用に画像を最適化する方法を確認したい場合は、以下に説明を追加して、画像の縮小とサイズ変更を行うことができます。
ステップ1. ソフトをデスクトップにダウンロードして起動し、使用を開始します。
ステップ2. 編集したい画像をアップロードし、Image メニューから Image Size をクリックします。希望のスペックに合わせて数値を変更し、OK をクリックして変更を保存します。画像のアスペクト比や寸法を変えたくない場合は、このステップ2はスキップしてください。
ステップ3. File メニューを開き、Save as を選択します。画面にダイアログボックスが表示されるので、目標とするファイルサイズを選び、OK を押して画像の書き出しを開始します。
パート 3. Web 用に画像を最適化する方法に関する FAQ
Web に最適な画像形式は何ですか?
PNG と JPG の拡張子を持つ画像を使用することをお勧めします。これらの形式はさまざまな Web サイトで適切に最適化されていることが知られているからです。それでも、画像を縮小またはサイズ変更して最適化する必要がある場合があります。ここで追加したツールが役に立ちました。
これにより、Web でより詳細な情報が得られます。 PNGまたはJPG?
どちらのラスター イメージも Web サイトでうまく機能します。読み込みが速くなり、ウェブサイトが最適化されます。ただし、これら 2 つの形式にはまだ違いがあります。たとえば、Web 用に透過性のない純粋な写真を使用したい場合、頼りになる形式は JPG または JPEG でなければなりません。しかし、Web 上で 1 ビットの透明度を非常に詳細に表示したい場合は、PNG が役に立ちます。
画像サイズを変えると画質が悪くなりますか?
画像を過度に圧縮しすぎると画質が悪くなる可能性がありますが、圧縮しすぎないようにすればそれは避けられます。画像を圧縮する際は、品質劣化を防ぐために、おおよそ45%〜70%程度の圧縮に留めておくことをおすすめします。それでも画質が気になる場合は、画像強調ツールを使って画像の品質を向上させることができます。
結論
画像を最適化する方法がわかったので、より多くの訪問者を獲得し、多くの注目を集めるために、それを実行することをお勧めします.上記で追加したチュートリアルを使用すると、品質に影響を与えることなく、簡単かつ迅速に実行できると確信しています.サイズ変更または圧縮が必要な場合は、ここに含まれる FVC 製品を使用して、インストーラーをダウンロードせずに問題を解決することをお勧めします。
-
 市場で見つけられる最良の方法で Photo HD を作成
 写真を HD にしようと思っていますか?以下に追加するチュートリアルに従って、使用できるさまざまなソリューションを使用できます。
-
 オンラインとオフラインで使用できる上位 4 つの画質低減ツール
 これらの画質低減ツールは、何らかの理由で画像の品質を下げるのに役立ちます。必要な場合は、この記事をお読みください。
-
 ハンズオン チュートリアルで画像を 4k にアップスケールする公式の方法
 画像を 4k にアップスケールするには、デバイスにソフトウェアが必要です。お持ちでない場合は、ここに含まれているツールを選択する必要があります。