


市場で最もホットなアップスケーラーを使用して画像を 4k にアップスケール
多くのプロ/非プロ向けソフトで画像を4Kにアップスケールする機能が求められるようになっています。ユーザーは、4Kのような高解像度にすれば画像がより細かく、シャープで、クリアになり、見栄えが良くなると考えています。実際に4K画像の良さを最大限に活かせるのは、屋外広告、高品質なターポリン印刷、大型デジタルスクリーンでの表示、多くのデジタルシネマ撮影用途などの場合です。PPI(ピクセル密度)や画像解像度の役割は、画像の幅と高さに応じて正確なピクセル数を表示することです。写真を3840×2160に変換する方法を知りたいですか?それとも、4069×2160のDCI 4Kの方が好みでしょうか?この記事では、4Kとして知られるUHD解像度を実現するために必要な情報をまとめて紹介します。

パート 1. 最適なソリューションを使用して無料で画像を 4k にアップスケールする方法 [Web サービス]
FVC Free Image Upscalerは、4K解像度を実現するために使える、非常にシンプルな4K画像アップスケーラーです。このツールは画像をアップスケールするだけでなく、選択した解像度に合うように写真のPPIも補正します。アップスケーラーなので、ここにアップロードした画像が引き伸ばされて粗くなったり、画質が落ちたりすることはありません。これはFVCが搭載している高度なAI技術のおかげです。使い方のデモが必要ですか?必要であれば、以下に示す手順に従って、アップスケールしたい画像の処理を開始しましょう。
手順1. このリンクをクリックして、新しいタブでツールを開きます。アップスケールしたい画像を変更するために使う公式ツールのページに移動します。
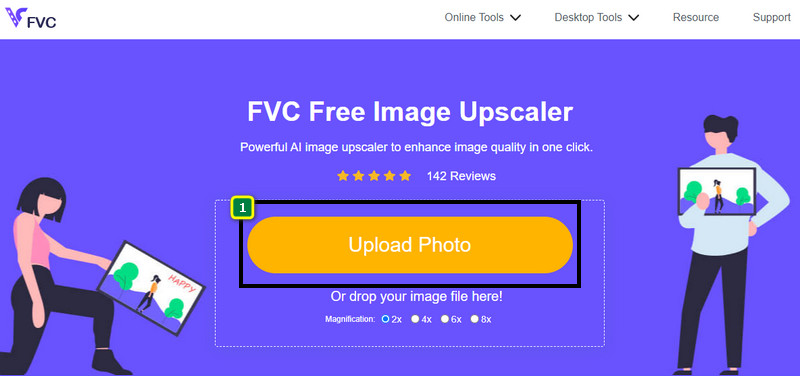
手順2. Upload Photoをクリックして、4K解像度にアップスケールしたいJPG、JPEG、PNG、GIF、BMP、またはSVGファイルを追加します。
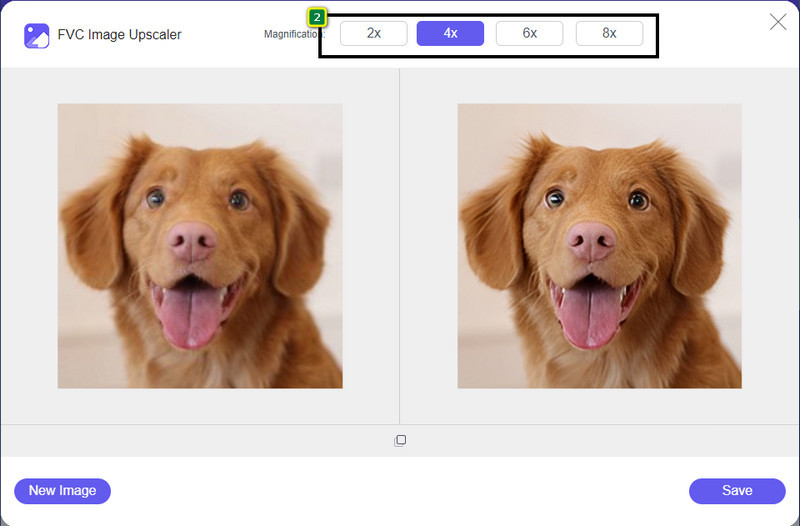
手順3. 画像をアップロードすると、ツール上に読み込まれます。その後、上部に表示される2x、4x、6x、8xの中から選択して、4K解像度に近づけます。
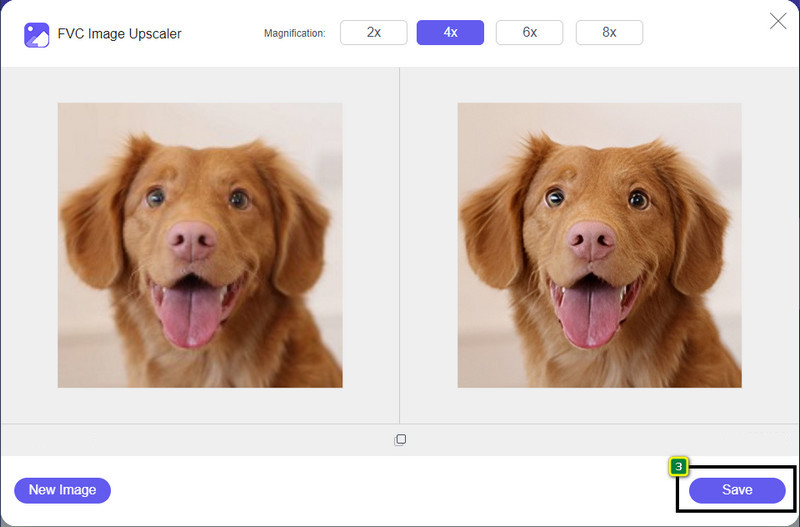
手順4. ここで向上させた4K画像を書き出すには、Saveボタンをクリックします。自動的にファイルフォルダーへ保存されます。
パート 2. Windows の既定のグラフィック エディターで画像をオフラインで 4k にアップスケールする方法 [無料]
ペイントは、画像のサイズを変更することで4Kにアップスケールできる、Windowsに標準搭載されているグラフィックエディターです。このソフトは、できることの多さから多くのWindowsユーザーに親しまれています。真っ白なキャンバスから始めて、通常のキャンバスと同じようにお絵描きできますが、これはデジタル上での作業です。高さを調整すると自動的に幅も連動して変わる(あるいはその逆)ロック機能も備わっています。また、パーセンテージ指定で画像の縦横サイズを調整することも可能です。
このツールをエディターとして使用することはできますが、編集の他の領域ではまだ不十分です。たとえば、グレースケール モードはサポートされていません。したがって、このツールを使用する場合は、追加の手順に従ってください。
手順1. 画面左下のWindowsアイコンをクリックし、検索欄に「ペイント」と入力してツールを呼び出します。
手順2. 起動後、メニューの[ファイル]から[開く]をクリックし、アップスケールしたい画像ファイルを追加します。ドラッグ&ドロップでこのツール内に画像を入れることもできます。
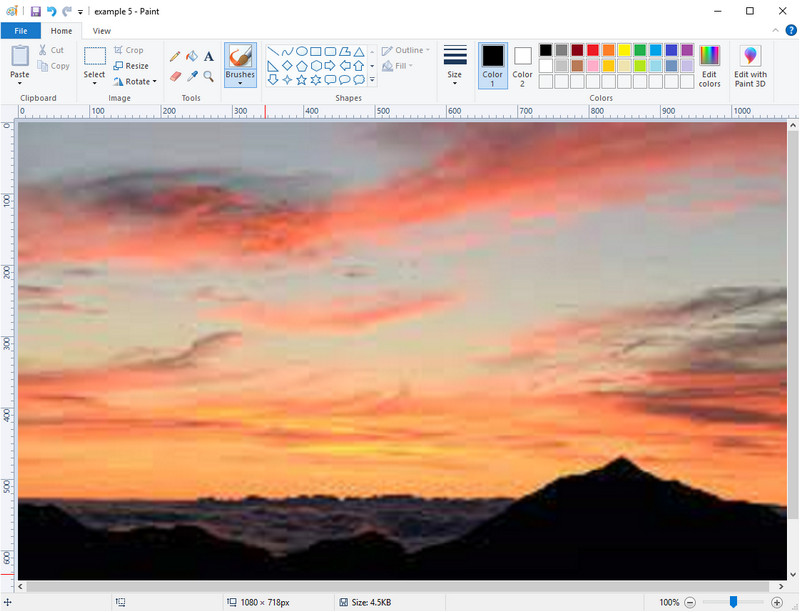
手順3. サイズ変更オプションに進み、ピクセルをクリックします。高さまたは幅の数値を、標準的な4Kの値に変更します。
単一の測定値を変更する方が適切です。それが高さであるか幅であるかは問題ではなく、常にメインのアスペクト比にチェックを入れてフィットさせます。 4k にサイズ変更すると、一部の画像が引き伸ばされます。
手順4. その後、保存ボタンをクリックして、ここでアップスケールした画像を保存します。
パート 3. Windows および Mac でプロフェッショナル ソフトウェアを使用して画像を 4k にアップスケールする方法 [有料]
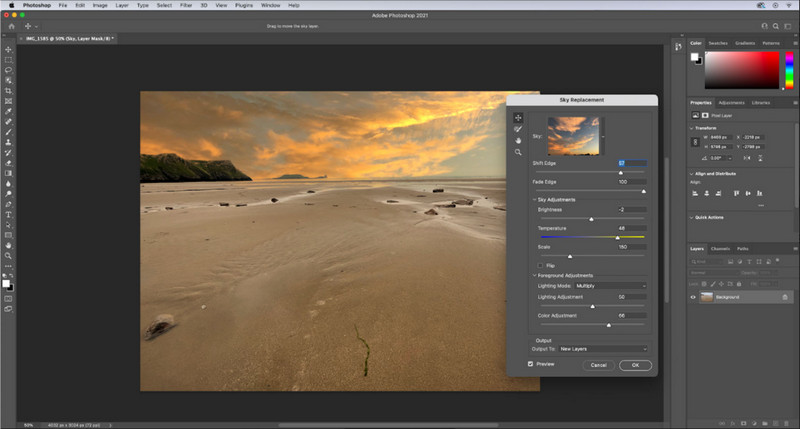
Adobe Photoshopは、画像編集とアップスケーリングで新たな次元の体験を提供してくれるソフトですが、ここではアップスケール機能に絞って詳しく説明します。このツールが画像編集においてプロ御用達といわれるのも、その没入感のある編集機能ゆえでしょう。また、このツールでは、蓄積されたアルゴリズムを利用して画像をアップスケールする際に、新しいPPI情報を画像に付与します。そのため、4K解像度に変更しても、画像が引き伸ばされてぼやけたり、ピクセルが目立ったりしにくくなっています。
ただし、このアプリが提供する無料試用版を既に使用している場合は、プランを購入する必要があります。料金を支払う必要がありますが、このソフトウェア全体は、プロおよび中級レベルの編集者が使用するのに優れています.初心者の方は、以下の手順で画像を 4k にアップスケールする方法を学ぶことができます。
手順1. Adobeの公式サイトからこのソフトの正式版をダウンロードします。すでにインストール済みの場合は、アプリを起動するだけで使用を開始できます。
手順2. アップスケールしたい画像を読み込むには、ファイル>開くをクリックします。画面にフォルダーが表示されるので、画像ファイル名を選択して[開く]を押し、画像を読み込みます。
手順3. 画面上部のメニューからイメージをクリックし、画像解像度(Image Size)を選択します。
手順4. ダイアログボックスが表示されるので、画像の高さ、幅、解像度の数値を調整します。
より滑らかな仕上がりにするには、再サンプル(Resample)のチェックボックスをオンにし、ドロップダウンボタンをクリックします。自動ではなくBicubic Enlargement(バイキュービック法(拡大))を選択してください。これは画像の拡大結果をより良くするための方式です。設定を終えたらOKをクリックして、変更した調整を適用します。
手順5. 4Kにアップスケールした画像を書き出すには、ファイルから保存を選択します。
関連記事:
Photoshopで動画にウォーターマークを素早く追加するシンプルガイド
パート 4. 画像を 4k にアップスケールする方法に関する FAQ
画像を 4k にアップスケーリングする際に制限はありますか?
従わなければならない制限があります。たとえば、モニターが 1080p しか処理できない場合は、追加するアップスケーリングが有効にならないため、4k ではなく標準の 1080p サイズを使用することをお勧めします。
4k にアップスケーリングした後、画像は良くなりますか?
奇跡が起こるとは思わないでください。しかし、4k テレビなどの正しいディスプレイで画像を開くと、結果が得られることがわかります。
4k TV で表示した後、画像がぼやけるのはなぜですか?
サイズと PPI が使用しているデジタル テレビの規格 (特に 4k) を満たしていない場合、画像が引き伸ばされる傾向があります。ここで追加するアプリケーションを使用して画像を 4k 解像度にアップスケールすると、これを防ぐことができます。
結論
通常、画像を 4k 解像度に調整するには、4k 画像アップスケーラーが必要です。ここに追加したツールとチュートリアルを使用すると、簡単に実行できます。オンライン サービスを使用して、必要な画像をアップスケールすることができます。その結果に驚かれることでしょう。
-
 オンラインとオフラインでの古い写真の復元 [簡単な手順]
 古い写真を復元したいですか?これらのツールを使用すると、古い写真の復元プロセスがわかります。この投稿を読んで、最も簡単な方法を学びましょう。
-
 使用する必要のあるすべてのWebブラウザ用の上位7ピクセルエンハンサー
 最適なピクセル エンハンサーを知りたい場合は、この投稿をご覧ください。この記事では、すべての Web ブラウザーに最適な 7 つの写真ピクセル エンハンサーを一覧表示します。
-
 最高のフォトリサイザーアプリオンライン、オフライン、Android、iPhone
 最高の写真サイズ変更アプリは何ですか?ページをクリックして、ファイルの補正やサイズ変更に使用できる最も強力な写真リサイズ アプリのトップ 5 を確認してください。