


如何在圖上有效去除原圖中的水印
當你需要為過於複雜而難以以文字表達的數學或科學資料建立範本時,可能就得使用 Origin Graph。這款軟體已經幫助過學生、研究人員、教授、商務人士以及其他需要自行製作圖表的人。有了它所提供的一系列範本可供選擇,你可以輕鬆製作出具有視覺吸引力、能抓住觀看者目光的圖表。但若你使用免費版本,很可能會遇到的問題是:在輸出的最終成品上會加上文字浮水印。處理浮水印讓你感到困擾嗎?別擔心!我們幫你想好了對策。接下來,我們將介紹一些有效的小技巧,教你如何移除 Origin Graph 的浮水印,之後就能將圖表用在你的 Word 或 PowerPoint 簡報中。

第 1 部分。如何使用在線圖像水印去除器從原始圖中刪除水印
FVC 線上免費浮水印去除工具是一款一流的文字浮水印去除工具,可以用來清除 Origin Graph 圖表上的浮水印。此工具在移除圖片中任何物件方面效率極高,一旦去除浮水印,就能讓圖片顯得更專業。有了它,我們可以向你保證,這是一款值得依賴、專門用來去除浮水印的工具,在面臨這類問題時非常好用。你在想這個工具是否容易上手嗎?別擔心!因為下方提供的步驟,就是你可以依照操作,來去除 Origin Graph 加在圖片上的文字浮水印。
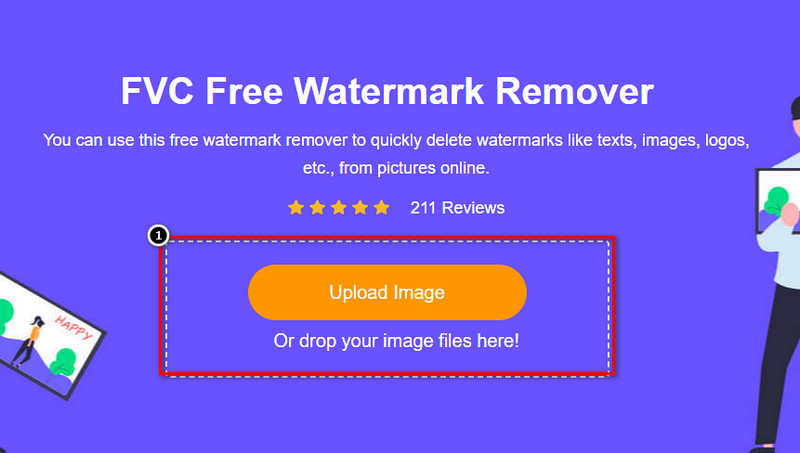
步驟 1. 點擊此連結開啟線上圖片浮水印去除工具;它會直接在新分頁中開啟,讓你能存取這個工具。
步驟 2. 按下Upload Image(上傳圖片)來新增含有浮水印的照片,在資料夾中找到該照片檔案後,點擊Open(開啟)即可成功上傳。
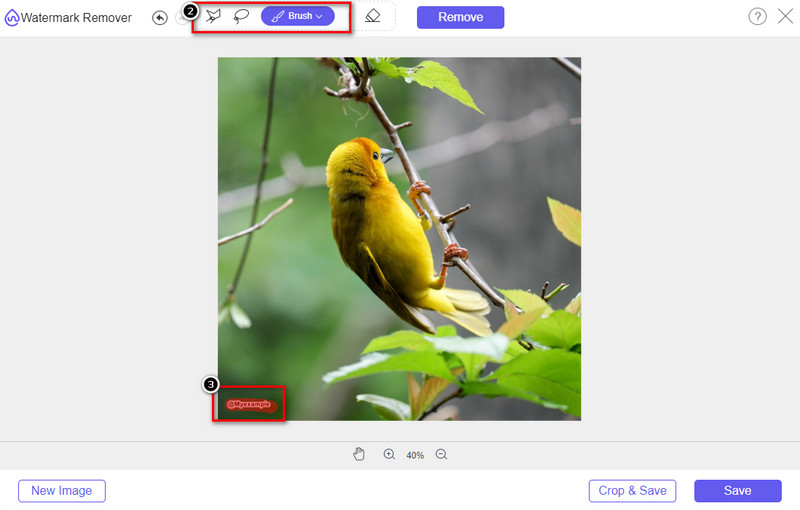
步驟 3. 你可以使用三種工具來標記浮水印區域;雖然它們的操作方式不同,但去除效果同樣出色。選擇其中一種工具,然後在圖片上將含有浮水印的區域標示出來。
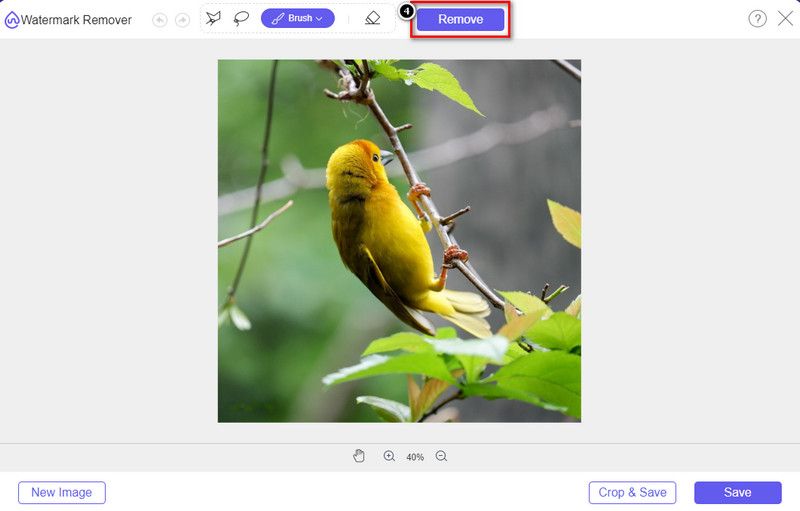
步驟 4. 在用工具標註浮水印後,務必點擊Remove(移除)圖示。這個步驟非常關鍵,如此一來在匯出圖片時,才能得到沒有浮水印的版本。
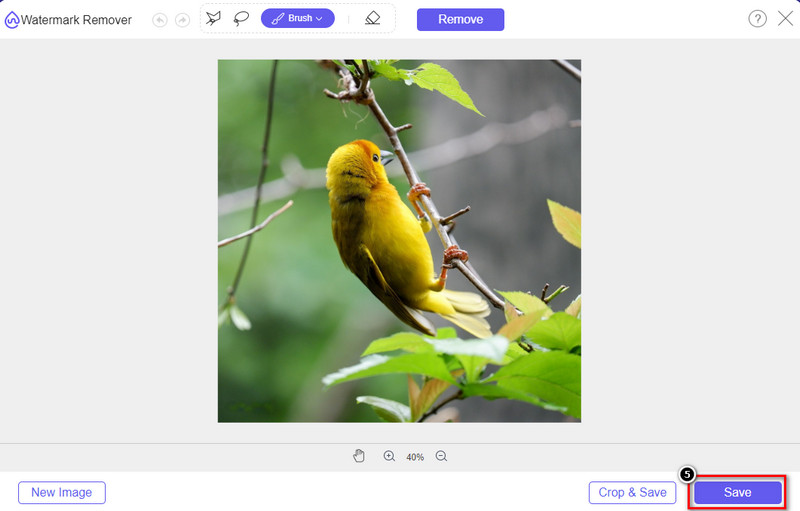
步驟 5. 要開始匯出程序時,就可以點選Save(儲存)按鈕。稍候片刻,處理完成後,你就能檢視已經看不到 Origin Graph 浮水印的圖片。
優點
- 您可以訪問的免費的基於網絡的圖像水印去除器。
- 它在 AI 技術支持下有效去除水印。
- 它支持您在本地驅動器上可能擁有的各種圖像格式。
- 導出的圖像不添加水印。
缺點
- 需要互聯網連接才能運行。
- 它的重點是去除水印,僅此而已。
第 2 部分。 如何將圖形從 Origin 複製到 Word 或 PowerPoint 沒有水印
在本文的這一部分中,我們將為您提供在沒有水印的情況下在 Origin Graph 上添加您創建的圖形所需了解的過程。按照它相應地添加您在 Microsoft Word 和 PowerPoint 上製作的無水印圖表。
由於文件很大,您至少需要釋放 1.9GB。在 1.9GB 的文件中,你可以得到你需要的幫助,但如果你不需要幫助,你可以通過 .zip 或 .exe 下載它的 652 MB 版本。
如何在沒有水印的原始圖上創建圖的步驟:
步驟 1. 首先前往官方網站,下載適用於你作業系統的 Origin Graph。下載完成後開啟程式,開始建立你想要的圖表。
步驟 2. 啟動軟體後,輸入你所需的表格數值。你也可以在這裡新增更多變數以及對應數量的圖表。
補充: 你可以點擊Plot來檢視其他可用的圖表類型,例如 Basic 2D、Bar、Statistical 等。
步驟 3. 點擊「File(檔案)」選單,然後按下Save(儲存),將你在此建立好的圖表匯出。
步驟 4. 接著可依照我們在第一部分提供的步驟,利用 FVC 線上免費浮水印去除工具,依教學說明來移除 Origin Graph 圖表上的浮水印。
如何在沒有水印的 Word 上使用圖形:
步驟 1. 在桌面開啟 Word 應用程式,然後點選「空白文件」。若你已經建立好要使用的 Word 文件,則直接開啟該檔案。
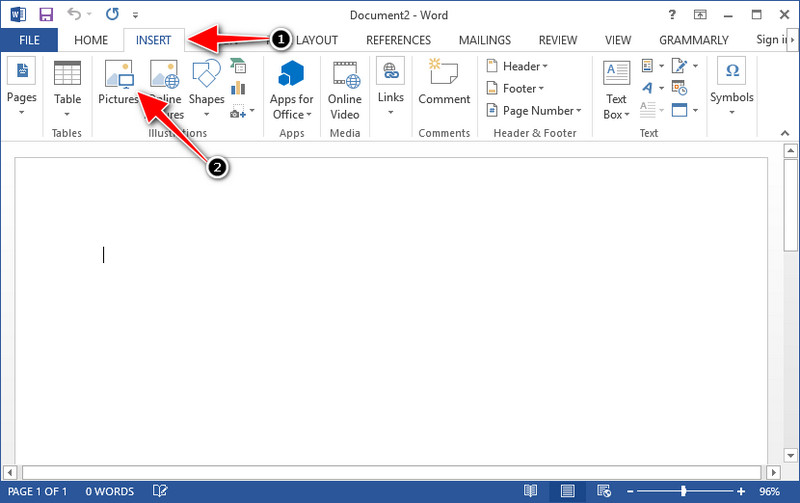
步驟 2. 前往插入功能區,接著點選圖片。在本機磁碟中搜尋剛才的圖表檔案,點選一次後按下「開啟」,即可將其插入 Word。
步驟 3. 圖表會自動載入到你開啟或建立的 Word 文件中;你可以按住並拖曳圖表,將它放到文件中你想要的位置。
如何在沒有水印的 Powerpoint 上使用圖表:
步驟 1. 在電腦上啟動 PowerPoint,並點擊「空白簡報」。你也可以從左側檢視最近建立的簡報。如果有需要插入圖表的檔案,直接點選開啟即可。
步驟 2. 按下插入,再點選圖片,插入你在 Origin Graph 中建立的圖表圖片。

步驟 3. 調整圖表圖片的大小與位置,將其安置在投影片上合適的位置。
延伸閱讀:
第 3 部分。關於如何從源圖中刪除水印的常見問題解答
Origin Pro 多少錢?
對於個人用戶,您可以從 $435 開始獲得 Origin Graph 的高級版本。您可以在 Origin Lab 上訪問其官方商店。
我在哪裡可以正式下載 Origin Graph?
訪問 Origin Lab 以下載 Origin Graph。在您將軟件下載到桌面之前,它會詢問問題。之後,將有兩個選項來下載文件,如果您想在幫助或不幫助下下載文件,則以 .exe 或 zip 的形式。
Excel和Origin是一樣的嗎?
Excel 和 Origin 具有類似電子表格的 GUI,用於排列數據、計算和定義標籤。但是,Excel 確實專注於包含您可以使用的許多列和行。但是對於 Origin,它用於排列使用列公式而不是 Excel 支持的單元格公式的屬性。
結論
現在您已經學會瞭如何從 Origin Graph 中刪除水印,現在是時候使用您創建的圖表並專業地展示它了。如果您的目的是在 Word 或 Powerpoint 上使用它,您可以閱讀第 2 部分以了解如何操作。到目前為止,想要去除圖像上的水印的人最想要使用此工具去除水印。這個工具解決了這個問題。如果本文對您有所幫助,請在下方留下 5 星。
-
 Pixlr去除水印的詳細步驟[有效]
 想知道如何使用 Pixlr 去除水印?如果是這樣,請繼續閱讀下文以了解如何操作以及您可以使用的替代方法。
-
 使用 3 種經過驗證的方法刪除導出視頻上的 Annotica 水印
 您有沒有想過是否可以刪除您導出的視頻上的動畫水印?本文提供了一個操作方法。
-
 刪除視頻上 VideoShop 水印的免費方法 [毫不費力]
 要刪除 VideoShop 水印,您的設備將需要一個水印去除器。要了解這些是什麼,請閱讀本文。