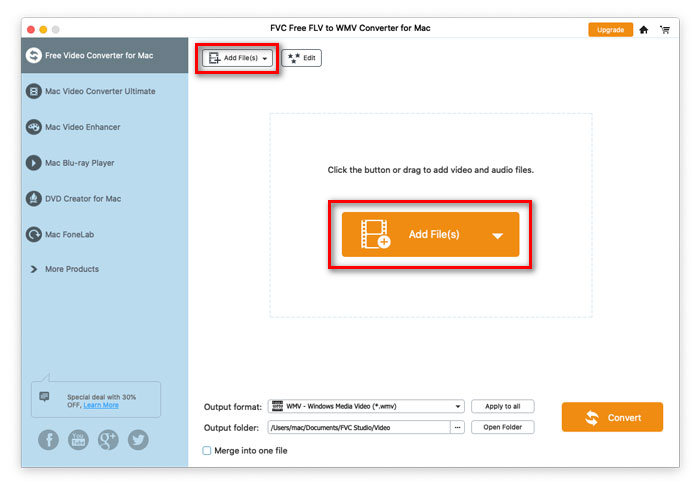
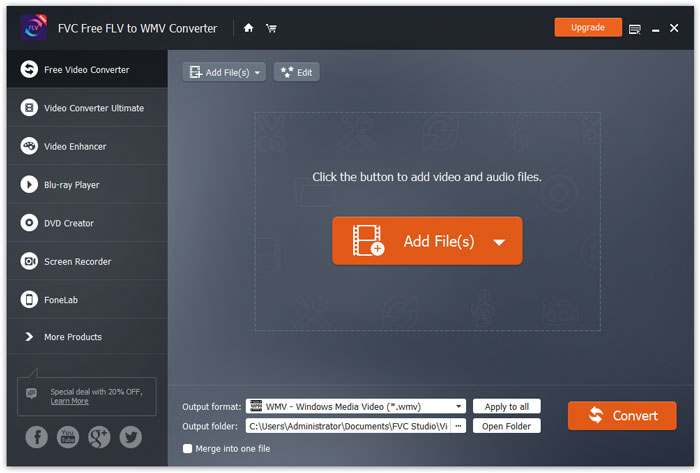
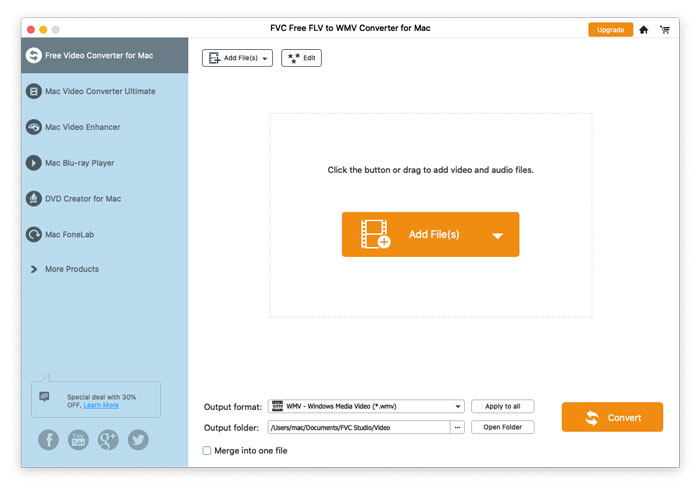
FVC Free FLV to WMV Converter is designed to convert FLV file to WMV without hassle. Users can export WMV video from FLV and other popular video formats like MP4, MKV, TS, VOB, MOV, AVI, etc. In this tutorial, we will help you grasp the program details and start converting FLV to WMV files.
Step 1. Open the Home Page on your computer and click Free Download button.
Step 2. Double-click the installation package to start installing. Follow the instructions to install FVC Free FLV to WMV Converter on your computer.
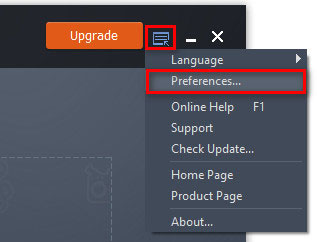
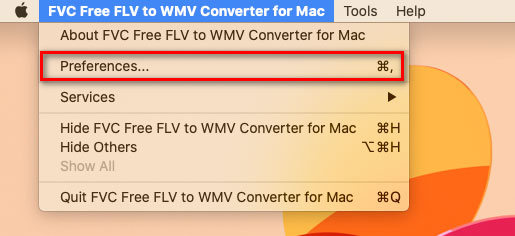
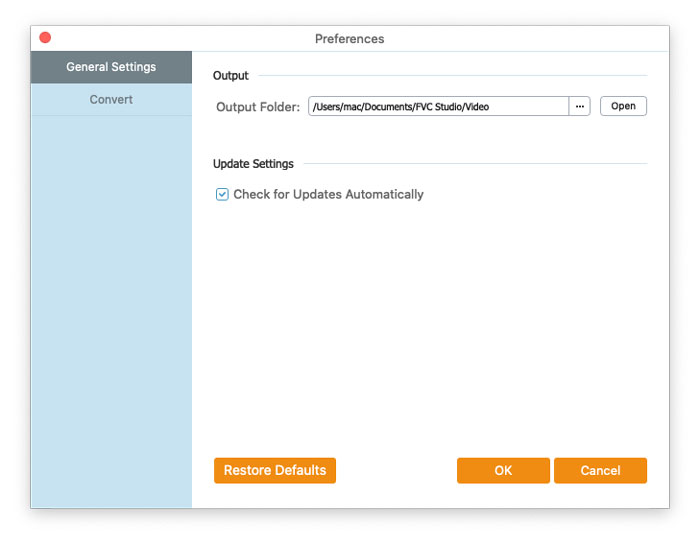
You can adjust preferences on Free FLV to WMV Converter and enjoy using it at your convenience. To edit the preferences, you can launch the software, go to Menu and select Preferences... It provides 2 sections where you can choose your preferences.
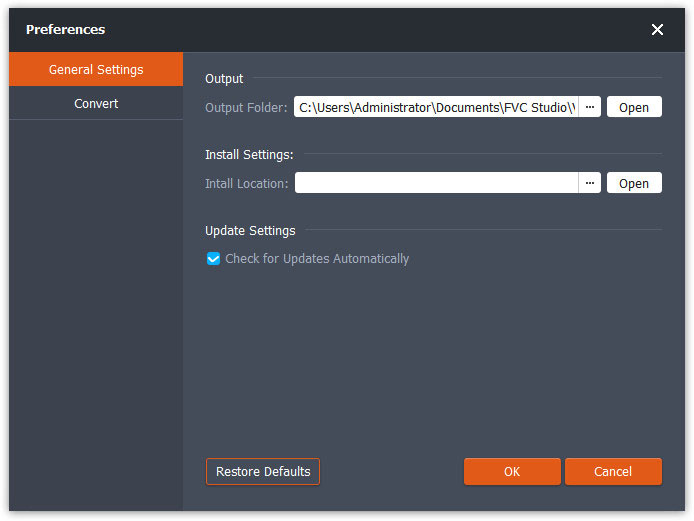
General Settings: You can adjust the output folder, installation settings, and update settings.
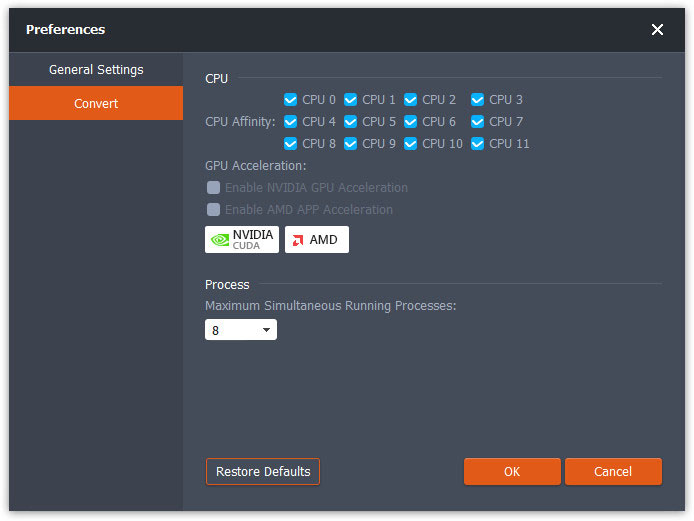
Convert: The GPU acceleration can speed up the conversion. You can select CPU affinity, and set the maximum number for the simultaneous running processes.
FVC Free FLV to WMV Converter is designed to convert FLV file to WMV without hassle. Users can export WMV video from FLV and other popular video formats like MP4, MKV, TS, VOB, MOV, AVI, etc. In this tutorial, we will help you grasp the program details and start converting FLV to WMV files.
Step 1. Open the Home Page on your computer and click Free Download button.
Step 2. Double-click the installation package to start installing. Follow the instructions to install FVC Free FLV to WMV Converter on your computer.
You can adjust preferences on Free FLV to WMV Converter and enjoy using it at your convenience. To edit the preferences, you can launch the software, go to Menu and select Preferences... It provides 2 sections where you can choose your preferences.
General Settings: You can adjust the output folder, installation settings, and update settings.
Convert: The GPU acceleration can speed up the conversion. You can select CPU affinity, and set the maximum number for the simultaneous running processes.

Copyright © 2024 FVC Studio. All rights reserved.