


So optimieren Sie Bilder für das Web mit den 4 Lösungen [schnell]
Die Optimierung von Bildern spielt im Web eine entscheidende Rolle, da sie die Ladezeit einer Website reduziert. Aktuellen Studien zufolge verlassen fast die Hälfte der Besucher eine Website sofort, wenn Bilder nicht gut optimiert sind – mit Einbußen bei Traffic und Umsatz als Folge. Es ist daher nötig zu lernen, wie man Bilder optimiert, wenn du Pufferzeiten verringern, eine zuverlässige Website aufbauen, mehr Besucher anziehen und dadurch höhere Einnahmen erzielen möchtest. Das ist einfach umzusetzen; mit Hilfe der Anleitung, die wir dir in unserem Tutorial zur Optimierung von Bildern für das Web auf möglichst einfache Weise zur Verfügung stellen.

Teil 1. Die besten und kostenlosen Möglichkeiten, Bilder online zu optimieren, ohne die Bildqualität zu beeinträchtigen
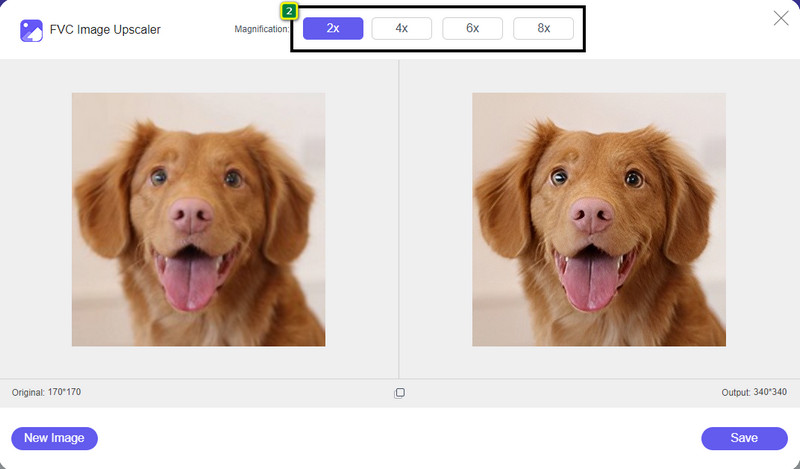
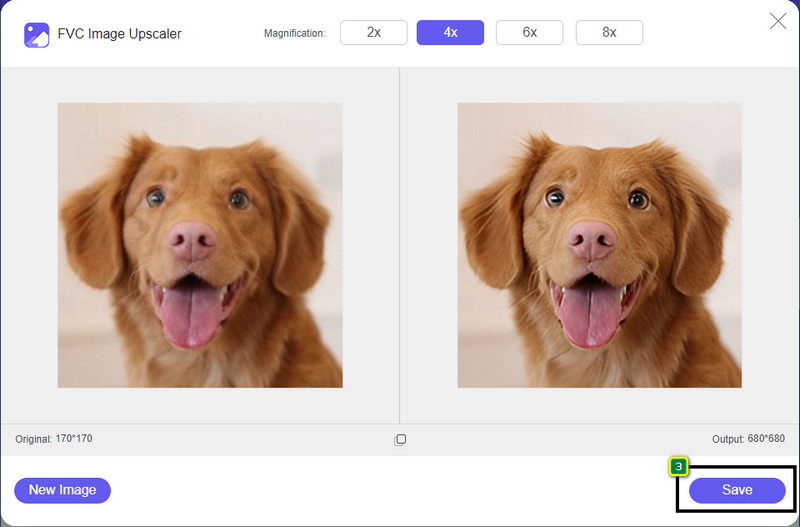
1. FVC-freier Bild-Upscaler
Suchst du nach einer Möglichkeit, die Abmessungen und das Seitenverhältnis des Bildes zu optimieren, das du im Web verwenden möchtest? Der FVC Free Image Upscaler ist ein Tool, das mithilfe leistungsstarker KI-Technologie Bilder optimieren kann. Dieser Upscaler kann die Größe eines Bildes verändern, ohne seine detaillierte PPI zu beeinträchtigen, sodass du keinen Qualitätsverlust bemerkst. Außerdem kann dieses Online-Tool unscharfe oder pixelige Bilder korrigieren, indem es deren Unvollkommenheiten nachzeichnet. Bevor du das Bild exportierst, gibt es ein Vorschaufenster, in dem du Vorher und Nachher vergleichen kannst. Wenn du also ein Bild für das Web in der Größe anpassen musst, kannst du die folgenden Schritte befolgen.
Schritt 1. Öffne die Website, indem du auf diesen Link klickst.
Schritt 2. Klicke auf Upload Image, um das Bild einzufügen, dessen Größe du ändern möchtest.
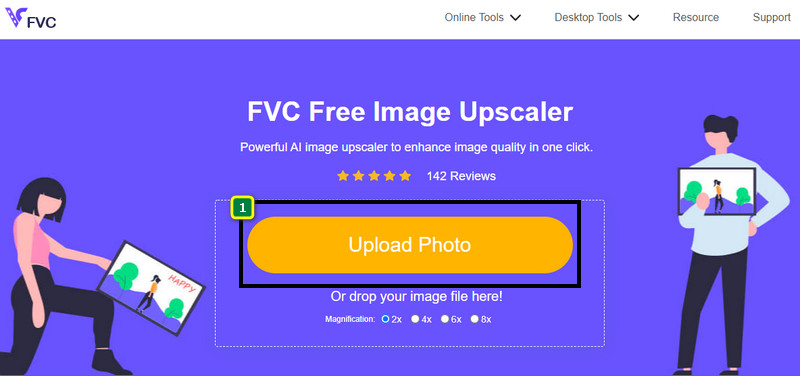
Schritt 3. Wähle die Option aus, die du auf dein Bild anwenden möchtest, um es in der Größe anzupassen.
Schritt 4. Klicke auf Save, um das von dir skalierte Bild auf deinem lokalen Laufwerk herunterzuladen.
2. FVC-freier Bildkompressor
Der FVC Free Image Compressor ermöglicht es jedem, Bilder für das Web zu optimieren, indem die Dateigröße verringert wird. Er erlaubt dir, gängige Formate zu komprimieren, die auf verschiedenen Websites verwendet werden, wie PNG, JPG, SVG, BMP usw., jeweils mit weniger als 5 MB. Damit kannst du mehrere Bilder auf eine optimierte Größe bringen, sodass sie im Web schneller laden. Es handelt sich um ein KI-basiertes Tool, das ein bestmögliches Kompressionsverhältnis bietet, das du mit anderen Online-Kompressoren nicht erreichst.
Schritt 1. Besuche die offizielle Website des Tools, indem du nach seinem Namen suchst, oder klicke auf diesen Link, um über deinen Webbrowser darauf zuzugreifen.
Schritt 2. Drag and drop die Bilddatei, die du hier hochladen möchtest, oder klicke auf Upload Images; ein Ordner wird auf deinem Bildschirm angezeigt, klicke auf die Datei, die du komprimieren möchtest, und dann auf Open. Dieser Kompressor kann mehr als 40 Bilder gleichzeitig verkleinern.
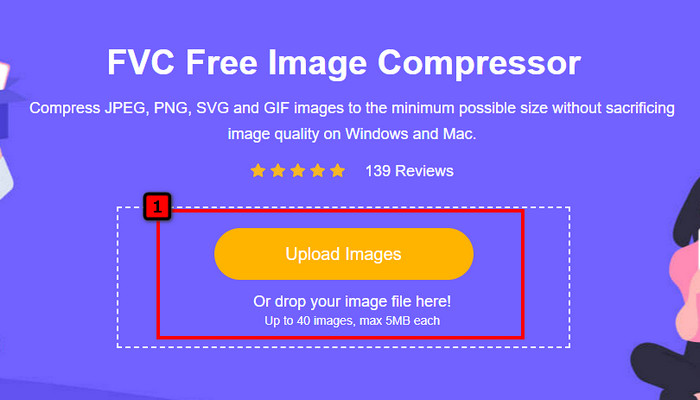
Schritt 3. Das Tool verkleinert die Dateigröße des Bildes automatisch anhand des KI-Algorithmus. Klicke danach auf Download, um die komprimierte Version des Bildes zu exportieren.

3. TinyPNG
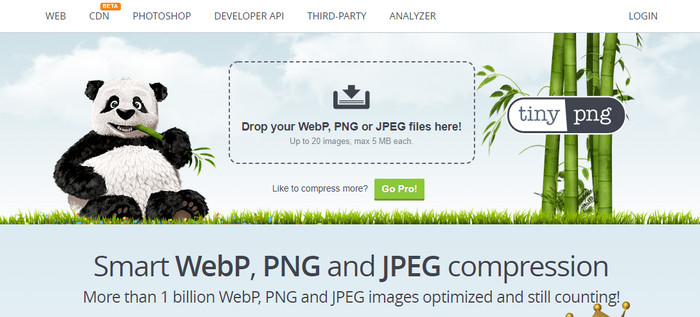
TinyPNG ist eine bekannte und zuverlässige Software, mit der du Bilder online optimieren kannst. Es ist ein Kompressor, der die Bildgröße automatisch auf bis zu 75% der ursprünglichen Dateigröße verringert. Du kannst die Bilder auch aus deinem Dropbox-Konto hochladen, wenn sie nicht auf deinem lokalen Laufwerk gespeichert sind. Du wirst keine Schwierigkeiten haben zu lernen, wie man diesen Bildkompressor benutzt, da die Entwickler ihn sehr einfach aufgebaut haben.
Obwohl es einfach zu verwenden ist, sind die unterstützten Formate hier nur PNG und JPG, und es gibt nichts anderes. Wenn Sie also Ihre BMP-, GIF-, SVG- und weitere Dateien komprimieren möchten, können Sie dies hier nicht tun, da das genannte Format nicht unterstützt wird. Trotzdem ist dies einfach zu bedienen; Sie können den Schritten folgen, die wir hinzufügen.
Schritt 1. Öffne deine Suchmaschine und suche nach der offiziellen Website von TinyPNG.
Schritt 2. Klicke auf das Import-Symbol, um das Bild hochzuladen, das du komprimieren möchtest; dieses Tool kann 20 Bilder gleichzeitig verarbeiten.
Schritt 3. Warte, bis der Komprimierungsvorgang abgeschlossen ist, und klicke dann auf die Schaltfläche „Download“, um die komprimierte Version des hier hochgeladenen Bildes zu speichern.
Teil 2. Optimieren Sie das Bild offline mit der professionellen Software unter Windows und Mac
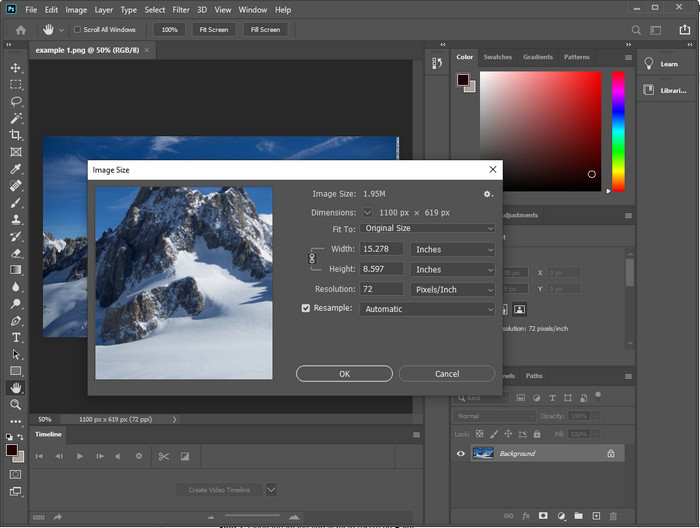
Photoshop ist in der Lage, beide Aufgaben zu erledigen, die wir im ersten Teil erwähnt haben: Größenänderung und Verkleinerung von Bildern. Obwohl dieses Tool nicht speziell für diese Aufgabe entwickelt wurde, kann es sie dennoch im Rahmen seiner zusätzlichen erweiterten Funktionen ausführen. Damit kannst du beginnen, Filter hinzuzufügen oder das Bild nach deinen Vorstellungen zu bearbeiten. Die einzige Grenze ist deine Vorstellungskraft und wie schwierig dieses Programm zu bedienen ist.
Im Gegensatz zu dem von uns erwähnten Online-Tool benötigen Sie keine Internetverbindung, um diese Software zu verwenden, sobald Sie sie auf Ihr Gerät heruntergeladen haben. Sie müssen jedoch die Software kaufen, um sie zu verwenden. Wenn Sie also sehen möchten, wie Sie das Bild für das Web in Photoshop optimieren, fügen wir unten eine Anleitung hinzu, mit der Sie das Bild verkleinern und in der Größe ändern können.
Schritt 1. Lade die Software herunter und starte sie auf deinem Desktop, um sie zu verwenden.
Schritt 2. Lade das Bild hoch, das du bearbeiten möchtest, gehe dann zum Menü Image und klicke auf Image Size. Ändere die Maße gemäß deinen Vorgaben und klicke anschließend auf OK, um die Änderungen zu speichern. Wenn du das Seitenverhältnis oder die Abmessungen des Bildes nicht verändern möchtest, überspringe Schritt 2.
Schritt 3. Öffne das Menü File und klicke auf Save as. Ein Dialogfeld erscheint auf deinem Bildschirm. Wähle die gewünschte Dateigröße und klicke dann auf OK, um den Export des Bildes zu starten.
Teil 3. Häufig gestellte Fragen zur Bildoptimierung für das Web
Was ist das beste Bildformat für das Web?
Verwenden Sie besser ein Bild mit der Erweiterung PNG und JPG, da diese Formate bekanntermaßen auf verschiedenen Websites gut optimiert sind. Manchmal müssen Sie es jedoch optimieren, indem Sie das Bild verkleinern oder in der Größe ändern. Hier kam uns das hier hinzugefügte Tool zu Hilfe.
Was mehr Details im Web bringt; PNG oder JPG?
Beide Rasterbilder funktionieren auf der Website gut; sie laden schneller und optimieren Websites. Dennoch gibt es Unterschiede zwischen diesen beiden Formaten, z. B. wenn Sie reine Fotografie ohne Transparenz für das Web verwenden möchten, muss Ihr Go-to-Format JPG oder JPEG sein. Aber wenn Sie die 1-Bit-Transparenz in Ihrem Web mit vielen Details haben möchten, ist PNG hier, um Ihnen zu helfen.
Verschlechtert die Änderung der Bildgröße die Qualität?
Wenn du ein Bild zu stark komprimierst, kann die Qualität stark leiden, was sich jedoch vermeiden lässt, wenn du nicht überkomprimierst. Wenn du ein Bild komprimierst, ist es besser, die Dateigröße nur um etwa 45% bis 70% zu verringern, um Qualitätsverluste zu vermeiden. Du kannst aber auch einen Bildverbesserer verwenden, um die Bildqualität zu erhöhen.
Fazit
Jetzt, da Sie wissen, wie Sie Ihr Image optimieren können, tun Sie es besser, damit Sie mehr Besuche erhalten und viel Aufmerksamkeit erregen. Mit dem oben hinzugefügten Tutorial sind wir sicher, dass Sie es einfach und schnell tun können, ohne die Qualität zu beeinträchtigen. Wenn Sie die Größe ändern oder komprimieren müssen, empfehlen wir Ihnen, das hier enthaltene FVC-Produkt zu verwenden, um das Problem zu lösen, ohne ein Installationsprogramm herunterzuladen.
-
 Machen Sie Photo HD mit den besten Möglichkeiten, die Sie auf dem Markt finden können
 Fragen Sie sich oder möchten Sie Fotos in HD machen? Sie können dem unten hinzugefügten Tutorial mit verschiedenen Lösungen folgen, die Sie verwenden können.
-
 Die 4 besten Bildqualitätsreduzierer, die Sie online und offline verwenden können
 Diese Bildqualitätsreduzierer können Ihnen aus bestimmten Gründen dabei helfen, die Qualität Ihres Bildes zu reduzieren. Wenn Sie einen brauchten, lesen Sie diesen Artikel!
-
 Offizielle Methoden zum Hochskalieren von Bildern auf 4k mit einem praktischen Tutorial
 Um das Bild auf 4k hochzuskalieren, benötigen Sie eine Software auf Ihrem Gerät. Wenn Sie keins haben, müssen Sie das Tool auswählen, das wir hier enthalten.