


Comment supprimer efficacement le filigrane du graphique d'origine sur le graphique
Vous pourriez avoir besoin d’utiliser Origin Graph pour créer un modèle à partir de données mathématiques ou scientifiques trop complexes pour être décrites avec des mots. Ce logiciel a déjà aidé des étudiants, des chercheurs, des professeurs, des professionnels du monde des affaires et d’autres personnes qui ont besoin de créer leurs propres graphiques. Grâce à son ensemble de modèles parmi lesquels vous pouvez choisir, vous pouvez réaliser un graphique attrayant qui captera l’attention des spectateurs. Le problème que vous risquez de rencontrer avec la version gratuite est qu’elle ajoute un filigrane texte sur le résultat final. Vous avez du mal à gérer ce filigrane ? N’en dites pas plus ! Nous avons la solution pour vous. Ici, nous allons présenter des conseils utiles pour supprimer le filigrane d’Origin Graph et ensuite l’utiliser dans vos présentations Word ou PowerPoint.

Partie 1. Comment supprimer le filigrane du graphique d'origine avec le dissolvant de filigrane d'image en ligne
FVC Free Watermark Remover Online est un excellent effaceur de filigrane texte que vous pouvez utiliser pour éliminer le filigrane d’Origin Graph. Cet outil est l’un des plus efficaces pour supprimer tout objet sur vos images afin de les rendre encore plus professionnelles une fois le filigrane retiré. Avec lui, nous pouvons vous assurer qu’il s’agit d’un outil spécialement conçu pour la suppression de filigranes, sur lequel vous pouvez compter lorsque ce problème se présente. Vous vous demandez si cet outil est facile à utiliser ? N’en dites pas plus ! Car les étapes ci‑dessous sont précisément celles que vous pouvez suivre pour vous débarrasser du filigrane texte ajouté à l’image par Origin Graph.
Étape 1. Vous pouvez cliquer sur ce lien pour ouvrir l’outil de suppression de filigrane d’image en ligne ; un nouvel onglet s’ouvrira directement et vous donnera accès à l’outil.
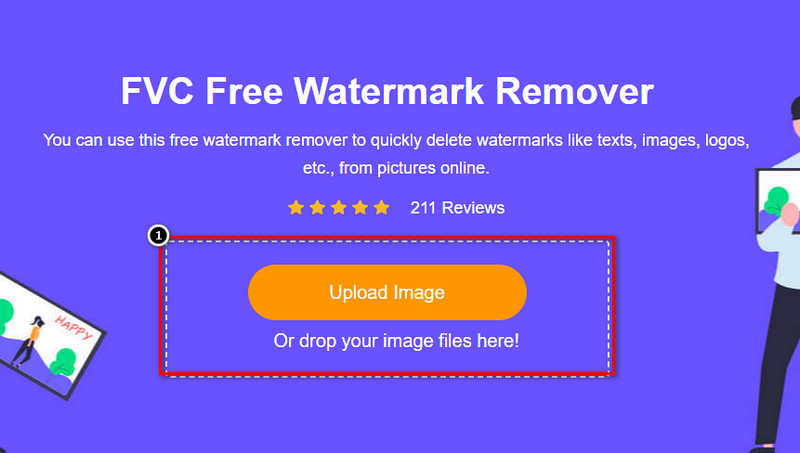
Étape 2. Appuyez sur Upload Image pour ajouter ici la photo contenant un filigrane, repérez le fichier image dans votre dossier, puis cliquez sur Open pour l’importer avec succès.
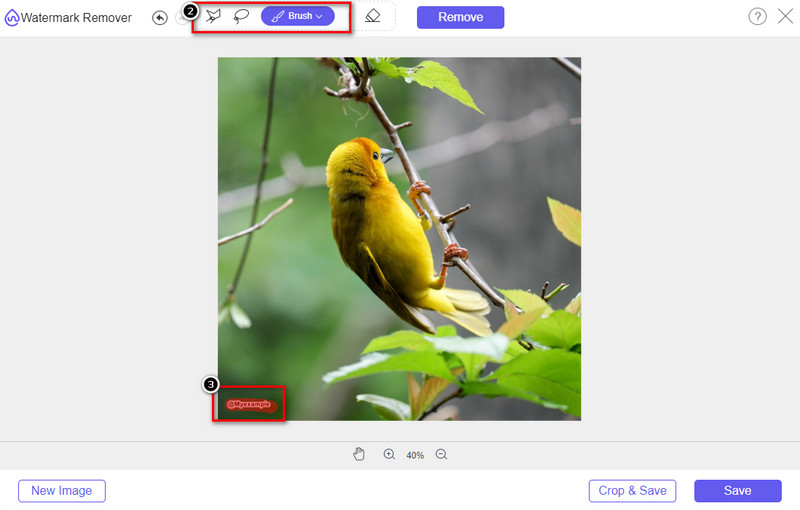
Étape 3. Vous pouvez utiliser trois outils pour surligner le filigrane ; même s’ils fonctionnent différemment, leur efficacité est la même. Choisissez un outil, puis mettez en surbrillance la zone de l’image qui contient le filigrane.
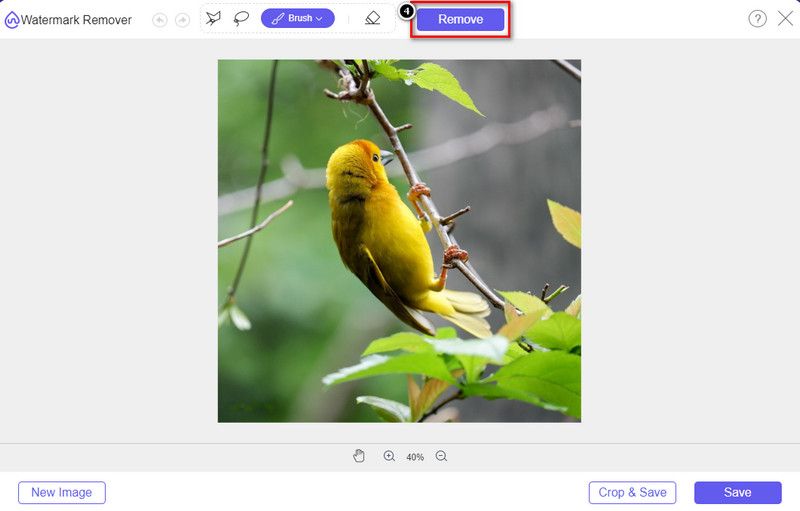
Étape 4. Assurez‑vous de cliquer sur l’icône Remove après avoir surligné le filigrane avec l’outil. Cette étape est essentielle pour que, lors de l’exportation de l’image, vous l’obteniez sans le filigrane.
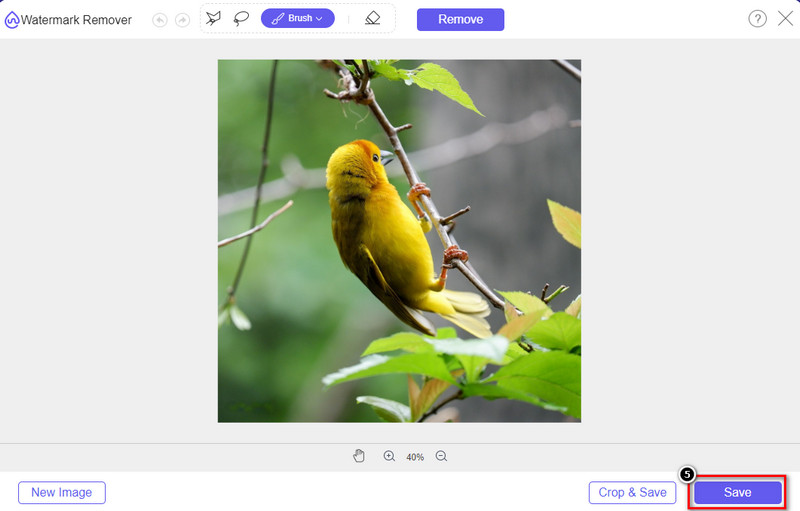
Étape 5. Pour lancer le processus d’exportation, vous pouvez maintenant cliquer sur le bouton Save. Patientez pendant le traitement, puis vous pourrez vérifier l’image : le filigrane d’Origin Graph ne sera plus visible dans la zone concernée.
Avantages
- Un outil de suppression de filigrane d'image gratuit sur le Web auquel vous pouvez accéder.
- Il fonctionne efficacement pour supprimer le filigrane avec le support AI-Technology.
- Il prend en charge une grande variété de formats d'image que vous pouvez avoir sur votre disque local.
- Aucun filigrane n'est ajouté sur les images exportées.
Les inconvénients
- Besoin d'une connexion Internet pour fonctionner.
- Son objectif est de supprimer le filigrane et rien d'autre.
Partie 2. Comment copier des graphiques d'origine vers Word ou PowerPoint sans le filigrane
Dans cette partie de l'article, nous vous donnerons la procédure à connaître pour ajouter le graphe que vous avez créé sur Origin Graph sans le filigrane. Suivez-le en conséquence pour ajouter le graphique que vous avez créé avec succès sur Microsoft Word et PowerPoint sans filigrane.
Vous devrez libérer au moins 1,9 Go en raison de sa taille de fichier énorme. Dans le fichier de 1,9 Go, vous pouvez avoir l'aide dont vous avez besoin, mais si vous ne voulez pas d'aide, vous pouvez en télécharger la version 652 Mo via .zip ou .exe.
Étapes pour créer un graphique sur le graphique d'origine sans le filigrane :
Étape 1. Téléchargez d’abord Origin Graph sur votre système d’exploitation en vous rendant sur son site officiel. Ouvrez l’outil pour commencer à créer le graphique que vous souhaitez.
Étape 2. Après avoir lancé le logiciel, ajoutez les valeurs du tableau dont vous avez besoin. Vous pouvez y ajouter davantage de variables et autant de graphiques que nécessaire.
Supplément : Vous pouvez cliquer sur Plot pour voir d’autres types de graphiques que vous pouvez utiliser, comme les graphiques 2D basiques, à barres, statistiques, et bien plus encore.
Étape 3. Cliquez sur File, puis appuyez sur Save pour exporter le graphique que vous avez créé ici.
Étape 4. Vous pouvez suivre les étapes indiquées dans la première partie et suivre le tutoriel pour supprimer le filigrane d’Origin Graph à l’aide de FVC Free Watermark Remover Online.
Comment utiliser le graphique sur Word sans filigrane :
Étape 1. Ouvrez l’application Word sur votre ordinateur, puis cliquez sur Page blanche. Si vous avez déjà créé des documents Word, ouvrez alors le fichier en question.
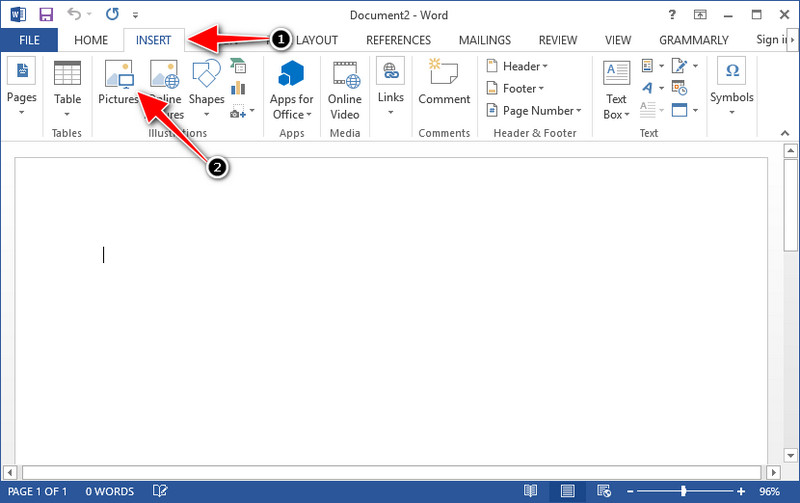
Étape 2. Allez dans l’onglet Insert, puis cliquez sur Pictures. Recherchez le fichier du graphique sur votre disque local, cliquez dessus une fois, puis appuyez sur Open pour l’importer dans Word.
Étape 3. Il se chargera automatiquement dans le document Word que vous avez ouvert ou créé ; vous pouvez maintenant placer le graphique en le faisant glisser et en le déposant dans le document.
Comment utiliser le graphique sur Powerpoint sans filigrane :
Étape 1. Lancez PowerPoint sur votre ordinateur et cliquez sur Présentation vierge. Vous pouvez également consulter les présentations récentes que vous avez créées sur la gauche. S’il y a le fichier dans lequel vous devez ajouter le graphique, cliquez dessus pour l’ouvrir.
Étape 2. Appuyez sur Insert puis cliquez sur Picture pour insérer l’image du graphique que vous avez créée dans Origin Graph.

Étape 3. Ajustez l’image du graphique et placez‑la sur la diapositive.
Pour aller plus loin :
Comment supprimer le filigrane B612 de vos images
Comment supprimer gratuitement le filigrane WOW Slider
Partie 3. FAQ sur la suppression du filigrane du graphique d'origine
Combien coûte l'Origin Pro ?
Pour les utilisateurs individuels, vous pouvez obtenir la version premium d'Origin Graph pour $435 à partir. Vous pouvez visiter sa boutique officielle sur Origin Lab.
Où puis-je télécharger officiellement Origin Graph ?
Visitez l'Origin Lab pour télécharger l'Origin Graph. Avant de pouvoir télécharger le logiciel sur votre bureau, il vous posera des questions. Après cela, il y aura deux options pour télécharger le fichier, si vous souhaitez le télécharger avec aide ou non, sous forme de .exe ou zip.
Excel et Origin sont-ils identiques ?
Excel et Origin ont une interface graphique de type feuille de calcul pour organiser les données, calculer et définir des étiquettes. Cependant, Excel se concentre sur le fait de contenir de nombreuses colonnes et lignes que vous pouvez utiliser. Mais avec Origin, c'est pour organiser les attributs qui utilisent une formule de colonne plutôt qu'une formule de cellule comme ce que supporte Excel.
Conclusion
Maintenant que vous avez appris à supprimer le filigrane d'Origin Graph, il est temps d'utiliser le graphique que vous avez créé et de le présenter de manière professionnelle. Si votre objectif est de l'utiliser sur Word ou Powerpoint, vous pouvez lire la partie 2 pour savoir comment le faire. La suppression du filigrane avec cet outil est de loin la plus recherchée par quiconque souhaite supprimer le filigrane sur les images. Le problème est résolu avec cet outil. Si cet article vous a aidé, veuillez laisser 5 étoiles ci-dessous.
-
 Comment supprimer un filigrane avec Pixlr en étapes détaillées [Effective]
 Vous voulez savoir comment supprimer un filigrane avec Pixlr ? Si tel est le cas, continuez à lire ci-dessous pour savoir comment procéder et les alternatives que vous pouvez utiliser.
-
 Supprimer le filigrane Animotica sur les vidéos exportées avec 3 méthodes éprouvées
 Vous êtes-vous déjà demandé s'il était possible de supprimer le filigrane Animotica sur les vidéos que vous avez exportées ? Cet article propose une marche à suivre.
-
 Des moyens gratuits pour supprimer le filigrane VideoShop sur les vidéos [sans effort]
 Pour supprimer le filigrane VideoShop, votre appareil aura besoin d'un dissolvant de filigrane. Pour savoir de quoi il s'agit, lisez cet article.