


Comment ralentir une vidéo sur iPhone facilement et rapidement avec les meilleures solutions
As-tu déjà regardé la cérémonie des Grammy Awards de ton artiste préféré et vu celui‑ci passer devant un GlamBot ? La plupart d’entre nous ont déjà vu à quel point cette machine peut créer de superbes images en moins d’une seconde, en capturant quelques mouvements puis en les mettant au ralenti. Malheureusement, tout le monde ne peut pas se permettre d’assister aux Grammy et d’y tourner une vidéo au ralenti avec le GlamBot, mais si tu es une célébrité, c’est une façon d’y accéder. Ne sois pas triste si tu ne peux pas utiliser le GlamBot, car tu peux tout à fait filmer et créer un ralenti de haute qualité sur ton iPhone. Alors, es‑tu prêt à tourner et à apprendre comment ralentir une vidéo sur iPhone pour qu’elle soit aussi impressionnante que la machine dont nous parlions ? Dans ce cas, cet article est fait pour toi.

Partie 1. Comment ralentir une vidéo sur iPhone avec les 3 meilleures applications de contrôleur de vitesse
iMovie
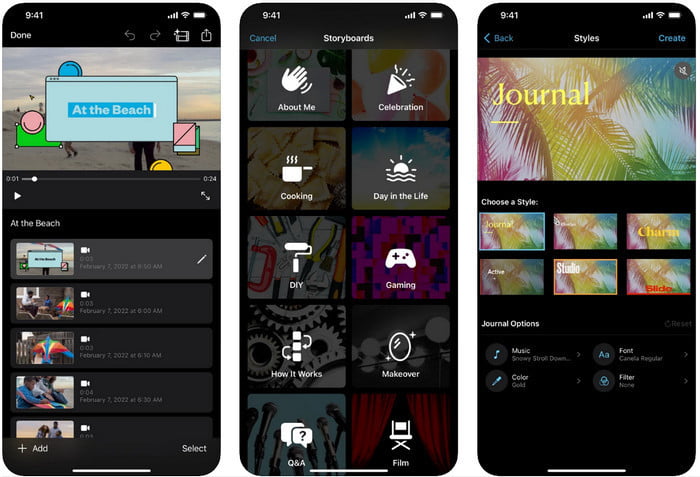
Étape 1. Appuie sur iMovie sur ton écran pour ouvrir l’app, puis appuie sur l’icône plus. Une nouvelle fenêtre s’affichera, te proposant deux options : clique sur Film.
Étape 2. Choisis la vidéo dans la liste qui s’affiche à l’écran et clique sur Créer un film pour continuer. Une fois la vidéo importée, clique sur l’icône en forme de horloge pour modifier la vitesse de ta vidéo, puis fais glisser le curseur vers la gauche pour la ralentir.
Étape 3. Une fois que tu as terminé de régler la vitesse de la vidéo, clique sur Terminé, puis sur Exporter pour l’enregistrer sur ton appareil.
Éditeur vidéo au ralenti rapide
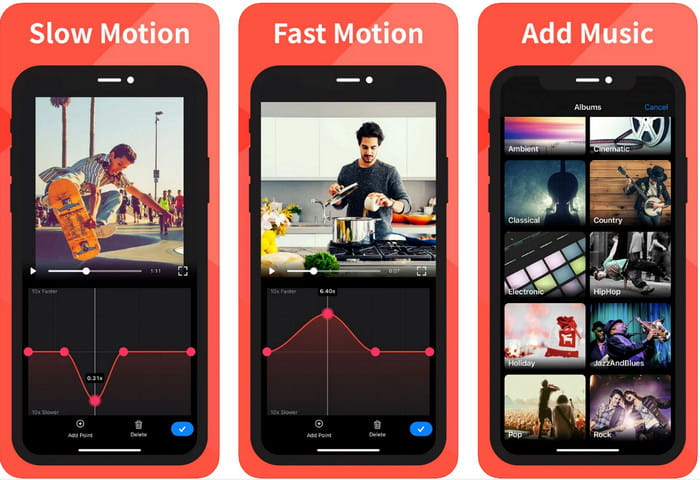
Slow Fast Motion Video Editor n’est pas aussi performant qu’iMovie pour rendre la vidéo magnifique, mais cette app permet de ralentir très facilement une vidéo sur iPhone. Grâce à son éditeur de vitesse multifonction, il y a peu de choses qu’elle ne peut pas faire, surtout pour accélérer. Que la vidéo soit en mode portrait ou paysage, l’app fonctionne dans les deux cas. Ainsi, apprendre à l’utiliser n’est pas compliqué, surtout si on la compare à d’autres contrôleurs de vitesse que tu peux télécharger sur ton appareil. Cependant, pour pouvoir utiliser l’app sur iOS, tu dois payer un abonnement ; elle propose toutefois un essai gratuit de 3 jours, mais avec des publicités partout durant cette période. Pour utiliser l’app, suis les étapes ci‑dessous.
Étape 1. Télécharge l’app, puis ouvre‑la sur ton appareil iOS et appuie sur Autoriser l’accès pour lui donner accès à tes Photos.
Étape 2. Sélectionne la vidéo sur ton appareil et appuie sur Afficher la sélection ; appuie sur Toutes les vidéos pour voir la vidéo que tu as importée, puis sur Sélectionner.
Optionnel : Tu peux rogner et couper la vidéo selon tes préférences en faisant glisser les têtes de lecture jusqu’à la longueur souhaitée. Mais si tu ne veux pas couper ni rogner, tu peux appuyer sur Ignorer ; appuie sur Suivant si tu as effectué des modifications.
Étape 4. Appuie sur le bouton Vitesse, règle chaque vitesse comme tu le souhaites et fais glisser vers le bas pour ralentir la vidéo. N’oublie pas que chaque point que tu déplaces ne ralentira qu’une portion précise de la vidéo, et non la vidéo entière. Appuie sur Valider et enregistrer pour exporter la vidéo dont tu as modifié la vitesse.
Slo-Mo : Créer une vidéo au ralenti
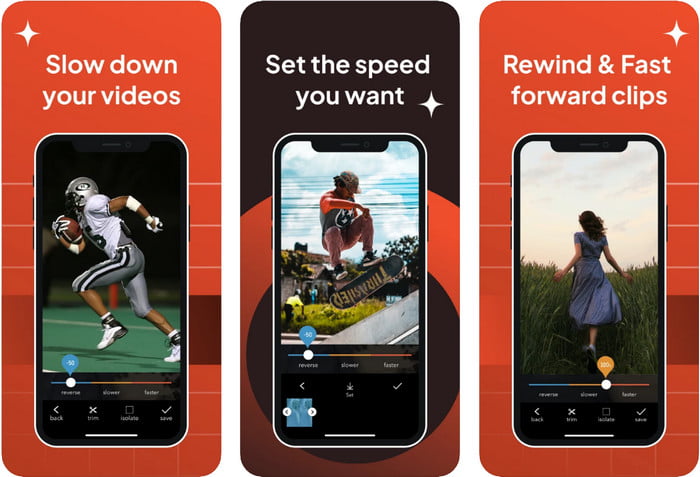
Slo-Mo: Make Slow Motion est une autre application dédiée que tu peux télécharger gratuitement sur iOS, avec des achats intégrés. Tout comme Slow Fast Motion Video Editor, tu devras t’abonner pour profiter pleinement de son potentiel. Même si un abonnement reste nécessaire, il en vaut la peine et ne coûte pas trop cher. Pour modifier la vitesse de lecture d’une vidéo, on peut dire que cet outil est particulièrement efficace dans ce domaine. Pour en savoir plus sur la façon de créer une vidéo au ralenti sur iPhone, lis le tutoriel ci‑dessous.
Étape 1. Pour télécharger l’app, rends‑toi sur l’App Store, télécharge‑la, puis ouvre‑la pour commencer à ralentir ta vidéo.
Étape 2. Appuie sur Bibliothèque, choisis la vidéo dont tu veux modifier la vitesse de lecture, puis appuie sur Choisir pour commencer.
Étape 3. Fais glisser le curseur vers la gauche pour ralentir ; clique sur Enregistrer lorsque tu es satisfait de la vitesse.
Partie 2. Contrôleur de vitesse vidéo haut de gamme disponible sur Windows et Mac
FVC Video Converter Ultimate propose le meilleur contrôleur de vitesse à utiliser pour les vidéos stockées sur Windows et Mac. Avec ses fonctions uniques pour accélérer les vidéos, si l’on compare ce logiciel aux autres applications mentionnées ici, l’écart est énorme entre un bon contrôleur de vitesse et un contrôleur ultime. En raison de sa prise en charge limitée des systèmes d’exploitation, tu ne peux pas télécharger ce logiciel sur iOS, car il n’est pas compatible. Néanmoins, il est toujours considéré comme un logiciel tout‑en‑un capable de résoudre tes problèmes audio et vidéo. Donc, pour apprendre comment mettre une vidéo iPhone au ralenti après l’avoir filmée, tu dois suivre et lire le tutoriel que nous ajoutons dans la partie suivante.
Étape 1. Pour obtenir ce logiciel de contrôle de vitesse ultime sur ton ordinateur, clique sur le bouton de téléchargement et choisis si tu utilises Windows ou Mac. Ensuite, clique sur le fichier téléchargé pour l’installer et le lancer.
Téléchargement gratuit pour Windows 7 ou version ultérieure Téléchargement sécurisé
Téléchargement gratuit pour macOS 10.7 ou version ultérieure - Téléchargement sécurisé
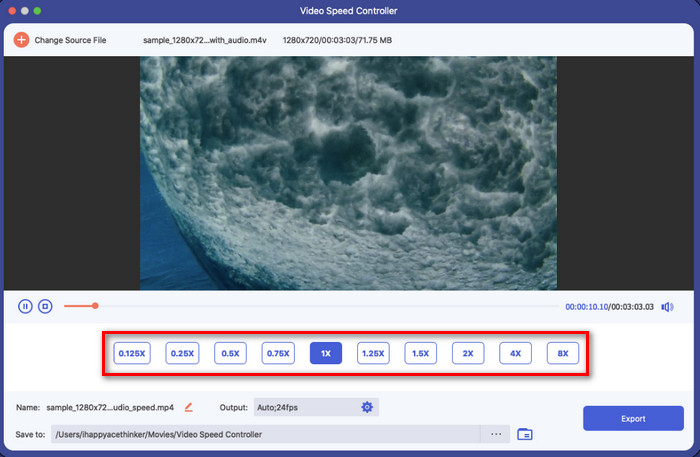
Étape 2. Va dans la Boîte à outils de cet outil pour accéder au Contrôleur de vitesse vidéo.
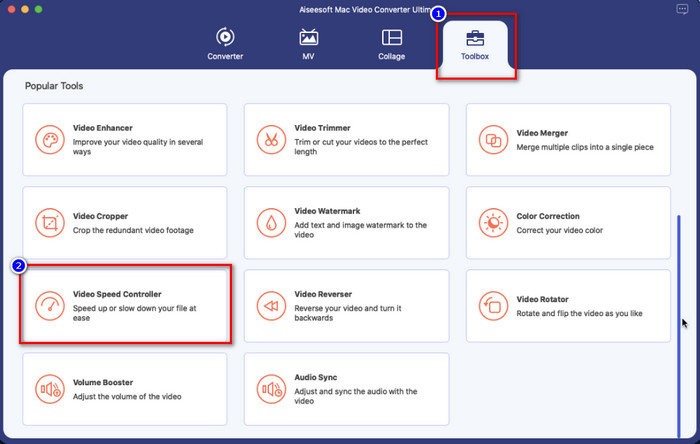
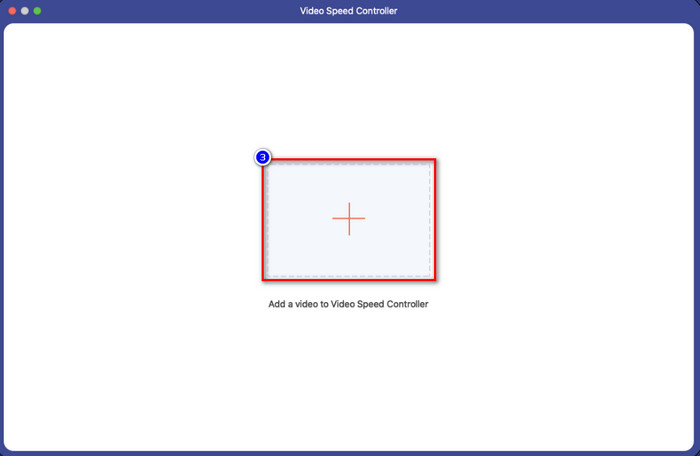
Étape 3. Clique sur l’icône plus ; un dossier s’affichera sur ton écran. Cherche la vidéo que tu souhaites importer, clique sur le fichier, puis appuie sur Ouvrir.
Étape 4. Tu peux maintenant choisir le ralenti que tu veux appliquer à ta vidéo dans cette section. Teste‑les tous pour voir si la vitesse de lecture correspond à ce que tu souhaites pour la vidéo sélectionnée.
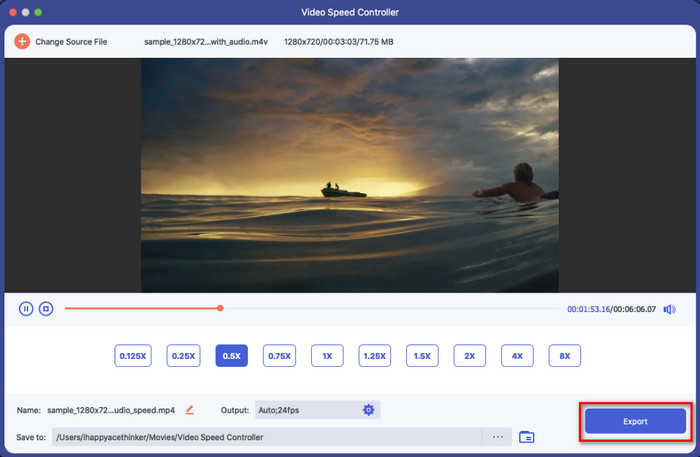
Étape 5. Enfin, tu peux enregistrer les modifications appliquées à la vidéo en cliquant sur le bouton Exporter. Après l’exportation, un dossier s’affichera avec la vidéo ralentie que tu viens d’enregistrer.
Partie 3. FAQ sur la façon de ralentir une vidéo sur iPhone
Est-ce que ralentir une vidéo affectera la qualité ?
En raison de la modification de la lecture vidéo, certains changements peuvent se produire sur la vidéo une fois que vous modifiez la vitesse réelle en un effet de ralenti. Mais si vous appliquez un impact au ralenti sur la vidéo, nous pouvons vous assurer que la vidéo ne diminuera pas la qualité, alors assurez-vous de ne pas en abuser.
Pourquoi ma vidéo est-elle devenue floue après avoir appliqué le ralenti ?
Des cas comme celui-ci sont susceptibles de se produire si l'outil que vous avez choisi ne prend pas en charge l'exportation d'une vidéo de haute qualité. Mais certains outils gratuits permettent d'appliquer un effet de ralenti sans aucune limitation de qualité. Comme ce que vous pouvez obtenir sur le FVC Video Converter Ultimate, une fois que vous ralentissez votre vidéo ici, la même haute qualité restera sur la vidéo que vous téléchargez.
Pourquoi y a-t-il des filigranes après avoir exporté la vidéo au ralenti ?
Si vous utilisez la version gratuite de l'application pour ralentir une vidéo, il y a des chances que lorsque vous exportez la vidéo, elle laisse un filigrane dessus. Il est donc indispensable de lire les informations sur le logiciel que vous avez choisi et de voir s'il laissera un filigrane sur la vidéo si vous êtes sur le point de l'exporter.
Conclusion
Si tu veux filmer comme une célébrité aux Grammy, ton appareil iOS peut t’y aider, et grâce au tutoriel que nous avons préparé, apprendre à ralentir une vidéo sur iPhone devient simple et accessible. Avec les apps que nous avons sélectionnées, la possibilité de réaliser ce travail comme un pro est à la portée de tous ceux qui aiment ajouter des effets au ralenti. Même si ces apps sont excellentes, on ne peut pas nier que FVC Video Converter Ultimate dépasse toutes les attentes pour ralentir la vitesse d’une vidéo. Si tu veux utiliser cet outil, tu peux lire les instructions que nous avons ajoutées dans la partie 2 et le télécharger.
-
 Indeed : Meilleures pratiques pour ralentir la vidéo MP4
 En plus d'augmenter la vitesse de votre vidéo, le ralentissement est l'une des nombreuses pratiques nécessaires pour obtenir la meilleure sortie de votre vidéo. Aspirez à être le meilleur éditeur possible en lisant le reste de l'article.
-
 Comment changer la vidéo au ralenti en vitesse normale [Etapes faciles]
 Vous voulez savoir comment restaurer une vidéo au ralenti que vous avez téléchargée sur Internet ou enregistrée accidentellement au ralenti ? Découvrez comment convertir une vidéo au ralenti en vitesse normale sur Mac, Windows, iOS et Android.
-
 Tout ce que vous devez savoir sur la création de vidéos au ralenti
 Vous souhaitez réaliser des vidéos au ralenti comme un monteur professionnel, mais vous ne savez pas quels logiciels ou applications vous souhaitez utiliser ? Lisez cet article pour connaître tous les détails dont vous avez besoin.