


グラフ上で原点グラフから透かしを効果的に削除する方法
数学的または科学的なデータがあまりにも複雑で言葉だけでは表現しきれない場合、Origin Graph を使ってテンプレートを作成する必要があるかもしれません。このソフトウェアはすでに、自分用のグラフを作成する必要がある学生、研究者、教授、ビジネスパーソンなど、多くの人々の役に立ってきました。用意されているテンプレートから選ぶことで、見る人の目を引く魅力的なグラフを作成できます。ただし、無料版を使用すると最終出力にテキストのウォーターマークが入るという問題に直面する可能性があります。ウォーターマークの扱いに困っていますか? もう心配はいりません。こちらで対処できます。このガイドでは、Origin Graph のウォーターマークを削除する方法を紹介し、その後 Word や PowerPoint のプレゼンテーションで利用できるようにする手順を説明します。

パート1。オンライン画像透かしリムーバーを使用して原点グラフから透かしを削除する方法
FVC Free Watermark Remover Online は、Origin Graph のウォーターマークを消去するために使える高性能なテキストウォーターマーク除去ツールです。このツールは、画像上のあらゆるオブジェクトを効率よく消去し、ウォーターマークを取り除いた後に、よりプロフェッショナルな見た目に整えることができます。このツールなら、今回のような問題に直面したときに頼りにできる、専用のウォーターマーク除去ツールであると断言できます。このツールが簡単に使えるかどうか気になっていますか? もう心配はいりません。以下に、Origin Graph が画像に追加したテキストウォーターマークを取り除くために従うべき手順をまとめました。
ステップ 1. このリンクをクリックしてオンラインの画像ウォーターマーク除去ツールを開きます。新しいタブが自動的に開き、そこでツールにアクセスできます。
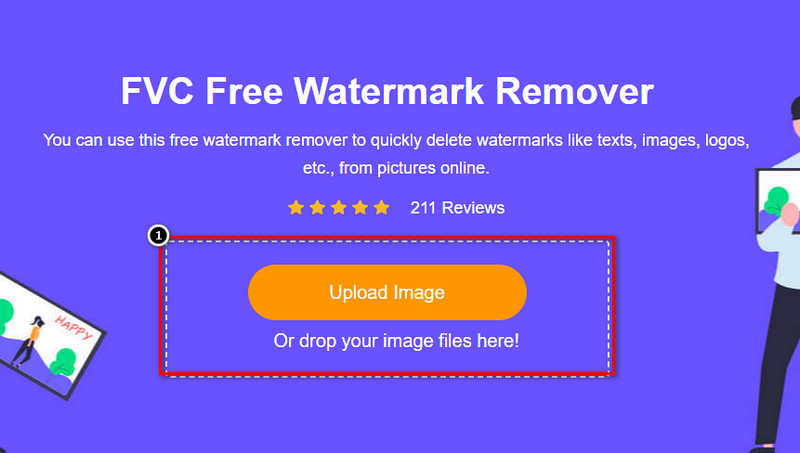
ステップ 2. Upload Image を押してウォーターマーク入りの写真を追加します。フォルダーから画像ファイルを探して選択し、Open をクリックしてアップロードを完了させます。
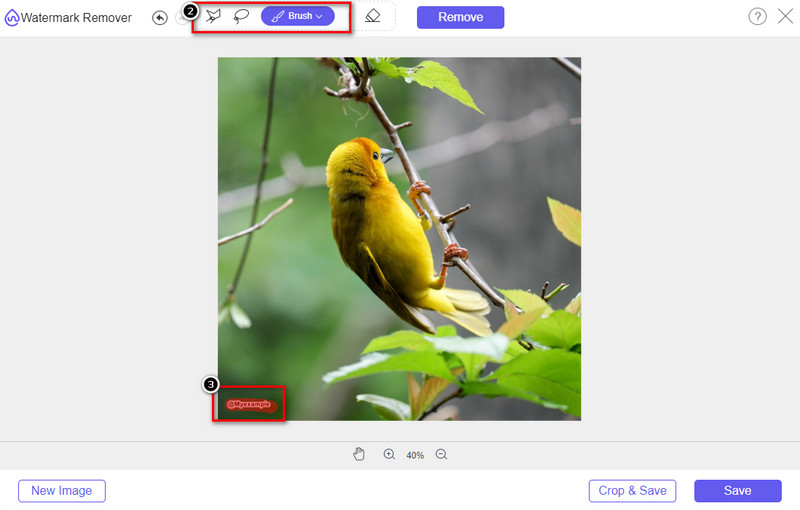
ステップ 3. ウォーターマークをマーキングするために 3 種類のツールを使用できます。動作はそれぞれ異なりますが、どれも同じくらい高い効果があります。いずれか 1 つのツールを選択し、ウォーターマークがある画像部分をハイライトします。
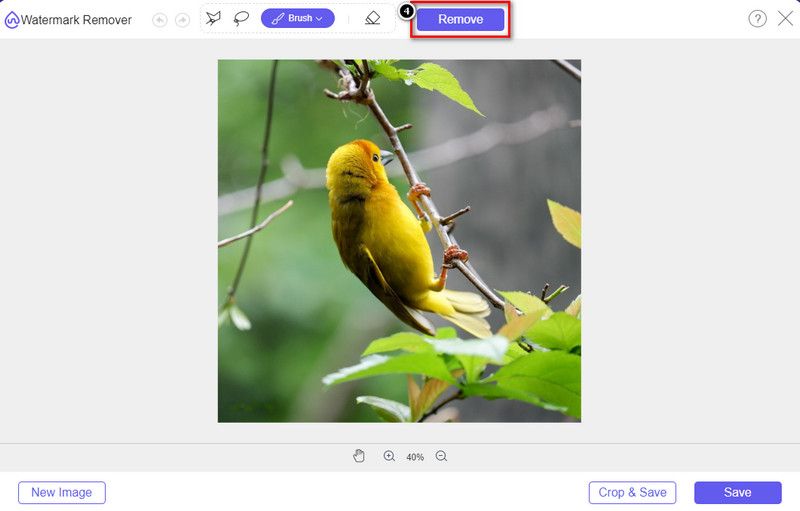
ステップ 4. ツールでウォーターマーク部分をハイライトした後、必ず Remove アイコンをクリックしてください。このステップは、画像を書き出したときにウォーターマークなしの状態で保存されるようにするために重要です。
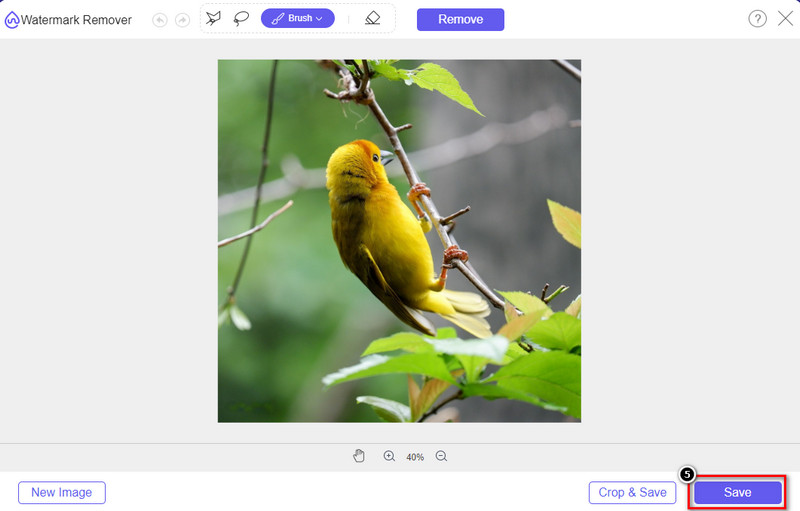
ステップ 5. 書き出し処理を開始するには、Save ボタンをクリックします。処理が完了するまで待ち、Origin Graph のウォーターマークが表示されていない画像を確認しましょう。
長所
- アクセスできる無料のWebベースの画像透かしリムーバー。
- AIテクノロジーのサポートにより、透かしの削除に効率的に機能します。
- それはあなたがあなたのローカルドライブに持っているかもしれない多種多様な画像フォーマットをサポートします。
- エクスポートされた画像に透かしは追加されません。
短所
- 機能するにはインターネット接続が必要です。
- その焦点は透かしを削除することだけです。
パート2。透かしなしでOriginからWordまたはPowerPointにグラフをコピーする方法
記事のこの部分では、透かしなしでOriginGraphに作成したグラフを追加するために知っておく必要のある手順を説明します。それに応じて、透かしなしでMicrosoftWordおよびPowerPointで作成したグラフを正常に追加します。
ファイルサイズが非常に大きいため、少なくとも1.9GBを解放する必要があります。 1.9GBのファイルでは、必要なヘルプを利用できますが、ヘルプが必要ない場合は、.zipまたは.exeを介して652MBバージョンをダウンロードできます。
透かしなしで元のグラフにグラフを作成する方法の手順:
ステップ 1. まず公式サイトにアクセスして、お使いの OS に Origin Graph をダウンロードします。ツールを起動して、作成したいグラフの作成を開始します。
ステップ 2. ソフトを起動したら、必要な表の値を入力します。ここでは、変数を追加したり、複数のグラフを作成したりすることができます。
追加: Plot をクリックすると、Basic 2D、Bar、Statistical など、使用できる他のグラフの種類を確認できます。
ステップ 3. File をクリックし、次に Save を押して作成したグラフを書き出します。
ステップ 4. Part 1 で紹介した手順に従い、FVC Free Watermark Remover Online を使って Origin Graph のウォーターマークを削除するチュートリアルを実行してください。
透かしなしでWordでグラフを使用する方法:
ステップ 1. デスクトップで Word アプリを開き、[白紙の文書]をクリックします。すでに作成済みの Word 文書がある場合は、そのファイルを開きます。
ステップ 2. 挿入 タブに移動し、画像 をクリックします。ローカルドライブ内からグラフファイルを探して 1 回クリックし、Open を押して Word にアップロードします。
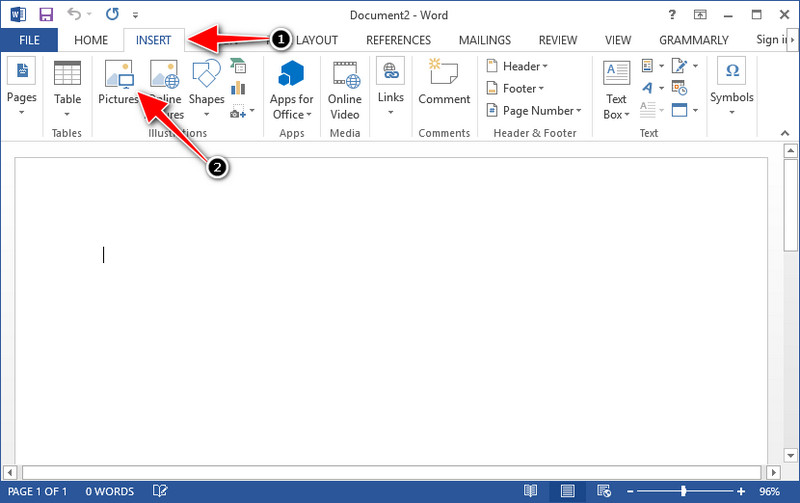
ステップ 3. グラフ画像は、開いている/作成した Word 文書内に自動的に読み込まれます。あとは、画像をドラッグして好きな位置に配置できます。
透かしなしでパワーポイントでグラフを使用する方法:
ステップ 1. パソコンで PowerPoint を起動し、[白紙のプレゼンテーション]をクリックします。左側には、最近作成したプレゼンテーションが表示されているので、グラフを追加したいファイルがある場合は、それをクリックして開きます。
ステップ 2. 挿入 をクリックし、続けて 画像 をクリックして、Origin Graph で作成したグラフ画像を挿入します。

ステップ 3. スライド上でグラフ画像の大きさや位置を調整します。
さらに詳しく読む:
パート3。原点グラフから透かしを削除する方法に関するFAQ
Origin Proはいくらですか?
個々のユーザーの場合、$435用のOriginGraphのプレミアムバージョンを開始できます。 OriginLabの公式ストアにアクセスできます。
Origin Graphはどこで正式にダウンロードできますか?
Origin Labにアクセスして、Originグラフをダウンロードします。デスクトップにソフトウェアをダウンロードする前に、質問が表示されます。その後、ヘルプを使用するかどうかに関係なく、.exeまたはzipの形式でファイルをダウンロードするための2つのオプションがあります。
ExcelとOriginは同じですか?
ExcelとOriginには、データの配置、計算、およびラベルの定義を行うためのスプレッドシートのようなGUIがあります。ただし、Excelは、使用できる多くの列と行を含めることに重点を置いています。ただし、Originでは、Excelがサポートするようなセルの数式ではなく、列の数式を使用する属性を配置するためのものです。
結論
Origin Graphから透かしを削除する方法を学習したので、作成したグラフを使用して専門的に提示するときが来ました。 WordまたはPowerpointで使用することが目的の場合は、パート2を読んでその方法を学ぶことができます。このツールを使用して透かしを削除することは、画像の透かしを削除したい人にとっては断然最も望まれています。このツールで問題は解決します。この記事が役に立った場合は、下に5つ星を残してください。
-
 詳細な手順でPixlrを使用して透かしを削除する方法[効果的]
 Pixlrで透かしを削除する方法を知りたいですか?もしそうなら、それを行う方法とあなたが使用できる代替案を知るために以下を読み続けてください。
-
 3つの実証済みの方法でエクスポートされたビデオのAnimotica透かしを削除します
 エクスポートしたビデオのAnimotica透かしを削除できるかどうか疑問に思ったことはありますか?この記事では、その方法を説明します。
-
 ビデオのVideoShop透かしを削除する無料の方法[楽に]
 VideoShopの透かしを削除するには、デバイスに透かし除去機能が必要です。これらが何であるかを知るために、この記事を読んでください。