

Adobe Premiere: Utforsk konseptet med sakte film
Konseptet sakte film blir naturlig i enhver video, ikke på grunn av den reduserte avspillingshastigheten i seg selv, men fordi det gir mulighet til å fremheve viktige detaljer. Det føles mer tilfredsstillende og betryggende å kjenne alle detaljene om hvordan noe vil skje eller hvordan det er gjort. Med hjelp av Adobe Premiere får du en idé om redigering og hvordan du lager sakte film, men det vil være langt mer utfordrende for enhver nybegynner. Les videre for å få alle detaljene som gjelder Adobe Premiere.

Del 1. Hvordan produsere sakte filmer i Adobe Premiere
Videoredigeringsprogrammer som Adobe Premiere Pro er mye brukt både på Mac OS- og Windows-maskiner. Redigering av videoer, reklamefilmer, andre filmer, TV- og nettvideoprosjekter er alle mulig med Premiere Pro CS6 eller nyere. Det er et funksjonsrikt videoredigeringsprogram som også er tilgjengelig som en del av programvaresamlingen Adobe Creative Cloud. Premiere Pro brukes ofte sammen med annen programvare som After Effects og Photoshop i kreative prosjekter. Adobe Premiere er også kjent for å gi svært forbedrede redigeringer i scenene sine, spesielt når det gjelder å justere avspillingshastigheten på en video. Det kan lage utmerkede sakte filmer på ulike måter og gi et svært godt resultat. Men som innledningen sa, kan Adobe-produkter som Adobe Premiere være kompleks programvare å bruke til å lage sakte film, særlig for nybegynner-redigerere. Her er eksempler på fremgangsmåter for hvordan du lager sakte film i dette programmet.
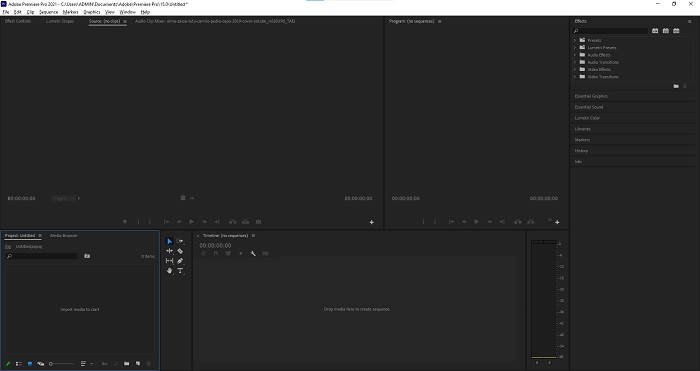
Trinn 1: Åpne Adobe Premiere og klikk deretter på Import media to start nederst i venstre hjørne av grensesnittet for å overføre videofilene fra datamaskinen til programmet, eller du kan ganske enkelt dra dem inn. Et annet alternativ er å finne fanen File øverst til venstre og velge Import.
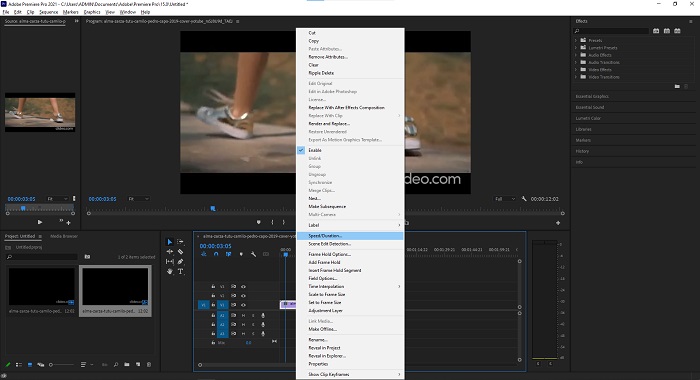
Trinn 2: Dobbeltklikk på de importerte filene eller dra dem til videotidslinjen. For å justere hastigheten på videofilen, høyreklikker du videofilen på videotidslinjen. Finn Speed/Duration og klikk på det. Etterpå gjør du videoen til sakte film ved å redusere den normale hastigheten, som er 100 prosent.
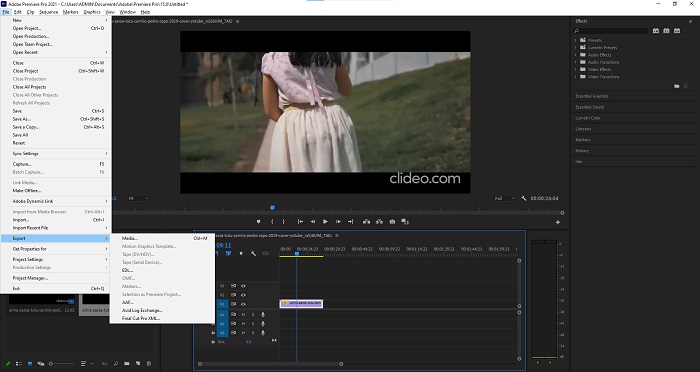
Trinn 3: Lagre den konverterte videoen ved å gå til fanen File øverst til venstre. Klikk deretter på Export og velg hvilket format du vil at videofilen skal konverteres til.
Del 2. Hvordan lage sakte filmer frakoblet ved hjelp av Video Converter Ultimate
I motsetning til Adobe Premiere Pro, som er så komplisert å bruke på grunn av de mange verktøyene som virker ukjente for enhver nybegynner, er Video Converter Ultimate den beste og mest brukervennlige programvaren alle kan bruke, og den tilbyr fantastiske verktøy for å redigere videoer. Et av hovedverktøyene, Video Speed Controller, har muligheten til å lage sakte film med utmerket videokvalitet på under ett minutts konverteringstid. For at du skal kunne få erfaring med den mest nyttige programvaren som kan løse problemet ditt, følger du trinnene nedenfor:
Trinn 1: Du kan laste ned Video Converter Ultimate ved å klikke på knappen Free Download. Når nedlastingen er fullført, finner du den på skrivebordet og starter den deretter.
Gratis nedlastingFor Windows 7 eller nyereSikker nedlasting
Gratis nedlastingFor MacOS 10.7 eller nyereSikker nedlasting
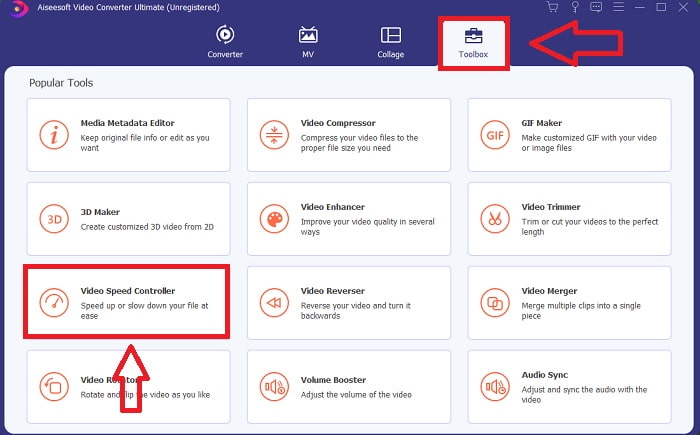
Trinn 2: Du må kjøre programmet etter at det er installert på skrivebordet på datamaskinen. Programgrensesnittet vil vises første gang du kjører det. Velg Video Speed Controller under fanen Toolbox.
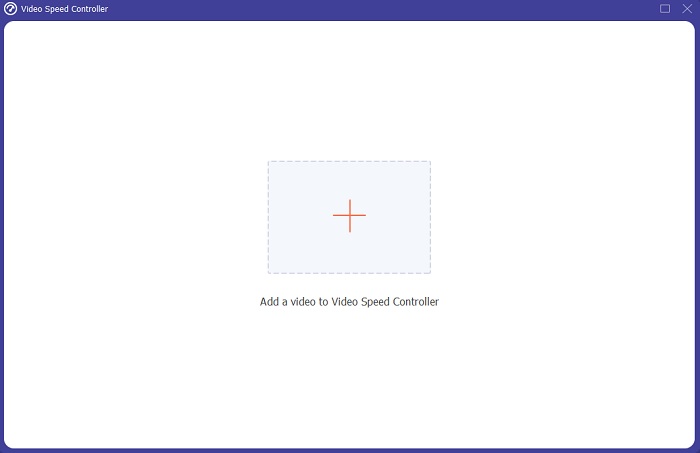
Trinn 3: For å endre avspillingshastigheten på videoklippet ditt, drar du bare inn en fil eller klikker på +-knappen for å legge til filer fra datamaskinen.
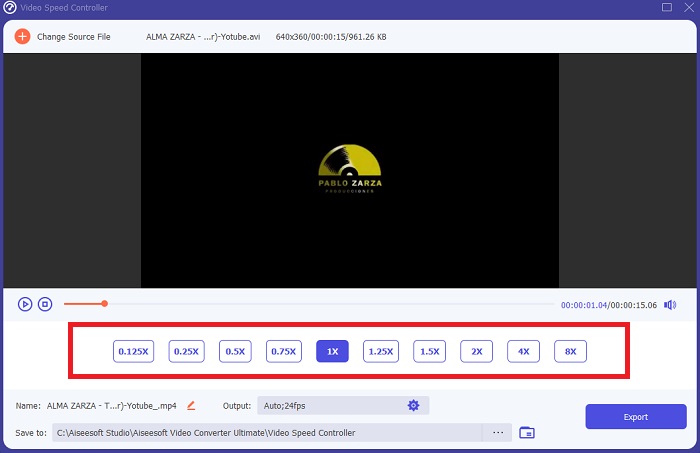
Trinn 4: Velg hvilke hastigheter du vil bruke for å redigere avspillingshastigheten på videoklippet ditt eller for å lage en saktefilmvideo fra en video med normal hastighet, for å begynne å redigere avspillingshastigheten på videoklippet.
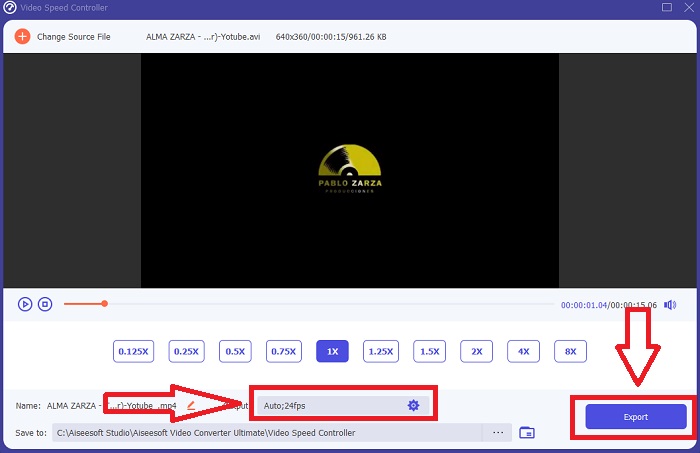
Trinn 5: Når du er ferdig med å justere avspillingshastigheten på videoen, er filen klar til å lastes opp, og før det kan du vurdere å endre kvaliteten på resultatet ved å justere oppløsning, bildefrekvens osv. Klikk på Export når filen er klar.
Relatert:
Del 3. Hvordan lage slowmotion-videoer på nett ved hjelp av Kapwing
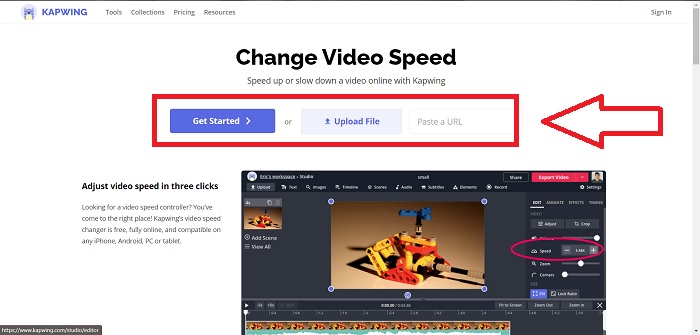
Akselerer eller senk hastigheten på videoer raskt med denne gratis nettbaserte videoakseleratoren. Du trenger ikke mye erfaring med videoredigering for å lage overbevisende sakte film, timelapse- og hyperspeed-videoer som du kan legge ut på YouTube eller dele i sosiale medier. Last opp en video eller skriv inn en URL for å komme i gang. I tillegg til AVI og MP4 støtter Kapwing også videoformater som MP4, MOV og 3PG. For sakte film kan du gå helt ned til 0,25x; den raskeste hastigheten som er tilgjengelig, er 4x. Len deg tilbake og slapp av mens du leser fremgangsmåten for hvordan du bruker dette nettverktøyet.
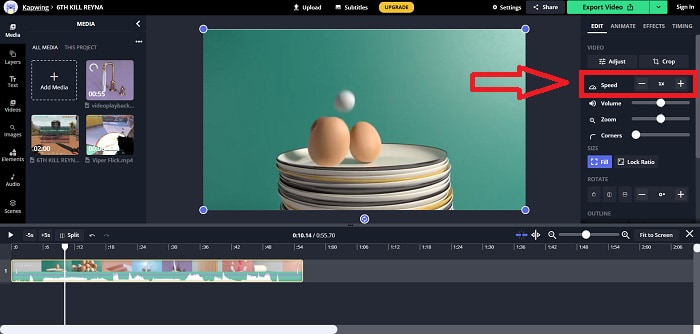
Trinn 1. Åpne en hvilken som helst nettleser og søk etter Kapwing. I grensesnittet kan du nå starte ved å klikke på Get Started. Eller du kan fortsette direkte med å velge videoklippet ditt ved å klikke på Upload File. Det finnes også et annet alternativ der du kan lime inn videolenker fra andre nettsteder og gå videre til redigering.
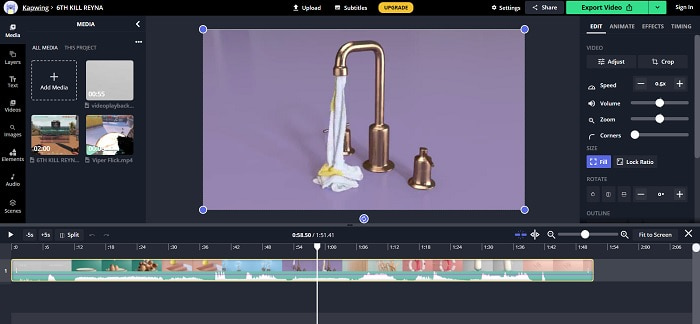
Trinn 2. Klikk på videoen på videotidslinjen, gå til redigeringsfanen Speed, og gjør den til sakte film ved å klikke på minus-tegnet. Dette vil redusere videohastigheten med 0,25.
Trinn 3. For å laste opp den konverterte videoen, klikker du på Export Video og overfører den til ønsket lagringssted på datamaskinen din.
Del 4. Vanlige spørsmål om å lage sakte filmer i Adobe Premiere
Hvilke formater støtter Adobe Premiere Pro?
Med Adobe Premiere Pro kan du jobbe med et bredt spekter av videoformater som MP4, AVCHD/H.264/H.265, MPEG-1 og MPEG-2, MOV, FLV og AVI.
Er 60 bilder per sekund bra for sakte film?
En viktig faktor som påvirker det generelle utseendet og følelsen til en video er bildefrekvensen, som også har innvirkning på hvor realistisk videoen fremstår. Denne ideen har en sterk tilknytning til måten vi naturlig oppfatter universet på. Oppretting av sakte filmer eller opptak av videospillopptak krever bildefrekvenser på over 30 fps. Etter hvert som teknologien utvikler seg, kan flere smarttelefoner nå ta opp video med 60 bilder per sekund.
Hva skal jeg gjøre hvis Adobe Premiere Pro ikke fungerer?
Premiere Pro-preferansene kan tilbakestilles til standardverdiene for å fikse krasj, noe Adobe anbefaler ofte. Preferansene dine blir "kastet" når du gjør dette. Dette vil gjenopprette innstillingene til de opprinnelige fabrikkinnstillingene. Du kan gjøre dette ved å trykke og holde nede Alt-tasten mens du starter Premiere Pro.
Konklusjon
Alt tatt i betraktning lærer vi at uansett hvor god Adobe Premiere Pro er, kan det ikke være den anbefalte programvaren å bruke for enkelte brukere som ikke har noen redigeringsbakgrunn. Vi anbefaler å bruke Video Converter Ultimate for de tilgjengelige funksjonene verktøy som kan trimme, kutte, sette filtre, slå sammen osv. Et av de nyttige verktøyene som er tilgjengelige i Video Speed Controller er at den kan lage sakte filmer eller justere avspillingshastigheten på videoen. De elektroniske verktøyene kan være en enklere å bruke plattform enn Adobe Premiere Pro. Den kan imidlertid ikke produsere bedre kvalitet enn Video Converter Ultimate.
-
 6 beste AVI-fusjoner: Slik blir du med i AVI-videofiler på Windows og Mac
 Når du vil bli med i AVI-videoer for en DVD, kan du lære om funksjonene til de 6 beste AVI-snekkerne, inkludert gratis onlineverktøy, samt stasjonære programmer fra artikkelen.
-
 [Guide] 2 ultimate metoder for å bli med i MXF-videoer fra Sony X70
 Hvis du har tatt noen MXF-videoer fra Sony X70, hva er de beste metodene for å bli med i MXF-filer? Her er de to effektive metodene for å kombinere videoene med høy kvalitet.
-
 Hvordan klippe og slå sammen sanger på nettet - 4 beste måter du bør vite
 Når du vil klippe og slå sammen sanger på nettet for å lage et stykke musikk, kan du lære mer om de 4 beste nettverktøyene for å klippe ut sangene og kombinere filer fra artikkelen.