


How to Optimize Image for the Web Using the 4 Solutions [Quickly]
Optimizing an image plays a vital role on the web, for it reduces the site's loading time. Based on recent studies, when images aren’t optimized well, almost half of the visitors leave the website immediately, costing less traffic and revenue. Learning how to do it is needed if you want to reduce buffering and establish a reliable website to increase traffic and have more income in return. Doing so is easy; with the help of the tutorial, we add on how to optimize the image for the web in the easiest way possible.

Part 1. Best & Free Ways to Optimize Image Online Without Sacrificing the Image Quality
1. FVC Free Image Upscaler
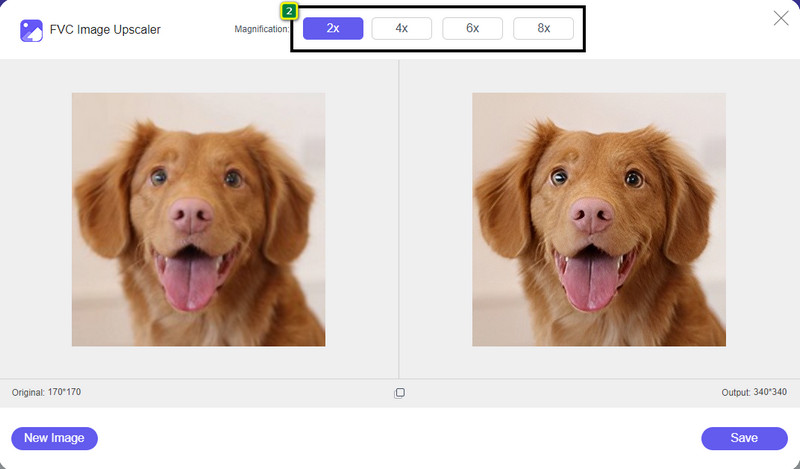
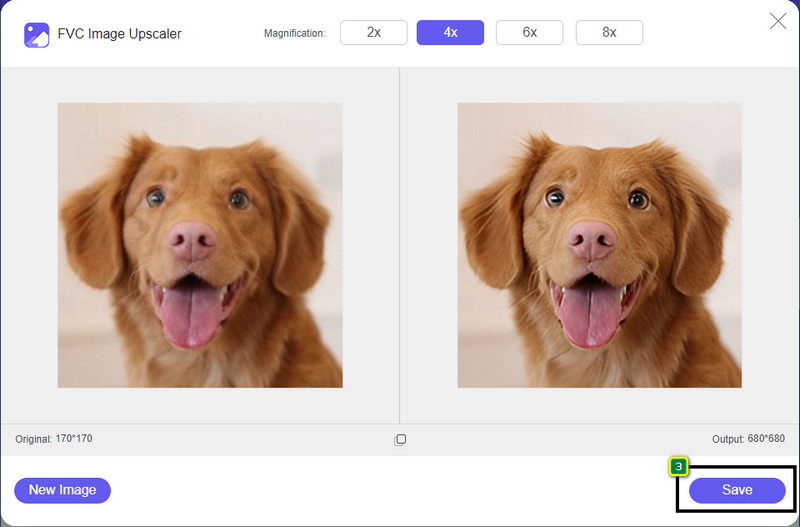
Are you looking for a way to optimize the dimension and aspect ratio of the image you want to use on the web? FVC Free Image Upscaler is a tool capable of optimizing images with the help of its powerful AI technology. This upscaler can change an image's size without compromising its detailed PPI so you won't experience any quality loss. Also, this online tool can fix blurry or pixelated images by tracing the imperfection on them. Before you export the image, there is a preview pane to compare the before and after. So, if you need to resize the image you have for the web, you can follow the steps we add next.
Step 1. Open the website by clicking this link.
Step 2. Press Upload Image to insert the picture you want to resize here.
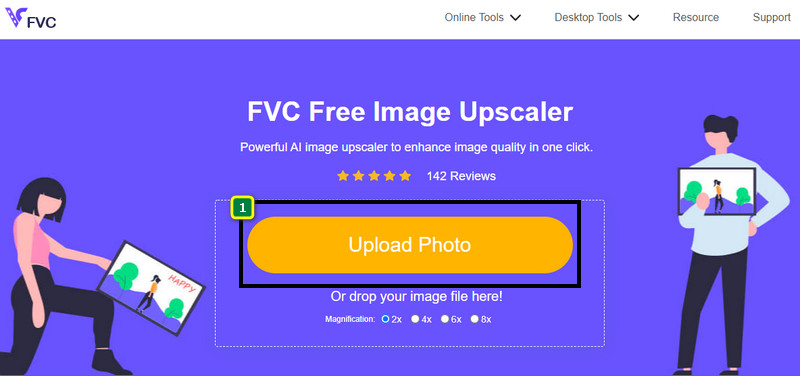
Step 3. Choose the option you want to apply to your image to resize it.
Step 4. Press Save to download the image you resized on your local drive.
2. FVC Free Image Compressor
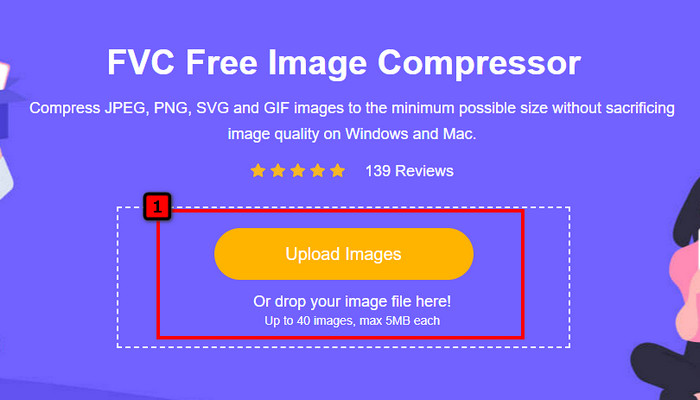
FVC Free Image Compressor allows anyone to optimize the image for the web by lowering its file size. It lets you compress popular formats used on different websites, such as PNG, JPG, SVG, BMP, etc., with less than 5MB each. With it, you can drop multiple images into an optimized size so that they will load better on the web. It is an AI technology tool that provides the best ratio compression you can’t achieve on another online compressor.
Step 1. Visit the tool's official website by searching its name, or you can click this link to access it on your web browser.
Step 2. Drag and drop the image file you want to upload here, or you can click Upload Images; a folder will show on your display, click the file you want to compress, and press Open. This compressor can downsize more than 40 images at the same time.
Step 3. The tool will automatically squeeze the image's file size based on the AI algorithm. After that, click Download to export the compressed version of the image

3. TinyPNG
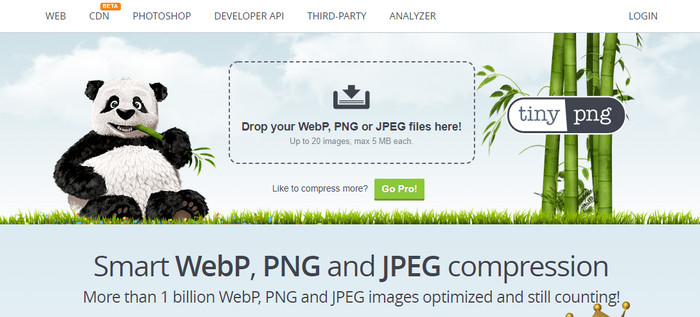
TinyPNG is a popular and reliable software you can use to optimize images online. It is a compressor that automatically downsizes the image up to 75% of the original size of the image. You can upload the images on your Dropbox if they aren’t in your local drive. You wouldn’t have trouble learning how to use this image compressor because of how simple the developer built this.
Though it is easy to use, the supported format here are PNG and JPG only, and there isn’t anything else. So, if you want to compress the BMP, GIF, SVG, and more files you have, you can’t do it here because it doesn’t support the said format. Nevertheless, this is easy to use; you can follow the steps we add.
Step 1. Open your search engine, and find the official website of TinyPNG.
Step 2. Click the import icon to upload the image you want to be compressed; this tool is capable of processing 20 images at the same time.
Step 3. Wait for the compressing process, then click the Download button to save the compressed version of the image you upload here.
Part 2. Optimize Image Offline Using the Professional Software on Windows & Mac
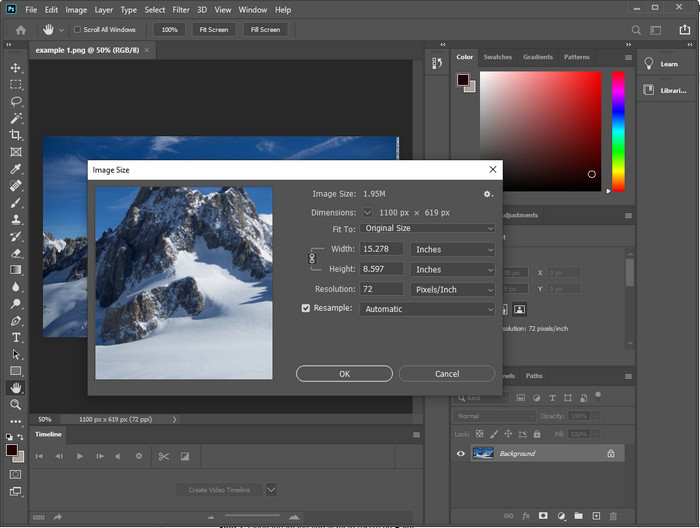
Photoshop is capable of doing both of the tasks we mentioned in the first part: photo resizing and downsizing. Though this tool isn’t made for that task, it can still do them as part of its additional advanced features. With it, you can start adding filters or editing the image based on your idea. The only limitation is your imagination and how difficult to use this software.
Unlike the online tool we mentioned, you wouldn’t need an internet connection to use this software once you have downloaded it on your device. However, you will need to purchase the software to use it, so if you want to see how to optimize the image for the web on Photoshop, there is an instruction we add below, which allows you to downsize and resize the image.
Step 1. Download and launch the software on your desktop to start using it.
Step 2. Upload the image you want to edit, then go to the Image menu and click the Image Size. Change the measurement based on your specification, then click OK to save the changes. If you don’t want to change the aspect ratio or dimension of the image, you better skip step 2.
Step 3. Hit the File menu and press Save as. A dialogue box will appear on your display. Choose the file size you want to achieve, then press OK to start exporting the image.
Part 3. FAQs on How to Optimize the Image for the Web
What is the best image format for the web?
You better use an image with the extension of PNG and JPG because these formats are known to be well-optimized on different websites. Yet, sometimes you will need to optimize it by downsizing or resizing the image, which is where the tool we added here came to help.
Which brings more details on the web; PNG or JPG?
Both raster images perform well on the website; they load faster and optimize websites. Yet there are still differences between these two formats, such as when you want to use pure photography without transparency for the web, your go-to format must be JPG or JPEG. But if you want to have the 1-bit transparency on your web with great detail, PNG is here to help you.
Does changing the image size make the quality bad?
If you overcompress an image, it is possible to have bad quality, yet it is avoidable if you don’t overcompress it. Once you compress the image, it is better to reduce it by at least 45% to 70% so we can avoid quality loss. But, you can make use of an image enhancer to increase image quality.
Conclusion
Now that you know how to optimize your image, you better do it so that you gain more visits and attract a lot of attention. With the tutorial we add above, we are certain that you can do it easily and quickly without affecting the quality. If you need to resize or compress, we recommend you use the FVC product we include here to solve the problem without downloading any installer.
-
 Make Photo HD with the Best Ways You Can Found on the Market
 Are you wondering or want to make photo HD? You can follow the tutorial we add below with different solutions you can use.
-
 Top 4 Image Quality Reducers You Can Use Online & Offline
 These image quality reducers can help you reduce the quality of your image for some reasons. If you needed one, you read this article!
-
 Official Ways to Upscale Image to 4k With a Hands-On Tutorial
 To upscale image to 4k you will need a software on your device. If you haven’t one then you will need to select the tool we include here.