

How to Easily Create and Apply Instagram Filters on Your Image & Video
Instagram filters are an essential part of your IG post to make it look eye-catchy to the audience. These filters can bring heat to the post, especially if you want to post it as a story. But you know what is good about it? You will not need to waste much time editing to make your video and photo unique. Although Instagram filters are easy to use, choosing which filter suits your post. So today, we will present to you the seven most-picked filters on Instagram. So, follow this guide to learn how to make an Instagram filter, find them, and use them.

Part 1. 7 Most Selected Filters Available on Instagram Everyone Loves
But before we proceed on how to use the filters, let's first determine the most selected filters by your favorite influencers, vloggers, artist, and more. So what are we waiting for? Let's dig into details about these filters and know if it is the best filters for your photos or videos before teaching you to add a filter to an Instagram story.
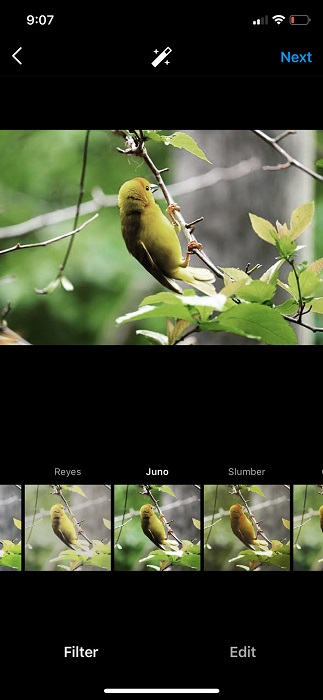
1. Juno

Juno is the most common filter many Instagram users use because it is the most flexible. This filter gives you an intense warm look while slightly increasing the contrast and saturation of the image. With this filter, you add warming effects to the photo and barely make it a bit dense basically, it is more on the tone.
2. Crema
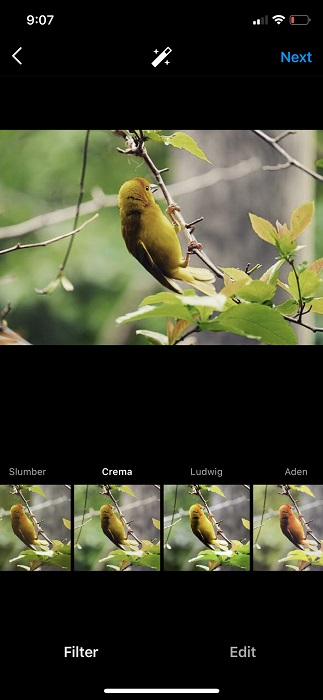
Crema came from its name creamy and smooth. It best fits if you use this to shoot outside because of the warming and cooling effects it provides.
3. Inkwell
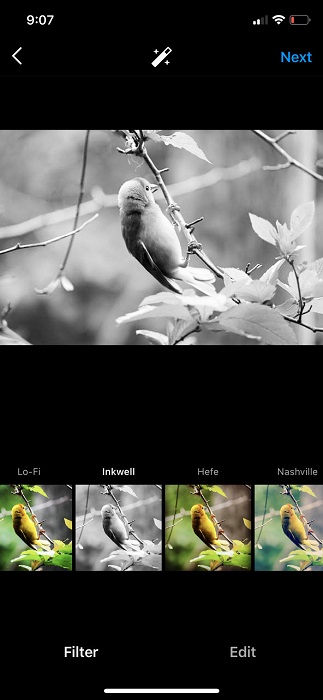
If you are a fan of classic black and white filters, Inkwell might be the befit for your photo or video. This filter works well if you feel to have a monochrome post.
4. Sierra
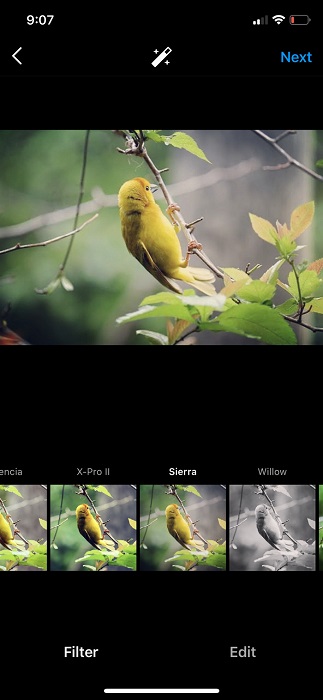
Sierra is into a more neutral vibe to provide a vintage look on your post. This filter is ideal for shooting food because it is soft and bright to have a classic look.
5. Lo-Fi

The Lo-Fi filter adds depth to your post as it provides a deep shadow while increasing the image's saturation. This filter is one of the oldest filters you can use on Instagram.
6. Nashville
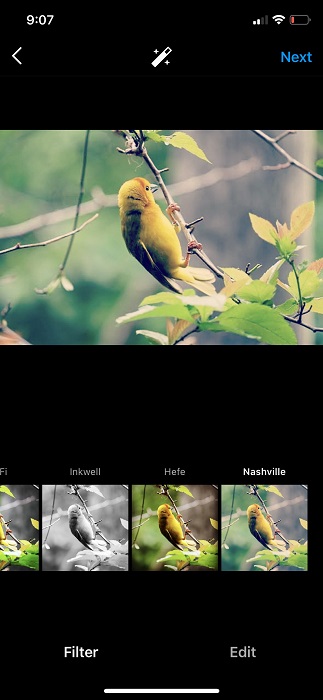
While Nashville provides a pastel tone to your post, it slightly increases the color pink and has a pleasant palette tone. This Instagram filter is high in exposure, but it has low contrast with warm temperatures.
7. Hefe
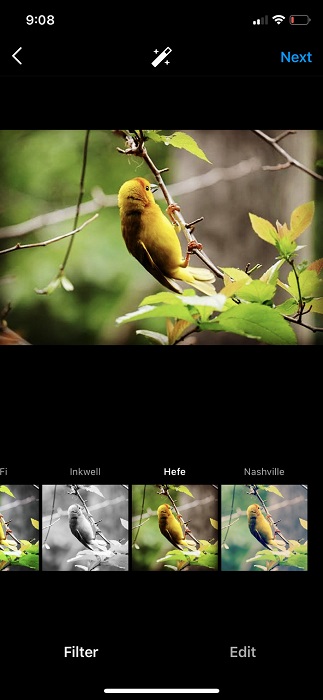
If you want to have a great landscape filter, then Hefe is here for you. With this filter, you can take any post to look sharper saturated while having an intense deeper shadow. So, if you love to shoot on landscapes and want to make them look majestic, this filter is your go-to.
Part 2. How Can I Find the Filters on Instagram
Now that we know the characteristics of the filters, it is now time to use them. But the question is, where can you find these filters? Doesn't know where? In that case, you can read and follow how to find the filters on Instagram in these steps.
Step 1. Before anything else, you must download the app on your device first. After downloading it, open the app and follow the following steps.
Step 2. Click the + icon and click Post on your gallery; choose the image you want to add the filter on before posting it on Instagram.
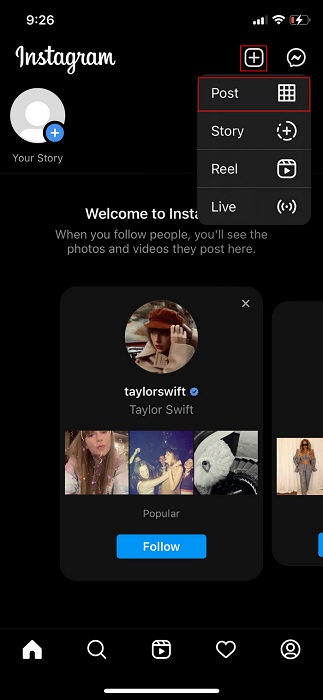
Step 3. After you've selected the image, click Next. With that, you have now found the filters on Instagram.
Part 3. How to Apply Filters on Instagram and Posting it
After you've found the filters, why don't you try them out? So, the succeeding steps will teach you how to use a filter on Instagram before you post it.
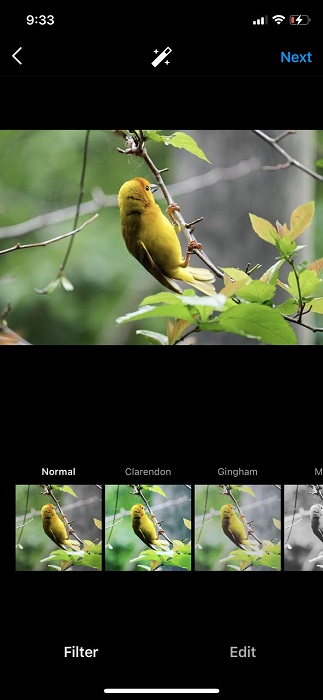
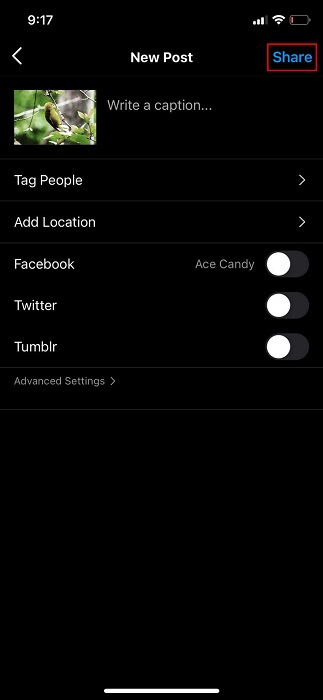
Step 1. Choose the filters underneath selection and slide it to the right to see the other Instagram filters available. Click the filter you want to use, then click the Next again.
Step 2. This time, you can now post the image with the filter on hit the Share icon to post it on Instagram.
Part 4. How to Create Your Personalized Instagram Filter
We can now create one after determining the watermarks, finding them, and applying them. Did you know that creating your filter isn't that hard, but knowing the functions of the adjustments available like structure, contrast, warmth, vignette, and sharpens is hard. But no need to worry because we will guide you on how these functions all work and learn how to create an Instagram filter of your own.
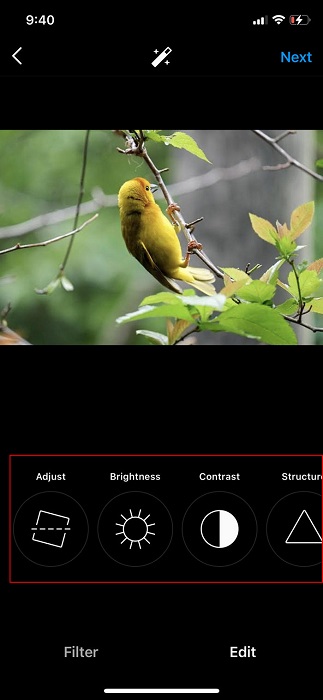
But before we proceed, we will add some kin information about the effects you will encounter under Edit. First, the Adjust is used to align or straighten the image or video. Next is the Brightness; it extends the brighten up or darken of the object. Warmth adds color tone to the object by making it look warm or cold. Saturation is for controlling the intensity of the color. Lastly, Sharpen enhances the edges of the image to make it look on point. These are the most common effects you will need to adjust to make your effects.
The effects you've added to your image won't save on your Instagram setlist of filters. So to use it again, you'll need to remake it with the same steps below.
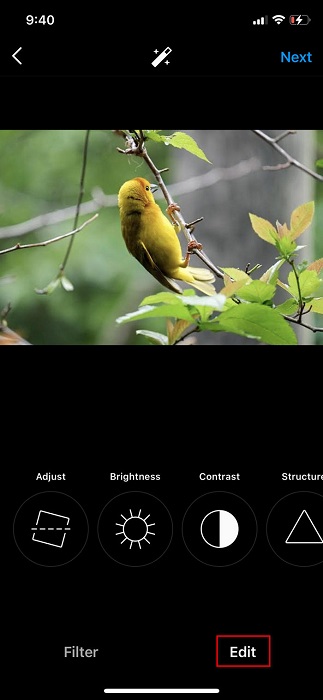
Step 1. Click the Edit next to the Filter.
Step 2. You can make your filter by changing the brightness, contrast, structure, warmth, saturation, and more.
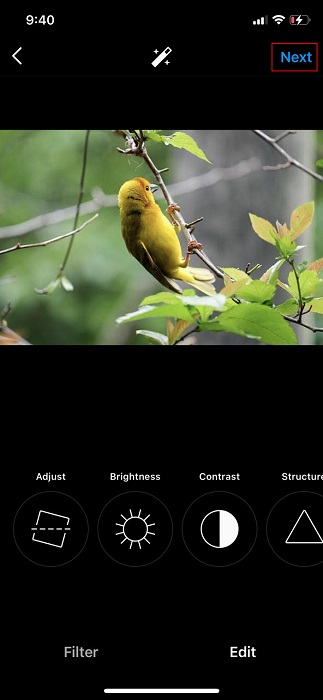
Step 3. Click the Next to process it, then hit Share to post it on Instagram.
Part 5. Best Tool to Use to Add the Amazing Filters to Your Videos on Desktop [Suggested]
Video Converter Ultimate offers you a set of high-quality filters that you can't find on Instagram. With this tool, you can create filters to make your video look phenomenal. However, this tool only works on Windows and Mac; if you don't have a desktop, you can't use it because it is not compatible with mobile devices. So now, if you want to use an anime filter for Instagram, follow the written demo below.
Step 1. To download the software on your desktop, click the download button presented below. After it, follow the installation process and open the tool to proceed to the succeeding steps below.
Free DownloadFor Windows 7 or laterSecure Download
Free DownloadFor MacOS 10.7 or laterSecure Download
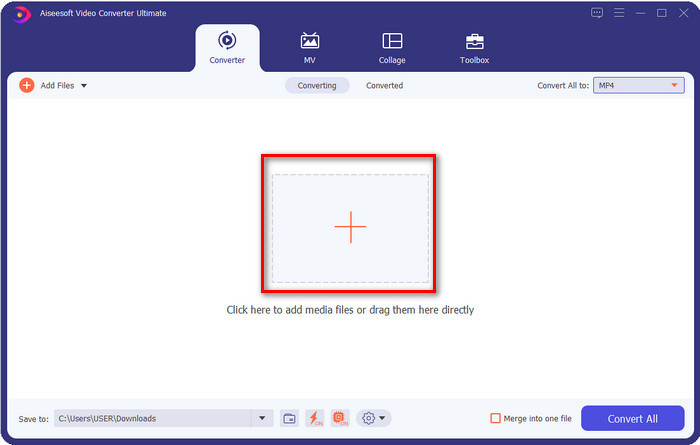
Step 2. On the tool's interface, click the + button, a folder will show, browse the video file, and click Open to upload it.
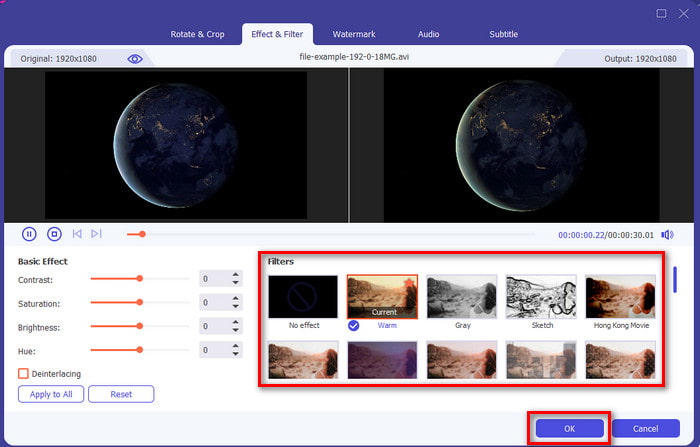
Step 3. To add the filter and effects, click the wand button. Editing windows will display, click Effect & Filter; under it, choose the filter you want; you can also change the effects according to your needs. To apply the changes, click OK.
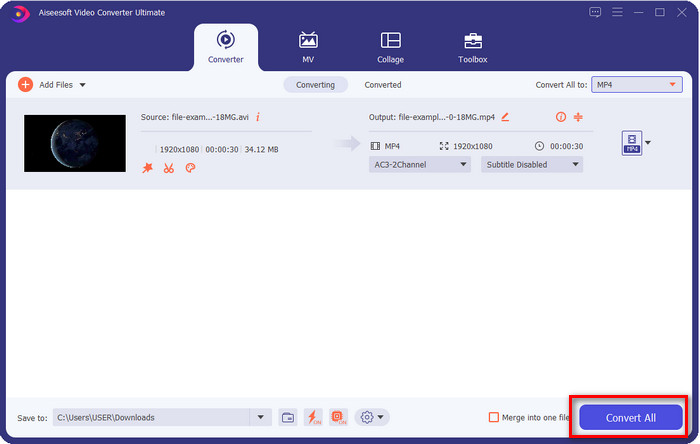
Step 4. The video file will export with a filter by clicking the Convert All button. You have now added filters to your video; you can now post it on Instagram.
Related:
Part 6. FAQ about Adding Filter on Instagram
How to shoot and add a filter on IG stories?
First and foremost, open your Instagram the add button at the upper-right corner of the display, click it, then hit the Story. After that, your image library will show, but if you want to shoot, go click Camera instead. Hit the camera button to take a picture and hold it for a long if you're going to take a short video. You can swipe to the left to add the filter, and Instagram will apply the filter to the image or video you take. Once you’ve found the perfect filter click the arrow below to post it.
What is the most extended video I can record on IG?
It is approximately 60 seconds per story, but you can post any shorter video than that if you want to. However, you can’t record a video for more than 60 seconds, yet you can post multiple videos on your story and make a long video film.
Is Instagram for all ages?
Indeed it is. This app is popular nowadays with most teens, but some elderly can also use it if they want to. But remember that you must mind what you post because there are no age limits on Instagram, so everyone you follow or follow will see your post.
Conclusion
It is indeed an eye-opener for us; what are the other things you can do with Instagram, posting and sharing your video or image and editing on it before posting it. Although Instagram offers different filters, it is still not enough, but if you add the Video Converter Ultimate, you can say that options become wider. Before posting your videos on Instagram, start to add a filter on it with the help of the Video Converter Ultimate.
-
 How to Add Audio and Music to Video for Free on Your Computer/Phone
 This article shows 4 easy ways to add audio to video for free. No matter which audio track you want to add into your video, you can get satisfying results here.
-
 Turn GIF to Video Format: Convert GIF Memes into Video [2021]
 Determine how to transform GIF into video format with the help of the tools listed below. Choose which one and learn how to do it, as we gather enough evidence on them.
-
 Marvelous GIF to Video Apps for Android & iOS Devices
 Did you know that you can convert GIFs into any video format you’ll like using your phone? Choose the best apps on your Android or iOS.