

Easiest and Fastest Way to Copy DVD to MacBook [Updated]
DVDs are prone to getting scratches that may ruin their playability. In order to prevent this from happening, the best way is to digitalize.
Fewer people are now using discs to watch DVD content since everything is digital, because of the convenience that it offers. Therefore, in this article, be guided by four methods that will help you copy DVDs to a MacBook quickly. These methods include both Mac's built-in tools and third-party software, allowing you to have options on how you want to rip your DVDs and eventually save a copy to your MacBook. Let's dive in!

Part 1. How to Copy DVD to MacBook with Built-in Tool
MacBook is rich in useful features and functionalities that even its users enjoy using. If Mac users want to copy DVDs to a MacBook, they can utilize its built-in tools. With this, users can have a straightforward solution for copying DVDs without the need for third-party software.
There are two built-in tools that Mac users can use to easily copy their DVDs:
Method 1: Using Disk Utility
This is one of the most well-known built-in tools that Mac users use to copy their DVDs. This tool turns your DVD into a disk image that will be easier to store on a MacBook.
Here’s how to copy a DVD to a MacBook using Disk Utility:
Step 1. First, on your MacBook, insert the DVD into the disk drive.
Step 2. Next, open your Disk Utility and tuck away the Utilities in the Applications.
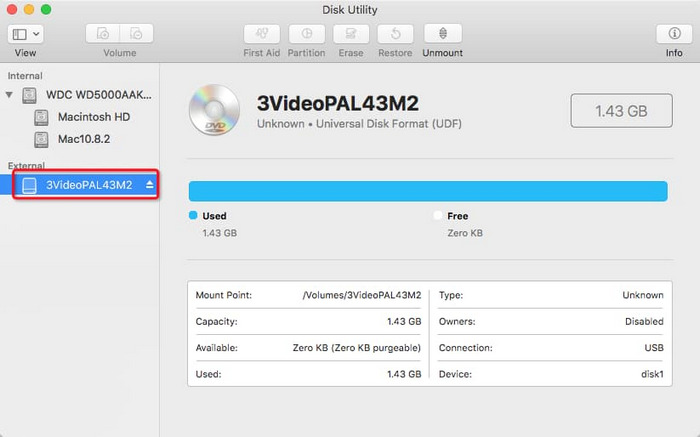
Step 3. From the left panel, you will see your DVD appearing under the External header. Click on it.
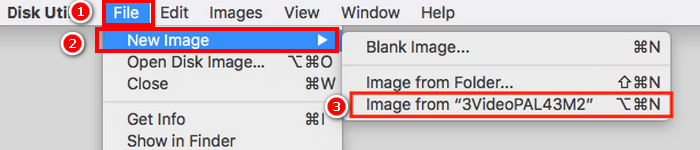
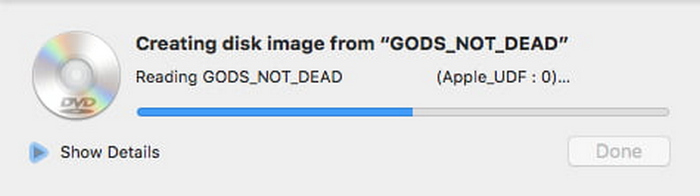
Step 4. Now, go to the File tab, click on the New Image, and select from the drop-down menu the Image from the indicating the name of your DVD.
Step 5. After that, rename your DVD and choose DVD/CD master as the format.
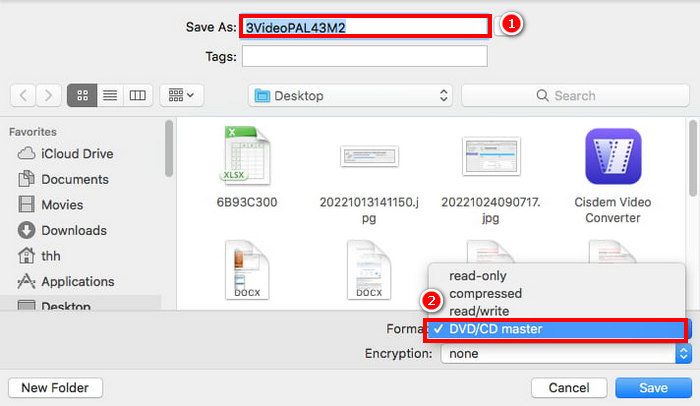
Step 6. Lastly, click the Save button. This will start copying your DVD to your MacBook.
The Disk utility built-in tool truly provides a straightforward process for copying DVDs to a MacBook. However, it only creates a disk image and doesn’t convert the content into playable video like MP4, MOV, or MKV formats. For that, it is recommended for a user to use third-party software.
Method 2: Using QuickTime Recording
Unlike method 1, in this second method, users will record the DVD video on a Mac. This way, users can capture the video content directly as it plays and easily save the digital copy to a MacBook.
Here’s how to copy a DVD to a MacBook using QuickTime Recording:
Step 1. First, you need to open your DVD using a DVD player program on your Mac.
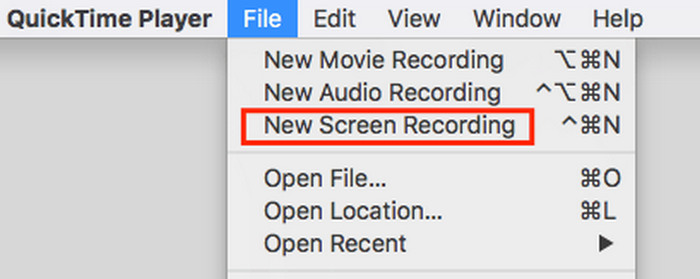
Step 2. After that, go to File and click on New Screen Recording in your QuickTime.
Step 3. Once the video starts to play, you can start clicking the Record button.

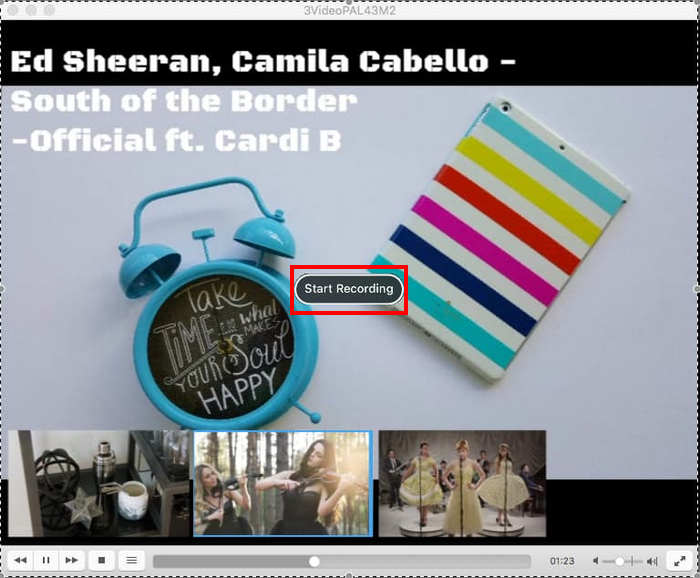
Step 4. Now, go to the section where you want to record your screen and click Start Recording to begin the process.
Step 5. Once done, just click the Stop icon on the top menu bar.
Step 6. Lastly, go to File and scroll down to click the Save option from the menu. The recorded DVD will then be directly saved to your MacBook.
The only problem with this method is that it’s very time-consuming, and you can’t multitask using your MacBook. Nevertheless, if you don’t have another option, this one can still work as an alternative if you want to copy a DVD to a MacBook.
Part 2. Copy DVD to MacBook with Third-Party Software
While MacBook's built-in tools offer their users a method to copy DVDs, however, these tools have their limitations. Let’s take, for instance, the Disk Utility only creates a disk image and does not rip it to a digitalized format. Meanwhile, using QuickTime Recording can take a lot of work and is very time-consuming. Therefore, if you’re looking for more efficient ways to copy DVDs to a MacBook, third-party software can be a great solution.
Method 1: Using AnyMP4 DVD Ripper
The best third-party tool that you can use to copy DVDs to a MacBook is AnyMP4 DVD Ripper. With this tool, you can easily rip your DVDs and directly save a copy to your MacBook. Moreover, this is one of the easiest methods available today because of its very intuitive and simple interface. When it comes to quality, it’s top-tier because of its advanced encoding and Blu-Hyper technology. Lastly, it supports a wide range of media formats, which is a plus for those who want flexibility and compatibility with other platforms and devices.
Here’s how to copy the contents of DVD to a MacBook:
Step 1. First, you need to download and install the tool on your device.
Free DownloadFor Windows 7 or laterSecure Download
Free DownloadFor MacOS 10.7 or laterSecure Download
Note: Before the next step, you must insert the DVD into the DVD driver on your computer and wait for a few minutes until it is detected.
Step 2. Now, launch the tool and click the “Load DVD” button to load the disk.
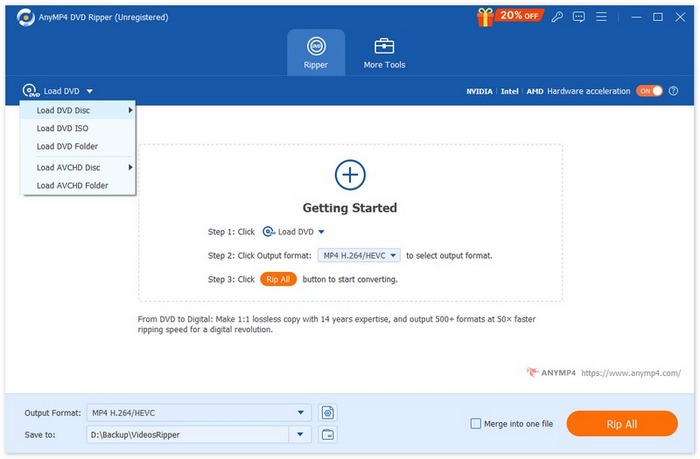
Step 3. After that, click on the "Output Format" button below and choose the format of your choice from the Video tab. Once done, just simply click on the "Rip All" button to convert your DVD into a digital video for wider and more compatible use.

Note: After the ripping process, the copy of the contents of your DVD will be directly saved to your MacBook.
See, it’s easier, right? Also, the copy of your DVD on your MacBook can easily be played since it is ripped into a digitalized format. Lastly, AnyMP4 DVD Ripper is very convenient to use, and the quality remains the same, or it’s even enhanced after converting it to a digitalized format.
Method 2: Using Free Screen Recorder Online
If you are playing a DVD on your device using a DVD player and want to copy it to your hard drive, you can use the FVC Free Screen Recorder Online. With this great screen recorder tool, you can screen record the DVD that you are playing, and after that, you can save the recorded DVD to your hard drive.
How to record a DVD to a hard drive:
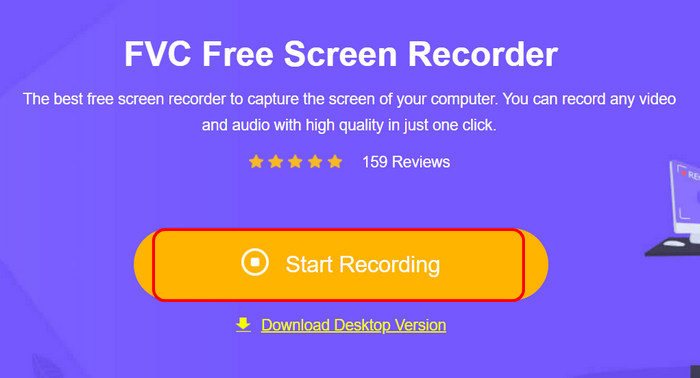
Step 1. First, on your safari, go to the official website of FVC Screen Recorder Online.
Step 2. After that, click the Start Recording button. Next, click the Rec button to start recording on your screen.
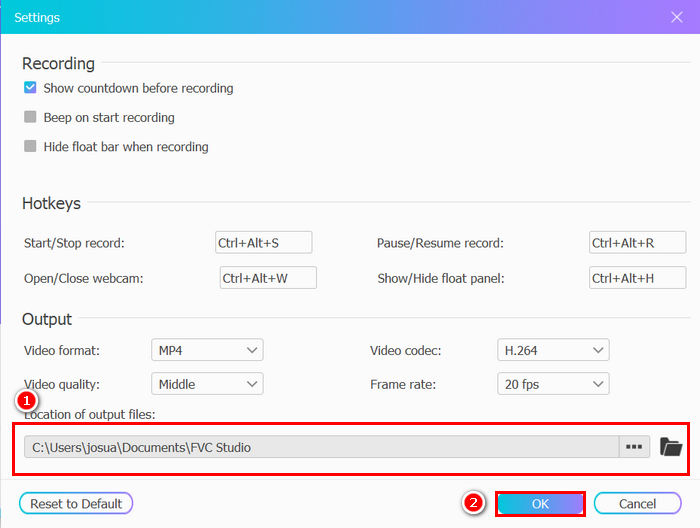
Step 3. Once you have finished recording your DVD, select the folder where you want to save the copy of your DVD to your MacBook. After that, click Ok.
This is the alternative method if QuickTime doesn’t work on your Mac. This provides the same process and method to copy a DVD to a MacBook by simply recording the DVD content.
Part 3. FAQs on How to Copy DVD to MacBook
Part 3. FAQs on How to Copy DVD to MacBook Can I copy a DVD to my MacBook without installing additional software?
Yes. You can copy a DVD to a MacBook without installing third-party tools because of Mac’s built-in tools. Users can use the Disk Utility on their Mac and the QuickTime application. However, these methods may restrict you in so many ways, for example, not converting the content into playable video formats like MP4.
Is it possible to copy a DVD to my MacBook without losing video quality?
Yes. Using third-party tools like AnyMP4 DVD Ripper ensures that the DVD's quality is preserved or even enhanced during the ripping process.
Can I copy a DVD to my MacBook for free?
Yes. You can use free tools like Disk Utility or QuickTime Recording on your MacBook to copy DVDs without additional cost.
Conclusion
Digital media are now becoming a thing, and the use of DVDs has become less utilized. Therefore, if you’re a Mac user, learning how to copy DVDs to a MacBook can make a huge difference. So, what are you waiting for? Try any of these methods now!
-
 DVD9 VS DVD5 – What Is the Difference Between Them
 If you want to know the difference between DVD9 and DVD5 and how to choose, read this post. We discuss their features and the scenarios in which they are used.
-
 How to Convert DVD to ISO on macOS/ Windows/ Linux
 Looking for ways to create an ISO file. Read this article and be guided accordingly based on your computer’s OS to which DVD to ISO converter suits you best.
-
 How to Rip A DVD on a Mac Computer – 5 Methods to Try
 Want to rip a DVD on your Mac but don't know which tool to choose? In this article, we'll provide you with 5 practical options. Read and explore together.