


Professional Ways on How to Convert Images to Vector
The best graphics format for logos and drawings is vector graphics. It is a result of their distinct curves and lines. Additionally, instead of using pixels, equations are used to construct them. It can use any size to rescale vectors without sacrificing clarity. The user needs to be able to convert photos to vectors. The good news is that you are able to learn everything you need to know online, thanks to the abundance of tools and lessons available. Designers and marketers must learn how to work with the widespread file type known as vector pictures. After all, billboards and other forms of advertising favor this format. There are numerous techniques for transforming images into vectors. If you want the best way to convert images to vectors, then there is a reason for reading this guide post.

Part 1. What is an Image Vector?
A computer image with points, lines, and curves is referred to as a vector image. Based on mathematical equations, it is used to create various shapes. Each mathematical equation has unique qualities such as color, thickness, curve, and more. Because of this, a vector image can be enlarged and scaled up or down without losing image detail. This implies that the lines, curves, and points remain smooth regardless of the size or degree of zooming in the image. There won't ever be blurry or ragged edges in the artwork. Logos are often vector files. Additionally, colors are divided into distinct shapes. As simple as clicking a button simplifies changing the colors of these graphics.
Part 2. Best Way to Vectorize an Image
How to Vectorize an Image in Illustrator
If you want to vectorize your images, then you can use Illustrator. This program allows you to vectorize an image perfectly. It has complete tools and options that you need. Also, it supports almost all the most common image formats to add any images. You can add JPG, BMP, PNG, EPS, TIFF, and more. However, you must purchase the program if you want to use it daily. Illustrator can only offer you a few days free trial version. Also, it has a confusing installation process. You will find it hard to operate if you are a beginner. You need to ask for assistance for advanced users if you want to vectorize your images on Illustrator. Additionally, the program has complicated options. It is necessary to study the program first before using it. Also, when vectorizing an image, it has lots of processes. See the procedure below to learn how to vectorize an image.
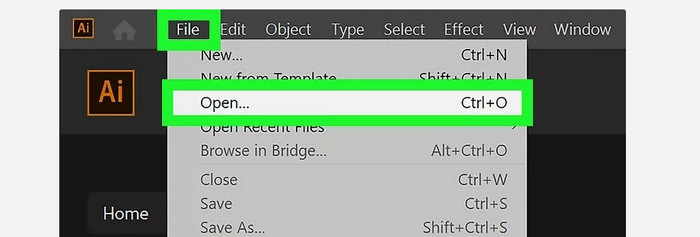
Step 1. Download Illustrator on your desktop. You can use the free trial version if you want. After the installation process, launch the program. Go to the File > Open menu to add the image you want to vectorize.
Step 2. In a newly appeared window, check the Preview box to view your image in vector format in real-time.
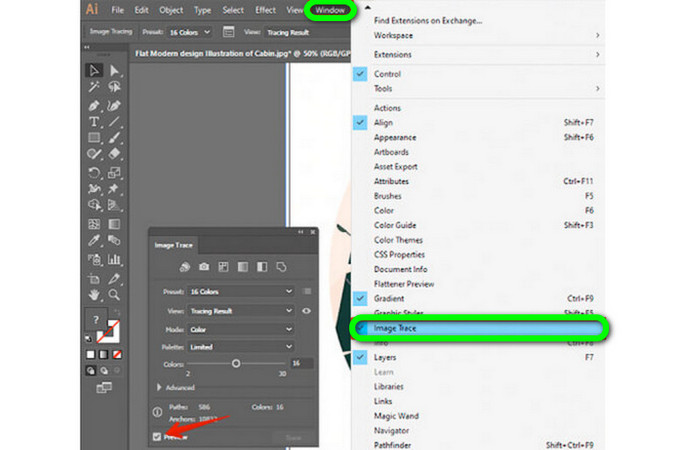
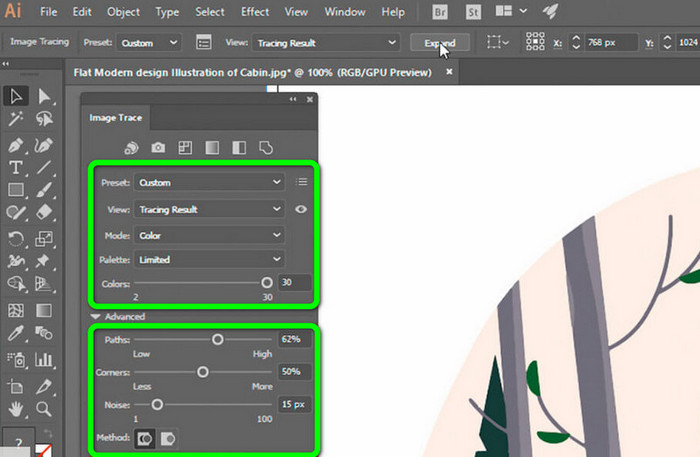
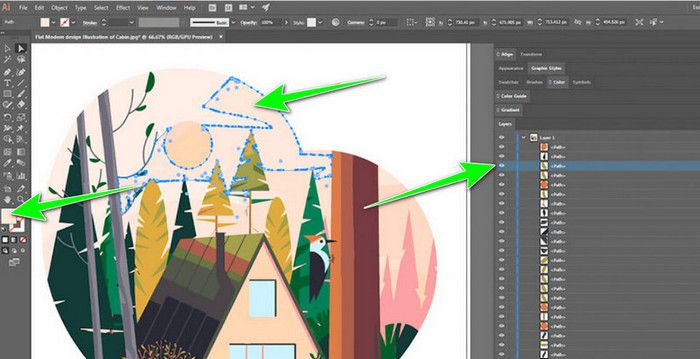
Step 3. Selecting the mode is the next step in understanding how to vectorize in Illustrator. Locate the Mode drop-down option in the Image Trace panel, then select the mode that best fits your design from the list. Grayscale, black and white, or color are all possible modes.
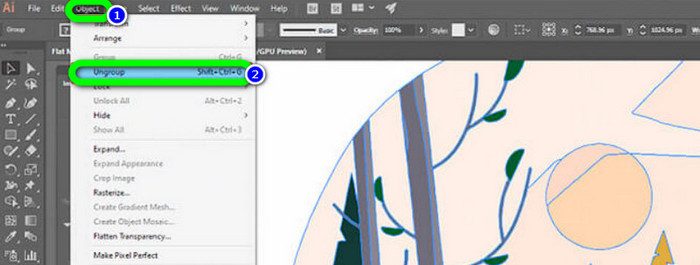
Step 4. Right-click on your image after that. Choose Ungroup from the dropdown menu on the Object tab. Shift+Ctrl+G/Shift+Cmd+G key combinations can also be used if you prefer shortcuts for easier access. Your color shapes will be divided into parts due to this operation.
Step 5. You can freely alter the image once your conversion is finished. Select > Same > Fill Color after clicking on a shape to delete any color groups you'd want.
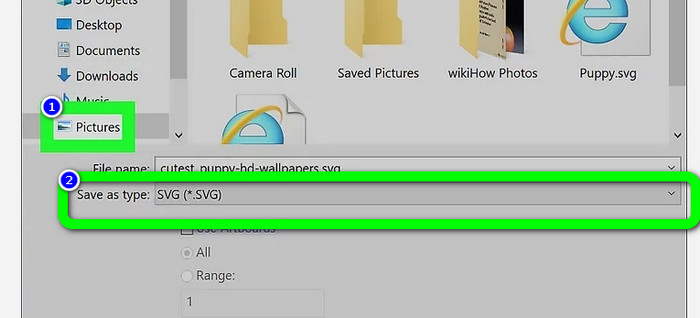
Step 6. Lastly, save your image as a vector file. Go to the File > Save as option. Then, select the SVG file format.
How to Vectorize an Image in Photoshop
Adobe Photoshop is good at vectorizing an image. It has effective methods making it easy for all users. Also, you can vectorize an image with a few steps. In addition, Photoshop is also capable of editing images. If you want to edit images before saving them, you can do so. However, Photoshop has some drawbacks. It only offers a 7-day free trial. Then, after the trial version, you must pay for the subscription plan. The installation process is also time-consuming.
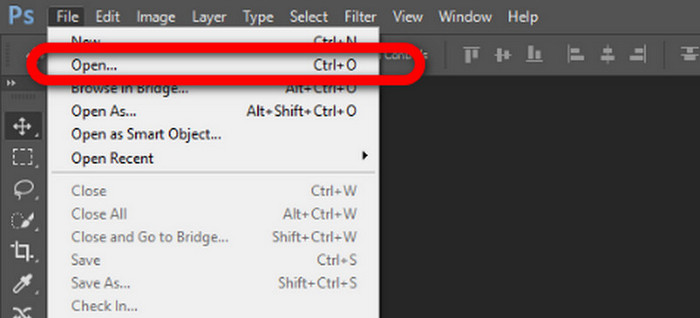
Step 1. Launch Adobe Photoshop on your computer. Then, go to the File menu and select the Open option to add the image you want to vectorize.
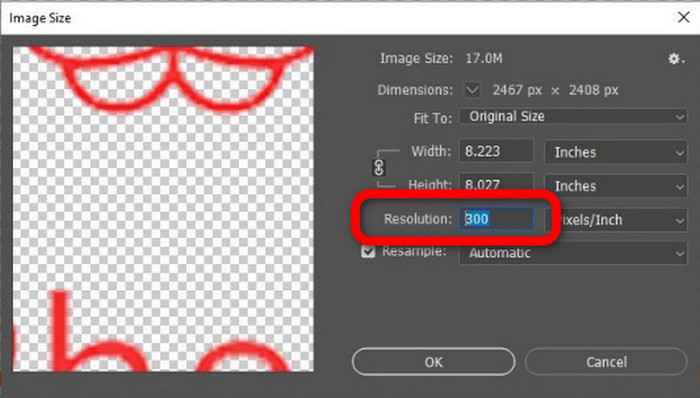
Step 2. Press the Ctrl + Alt + I on your keyboard to see the Image Size window and turn the resolution to 300.
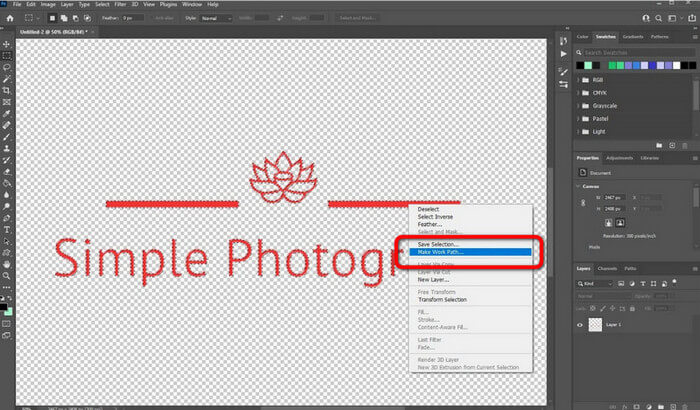
Step 3. Move the cursor above the selection, choose the Marquee Tool from the tools panel, and right-click. Choose the Make Work Path option from the menu after that.
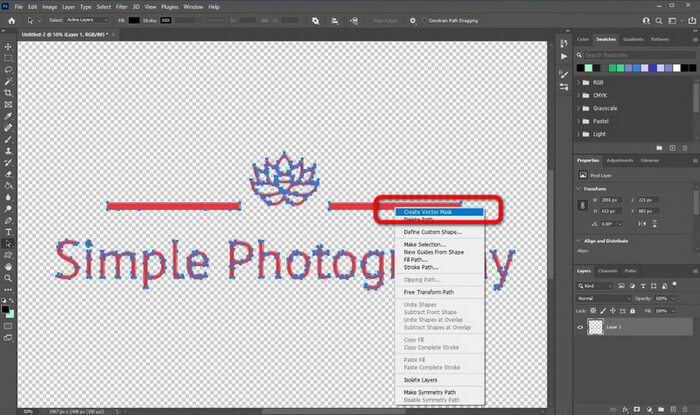
Step 4. Then, press the Ctrl + A on the keyboard to switch on the Direct Selection tool. After that, right-click the image and select the Create Vector Mask option. This way, it will create a vector mask over the layer.
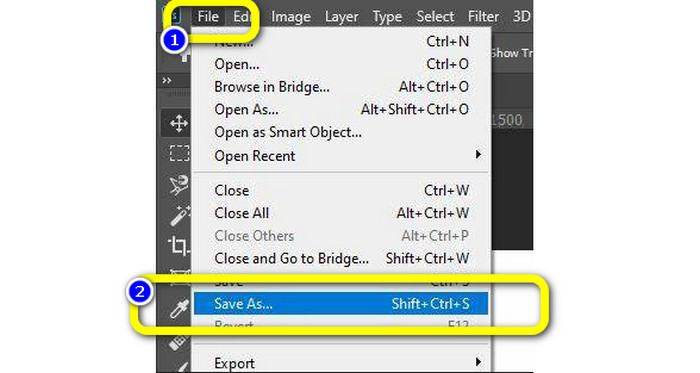
Step 5. To save the vectorized image, navigate to the File menu and select the Save as option.
Part 3. How to Convert Vector Images
An excellent online image converter is FVC Free Image Converter. It can convert vector graphics into other formats like JPG and PNG. The user interface is excellent. You can concentrate on file conversion because it contains no distracting ads. Additionally, installing this converter is not necessary. It is directly controllable through your browser. Additionally, the image quality will be the same as the original file after conversion. It provides an easy-to-follow UI and instructions, which is ideal for users. Also, it is possible to convert several image files. This picture converter has the capability of batch conversion. Moreover, you can download numerous converted files with a single click. Also, it accepts input files in various extra formats, such as PNG, BMP, TIFF, and GIF. This tool's lack of annoying advertisements is one of its positive aspects. Doing so can ensure that your end product is pleasing to use and view. Using FVC Free Image Converter, your privacy is protected. It won't save your data after saving the image.
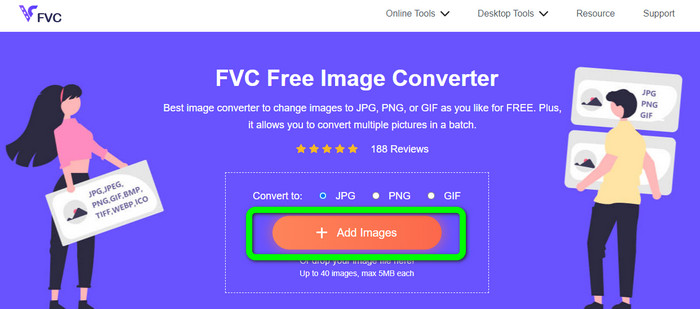
Step 1. Go to the website of FVC Free Image Converter. Go to the convert option and select your desired output format.
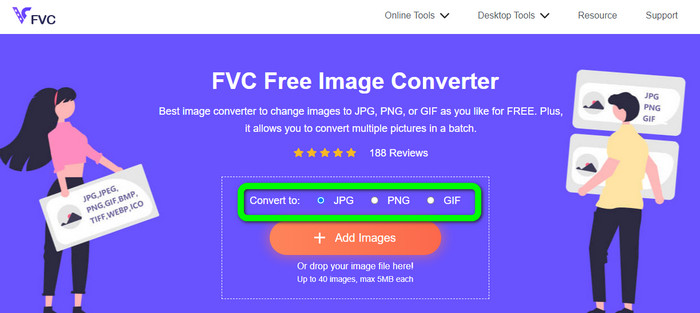
Step 2. Click the Add Images button to upload the vector image. You can drop the image into the box.
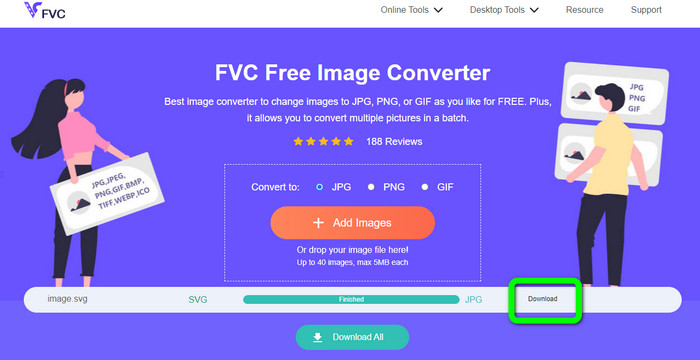
Step 3. After uploading the vector image, the tool will convert the image automatically. Then, after the conversion process, click the Download button.
Related to:
Trouble-Free Methods to Convert Images to Black and White
Best Ways on How to Convert Images to Links [Full Methods]
Part 4. FAQs about Converting Images to Vector
1. What are the different uses of vector images?
There are lots of reasons why you need to use vector files. If you plan to print images, it is better to put the image in a vector file. Aside from printing, it is also perfect for animation. Users use this for frame-by-frame images that require less computing power. Also, some designers use vector images for billboards and commercials.
2. What are the major types of vector image formats?
The primary vector image formats are Scalable Vectors Graphics (SVG), Windows Metafile (WMF), Adobe Illustrator Artwork (AI), Encapsulated PostScript (APS), and Portable Document Format (PDF).
3. Do I always need a vector file if I have design work done?
Not always. There are ways to use different file formats. But whether or not you require vector files ultimately depends on the kind of job you have done. In the end, if you have design work done, discuss your file formats with your designer. This way, you can gather or generate the proper files if unavailable.
4. How to convert any image to a black-white vector silhouette?
To convert the image to black-white, you can use Photoshop. Go to the File menu and select the Open option to add the image. Then, on the upper interface, click the Image menu. Select Adjustments > Threshold. Then, the Threshold window will pop up. Then, click OK.
Conclusion
Vector images are great when using it for commercials, billboards, and more. Because of that, the article taught you the best methods on how to vectorize an image. Also, you learned how to convert vector images to other formats like JPG and PNG. If you want to vectorize an image and convert images to other formats, use FVC Free Image Converter.
-
 Easy-to-Understand Ways to Convert PSD to PNG or JPG
 This post will give you manageable steps to convert PSD to JPG or PNG. There are various converters you can use to convert your files. Read more to find out.
-
 Tested Ways to Convert TGA to PNG Easily but Professionally
 Check these guides to learn how to convert TGA to PNG using image converters online. Click the article to find out the full details of image converting.
-
 Incomparable Tutorials to Convert Images to SVG Format
 Do you want to convert your photos to SVG file format? Then this post will give you excellent converters you can use online, offline, and on mobile devices.