

Adobe Premiere: Explore the Concept of Slow-Motion
The concept of slow-motion becomes natural in every video not because of the degraded speed of the video but because of the purpose of giving essentials to details. It is more fulfilling and conforming to know all the details about how it will happen or how it is done. With the help of Adobe Premiere, you will be going to have the idea of editing and slow-motion making, but it would be much more challenging for every beginner. Continue reading to know all the details that concern Adobe Premiere.

Part 1. How to Produce Slow-Motion Videos in Adobe Premiere
Video editing software such as Adobe Premiere Pro is widely used on both Mac OS and Windows computers. Editing videos, commercials, other films, television, and online video projects are all possible with Premiere Pro CS6 or higher. It is a feature-rich video editing software application that is also available as part of the Adobe Creative Cloud suite of software applications. Premiere Pro is frequently used in conjunction with other software such as After Effects and Photoshop on creative projects.Adobe Premiere is also known for making incredibly improved edits in its scene, especially in adjusting the playback speed of a video. It can make excellent slow-motion videos in different ways possible and produce very excellent output. But as the introduction said, Adobe products like Adobe Premiere might be complex software to make slow-motion videos, especially for beginner editors. Here are the sample tutorials in the procedure on how to make slow-motion videos on this software given.
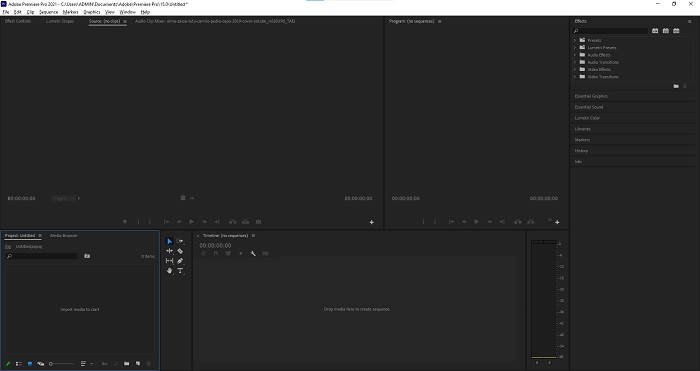
Step 1: Open Adobe Premiere and then click the Import media to start at the bottom left corner of the interface to transfer the video files from your computer to the software, or you can simply drag them. The other option is you can locate File menu tab at the top left corner and navigate Import.
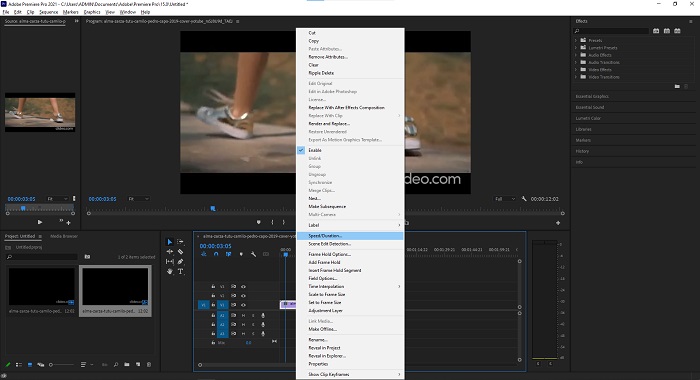
Step 2: Click the imported files twice or simply drag them to the video track. To adjust the speed of the video file, right-click the video file on the video track. Locate the Speed/Duration and click it. After that, make it slow-motion by decreasing the normal speed percentage, which is 100.
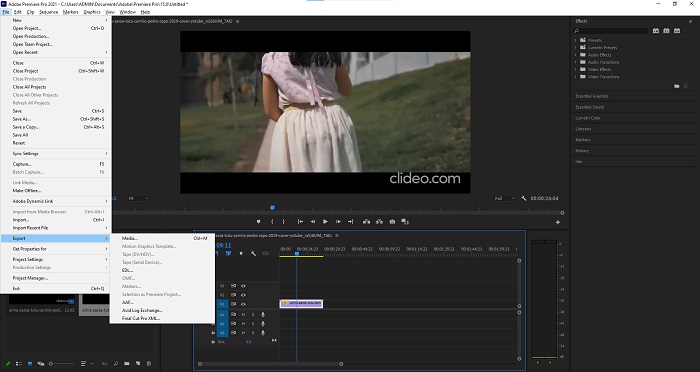
Step 3: Save the converted video by navigating the File menu tab to the top left corner. Then, click Export and choose which kind of output you want your video file to be converted.
Part 2. How to Make Slow-motion Videos Offline Using Video Converter Ultimate
Unlike the Adobe Premiere Pro that is so complicated to use because of its various tools that seem unfamiliar to every beginner user. Video Converter Ultimate is the best and user-friendly software everyone can use and offers incredible tools to edit videos. One of its featured tools, Video Speed Controller, has the ability to make a slow-motion video with excellent video quality in just less than a minute speed of conversion. For you to get experienced with the most helpful software that can resolve your problem, here are the presented steps you need to follow:
Step 1: You can download the Video Converter Ultimate by clicking the Free Download button. Once the download is complete, locate it on your desktop and launch it afterward.
Free DownloadFor Windows 7 or laterSecure Download
Free DownloadFor MacOS 10.7 or laterSecure Download
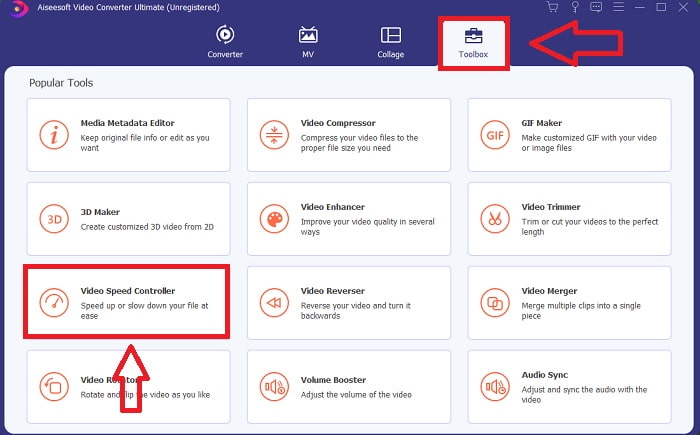
Step 2: You must run the software after it has been installed on your computer's desktop. The program's interface will appear when you first run it. Choose Video Speed Controller under the Toolbox tab.
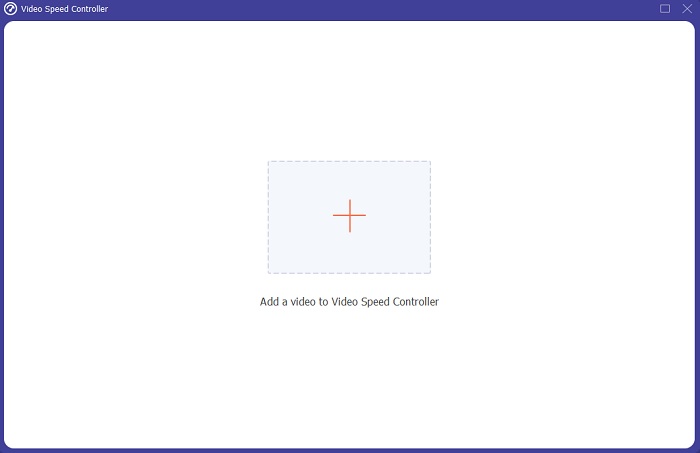
Step 3: To change the playback speed of your video clip, simply drag or click the + button when adding files from your computer.
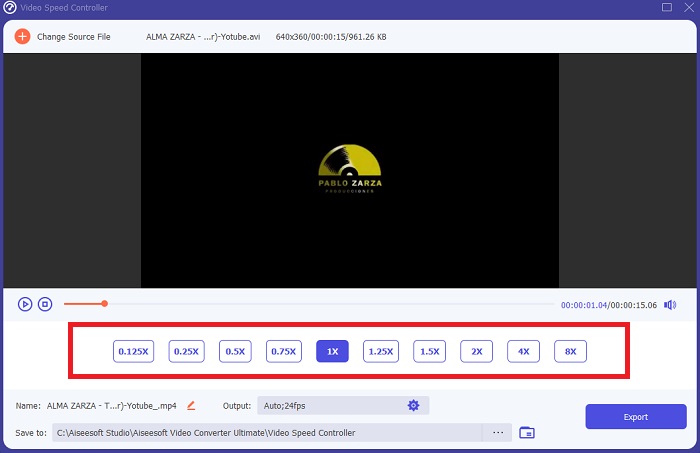
Step 4: Select the types of speed that you will use to edit the playback speed of your video clip or create a slow-motion video from your normal speed video to begin editing the playback speed of your video clip.
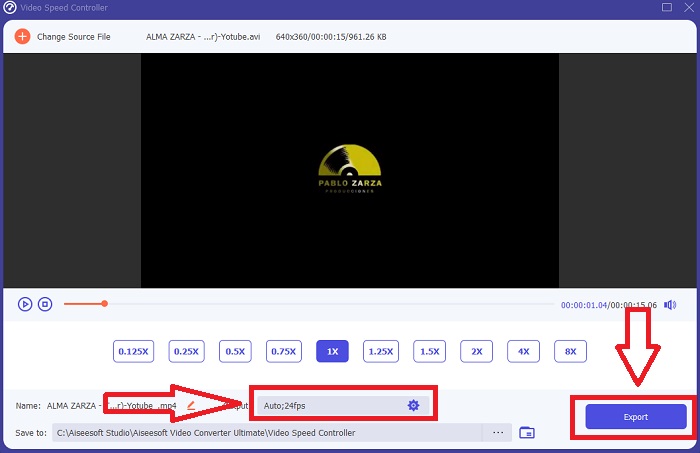
Step 5: When you're done adjusting the playback speed of the video, the file is ready to upload, and before that you can consider changing the quality of the output by adjusting the resolution, frame rate, etc. Click the Export, if the file is settled.
Related:
Part 3. How to Make Slow-Motion Videos Online Using Kapwing
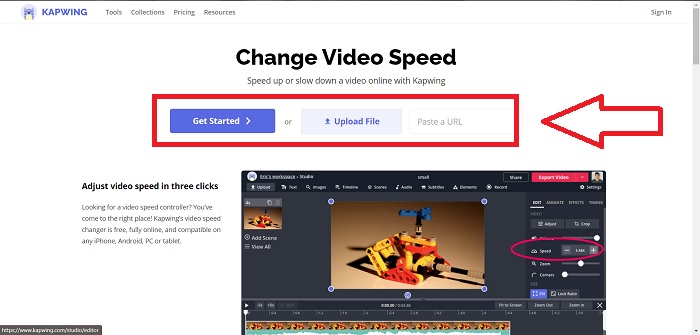
Quickly speed up or slow down videos with this free online video accelerator. You don't need a lot of video editing experience to create compelling slo-mo, time-lapse, and hyperspeed videos that you can post to YouTube or share on social media. Upload a video or enter a URL to get started. In addition to AVI and MP4, Kapwing also supports MP4, MOV, and 3PG video file formats. As low as 0.25x is available for slow-motion video; the fastest speed available is 4x. Seatback and relax as you read the procedures on how to use this online tool.
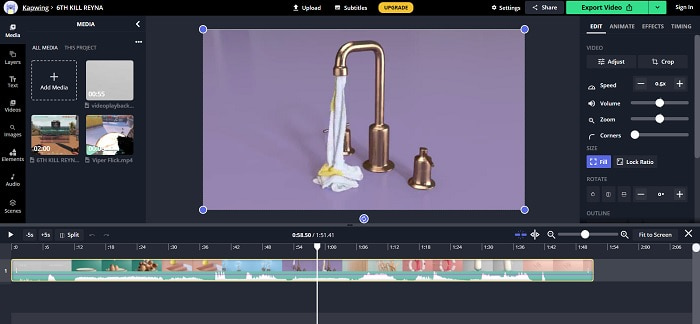
Step 1. Open any online browser and search for Kapwing. At the interface, you can now start by clicking Get Started. Or you can proceed with selecting your video clip by clicking Upload File. Also, there is another choice where you can put any video links from other websites and proceed with editing.
Step 2. Click the video on the video track, navigate the Speed edit tab, and make it slow motion by clicking the - sign. It will decrease the video speed by .25.
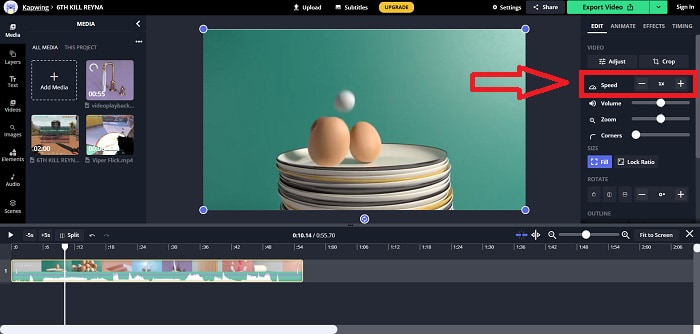
Step 3. To upload your converted video, click Export Video and transfer it to your desired computer destination.
Part 4. FAQs about Making Slow-motion Videos in Adobe Premiere
What formats does Adobe Premiere Pro support?
With Adobe Premiere Pro, you can work with a wide range of video formats such as MP4, AVCHD/H.264/H.265, MPEG-1 and MPEG-2, MOV, FLV, and AVI.
Is 60fps good for slow motion?
An important factor affecting the overall look and feel of a video is its frame rate, which also has an impact on how realistic the video appears. This idea has a strong connection to the way we naturally perceive the universe. Creating slow-motion videos or recording video game footage necessitates frame rates greater than 30 fps. As technology advances, more smartphones are now able to record video at 60 frames per second.
What to do if Adobe Premiere Pro is not working?
Premiere Pro preferences can be reset to their default values to fix crashes, which Adobe recommends frequently. Your preferences are 'trashed' when you do this. This will restore your settings to their original factory settings. You can do this by pressing and holding the Alt key while launching Premiere Pro.
Conclusion
All things considered, we learn that no matter how good the Adobe Premiere Pro is, it can't be the recommended software to use for some users that have no editing background. We recommend using Video Converter Ultimate for its accessible features tools that can trim, cut, put filters, merge, etc. One of its helpful tools available in the Video Speed Controller is that it can make slow-motion videos or adjust the playback speed of the video. The online tools might be an easier-to-use platform than Adobe Premiere Pro. However, it can't produce better quality output than the Video Converter Ultimate.
-
 6 Best AVI Mergers: How to Join AVI Video Files on Windows and Mac
 When you want to join AVI videos for a DVD, you can learn about the features of the top 6 best AVI joiners including free online tools, as well as the desktop programs from the article.
-
 [Guide] 2 Ultimate Methods to Join MXF Videos from Sony X70
 If you have taken some MXF videos from Sony X70, what are the best methods to join MXF files? Here are the 2 efficient methods to combine the videos with high quality.
-
 How to Cut and Merge Songs Online – 4 Best Ways You Should Know
 When you want to cut and merge songs online to create a piece of music, you can learn more about the 4 best online tools to clip the songs and combine files from the article.