


Detailed Tutorials about Removing A Logo from A Picture
Be annoyed about logos on pictures? Don’t want others to know your clothes’ brands when taking pictures? This article will show you the best solution you can try. We prepared two best methods to remove a logo from a picture easily.
Part 1: Most Excellent Application to Remove A Logo From A Picture
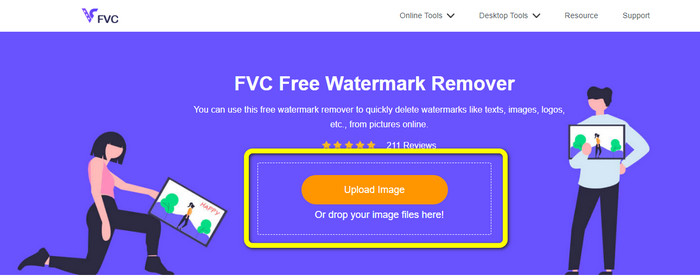
FVC Free Watermark Remover is an online tool you can utilize to learn how to remove logos from pictures for free. It can erase any unwanted elements from your photo. FVC Free Watermark Remover is simple to use and understand. Thanks to its clear design, simple buttons, and comprehensive guide, you may quickly erase logos from pictures with a simple process. It also supports many image file formats, such as JPG, BMP, PNG, and more; in this way, you don’t need to worry if your photo is supported. Furthermore, this online software guarantees the privacy of every user, so you don't need to worry about your information being leaked while using the service. Meanwhile, FVC Free Watermark Remover offers multiple methods to remove logos from your photos, such as Polygonal, Lasso, Brush, and Cropping Tools. With these tools, you can ensure that removing unwanted objects from a photo will be simple. We will show you how to remove logos from your picture using these four watermark remover tools.
Using Polygonal Tool
You can use the Polygonal tool to easily remove logos from a picture by highlighting them.
Step 1: Open your browser and search for the FVC Free Watermark Remover. Once on the web page, click the Upload Image button to upload your photo with a logo. You can also drop your image file inside the box.
Step 2: When you have already uploaded the image file, click the Polygonal tool at the upper left part of the interface. Then, highlight the logo from the photo using your mouse.
Step 3: After that, click the Remove button when you are done highlighting the logo using the Polygonal tool. Then, wait for a few seconds for the removal process.

Step 4: If you don’t see the logo anymore, click the Save button to save your photo on your device without the attached logo.

Using Lasso Tool
When using the Lasso tool, you are just following the pattern of the logo and you can highlight the small parts of the logo.
Step 1: Upload your photo with a logo by clicking the Upload Image button. Dropping an image file is also an option in uploading the photo.
Step 2: Select the Lasso tool from the watermark remover tools. Then, using your mouse, highlight the logo from your picture. This process is like holding a pencil and drawing a line to cover the logo while long pressing the left click.
Step 3: When the logo is totally highlighted, it is time to remove it by clicking the Remove button. Wait for the fast removal process and proceed to the next procedure.

Step 4: For the final step, if the logo from your picture is deleted, select the Save button, which will automatically save the photo.

Using Brush Tool
With this tool, you are brushing the logo to highlight them using your mouse.
Step 1: From the watermark remover, select Brush. Using this tool, you can adjust its size. You can make it smaller and bigger depending on your desired size.

Step 2: Using the Brush tool, highlight the logo from your photo. Use your left-click to put a highlight on the logo. Also, you can use the Erase tool to re-select the area. You can also click the hand icon below to move your photo. Click the + or - symbol to zoom in and out a photo.

Step 3: After highlighting the logo from your photo, you can proceed to the removal process by clicking the Remove button at the upper center of the interface.

Step 4: After the removal process, the logo is already gone. In this part, save the photo by clicking the Save button and enjoy your photo without a logo.

Using Cropping Tool
When using the Cropping tool, make sure it is okay to cut some parts of your photo. Also, the logo area should be at the corner or edge of your photo.
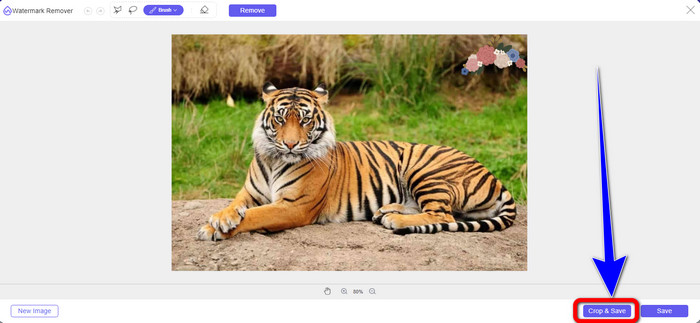
Step 1: Upload the image with a logo you want to erase. Select the Crop & Save option at the lower right of the interface. Then, you can proceed to the cropping process.
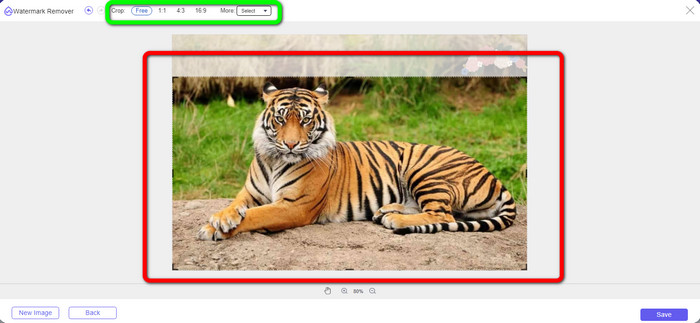
Step 2: On the green box, these are the cropping options you can choose to crop your photo. You can also crop your photo manually by selecting the Free option. If you want to find more cropping options, click the More option.
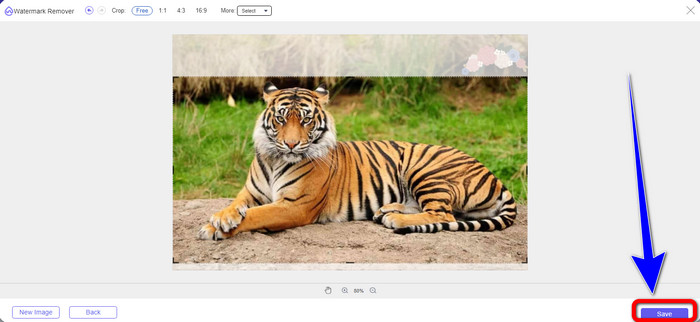
Step 3: When done with the cropping process, you can save your photo by clicking the Save button, which will save automatically. Then, open the photo to see the final result.
Part 2: Removing A Logo From A Picture Using Photoshop
Adobe Photoshop is an offline application you can use to remove a logo from your photo. Through this application, you can remove all objects you don’t want from your photo instantly. Furthermore, Photoshop is not only good for removing logos from your images. You can use it to create a brochure, invitation card, flyers, etc. You can also enhance your photos by erasing dark spots, whitening the face, changing eye colors, and more. However, Adobe Photoshop is unsuitable for beginners. It has numerous tools, which is confusing for them. Also, it is costly. It can only offer a free trial version, which is only available for seven days.
Follow the procedures below to remove a logo from a picture using Photoshop.
Step 1: Launch Adobe Photoshop on your computer after the installation process.
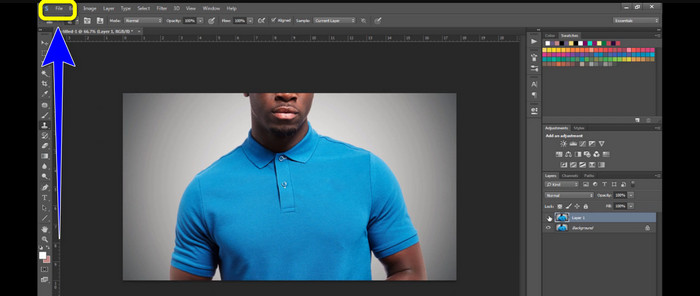
Step 2: Go to the File menu and select Open to add your photo. You can also press Ctrl + O.
Step 3: On the left toolbar, select the Clone Stamp Tool.
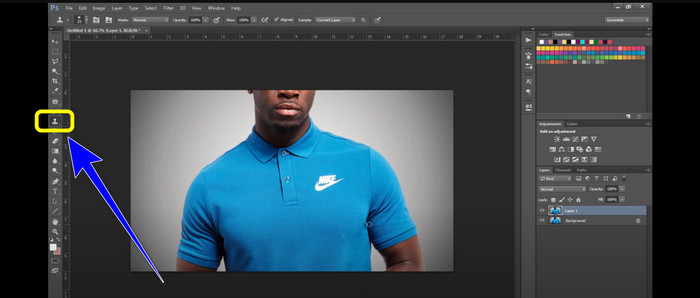
Step 4: Look for the clean spot and press alt on your keyboard to take the texture. After that, click the logo area and start erasing it.
Step 5: After removing the logo, go to the File > Save button to save your output.
Related to:
How to Use Pixlr to Remove Watermarks from Photos
Great Methods Using GIMP to Remove Watermarks from Images
Part 3: FAQs about Removing Logo from A Picture
1. Can I utilize Photoshop for free?
Yes, you can. Adobe Photoshop has a seven-day free trial. But, after that, you need to purchase the plan to use the application continuously.
2. Can I remove logos using my iPhone?
To remove logos from your photos using your iPhone, you can download the Snapseed application. It can easily eliminate unwanted objects from your photos, including logos, watermarks, stickers, text, and more.
3. How to remove a Shutterstock watermark from a photo?
Removing the Shutterstock watermark from photos is hard, but you can use the FVC Free Watermark Remover. It offers three remover tools, such as Lasso, Brush, and Polygonal.
Conclusion
The information above shows you the best ways to remove a logo from a picture using offline and online watermark remover applications. But if you prefer a much simpler way, you can use FVC Free Watermark Remover. It doesn’t require installation. You can use it directly on your browser.
-
 Incredible Methods to Remove Getty Images Watermarks
 How to remove the Getty Images watermark? If this is your question, this article has the best answer. Don’t blink, and learn the best procedures you can try.
-
 How to Remove Canva Watermarks from Photos [Full Methods]
 Canva watermarks from photos are sometimes annoying. If you want to remove them, go to this post. We will guide you to learn how to remove a Canva watermark
-
 Easiest Methods about How to Remove Watermark from Photos
 Are you irritated by the watermarks on your photos? Worry not! This article will provide simple and easy methods to remove watermarks from your photos