

How to Remove Background in Photoshop [2025 Guide]
Removing a background is now becoming a necessity, especially with students and professionals. Mostly in school, students need to create a project where they need only the main subject or object in the photo, while professionals like graphic designers use background removal to create clean, polished visuals for presentations, marketing materials, and social media content. Now, in this guide, you will learn four effective ways to remove the background in Photoshop. Moreover, don’t miss the chance to discover one of its best alternatives for removing backgrounds. Scroll for more!

Part 1. How to Remove Background in Photoshop with Quick Selection Tool
The Quick Selection Tool is one of the most beginner-friendly options if you want to learn how to remove the background in Photoshop. This method automatically detects and selects the edges of your subject based on color and texture. Users will simply paint over the area they want to keep, and Photoshop intelligently expands the selection. This method is ideal for images with high contrast between the subject and the background.
Here’s how to remove the background in Photoshop with the Quick Selection Tool:
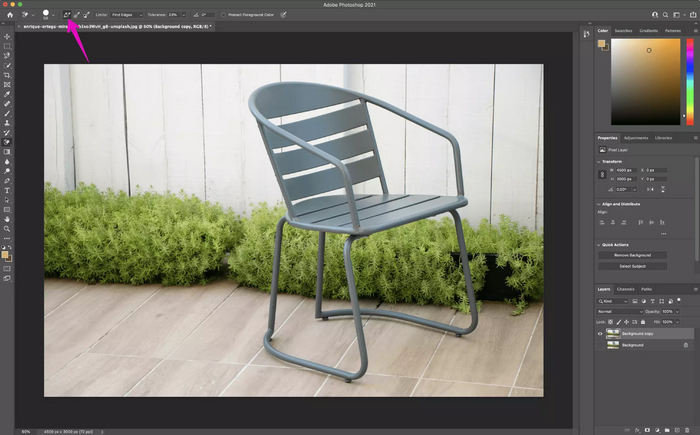
Step 1. First, open your photo in Photoshop by going to the File tab and clicking Open. After that, select the Object Selection tool in the toolbar on the left panel.
Step 2. Next, move your cursor to the subject of your photo and wait for it to turn blue. Meanwhile, it doesn’t automatically turn blue; move your cursor in tiny circles.
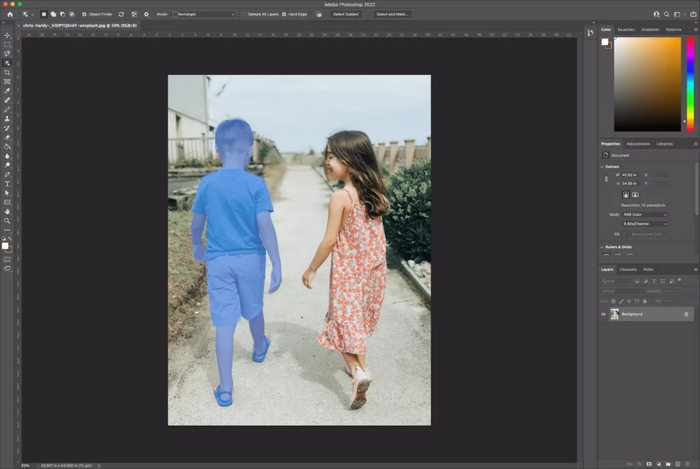
Step 3. Now, to erase the background from your photo, press the Shift key while selecting all objects you want to keep in the photo.
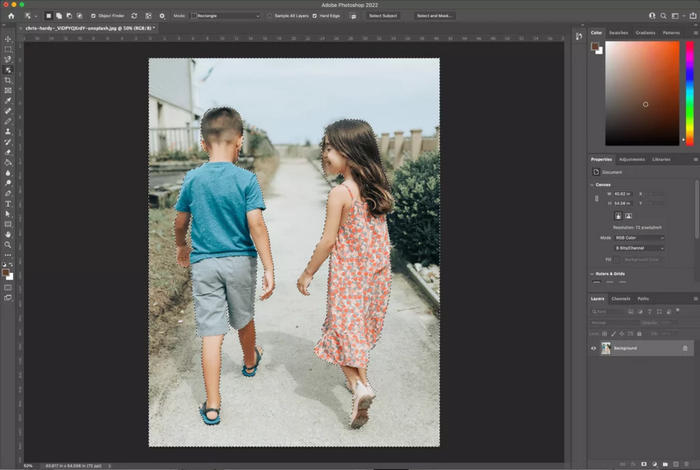
Step 4. After that, go to Select and choose Inverse to invert the selection. This means that your background is now selected instead of your objects.
Step 5. Click the lock on the right side of your image’s layer to unlock it. After that, the layer name will change to Layer 0 if you have no other layers.
Step 6. Lastly, to remove the background, click the Eraser Tool and start erasing the background.
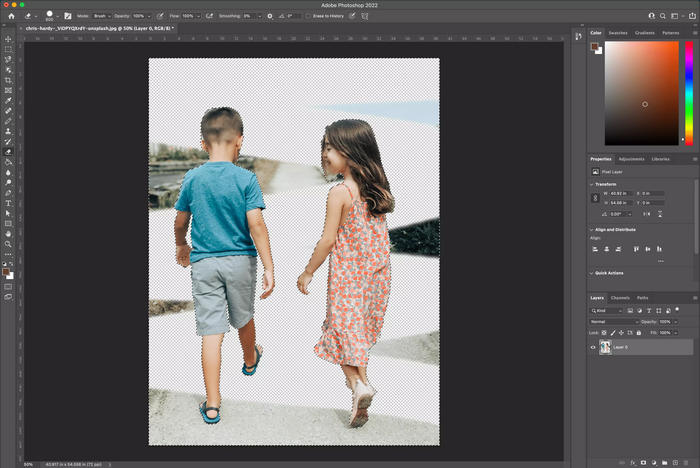
Before you start erasing the background, it is best that you make your brush’s stroke big so that it can easily erase the background.
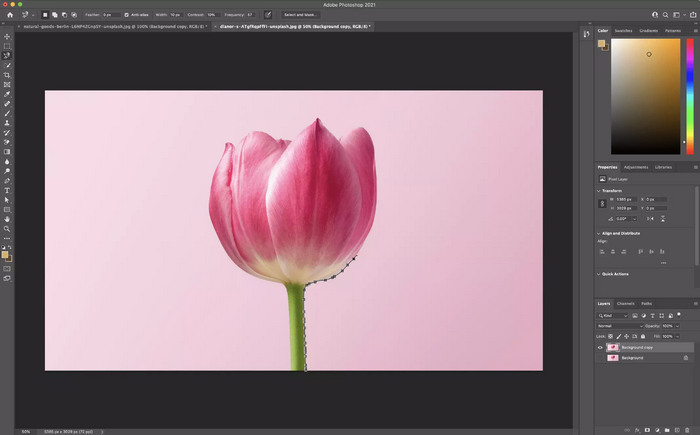
Part 2. Delete Background in Photoshop Using the Background Eraser Tool
The Background Eraser Tool is a useful method if you want to learn how to remove background in Photoshop, especially when working with high-contrast images. This method works by brushing over the background and automatically erases pixels that match the sampled color beneath your cursor. Moreover, this tool is great for cleaning up edges around hair, fur, or other fine details. While it may take more time and effort than other methods, it gives you more control and helps you get a cleaner and more precise result.
Here’s how to delete a background in Photoshop using the Background Eraser Tool:
Step 1. First, open your image in Photoshop. After that, right-click your background layer and click Duplicate Layer.
Step 2. Next, select the Background Eraser tool from the toolbox on the left panel. Take note that this tool may be hidden below the Eraser tool. To access it, click and hold the Eraser tool to reveal the Background Eraser tool.
Step 3. After that, in the tool options bar, click the brush icon to reveal the brush panel. From there, you can change the hardness of your brush.
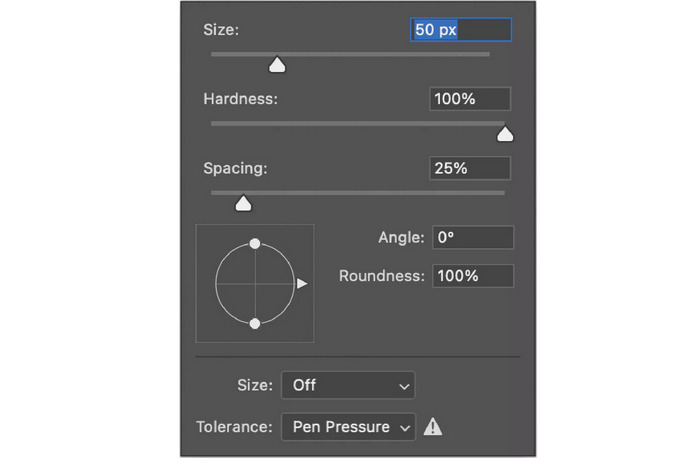
Note: It is important to take note that the size of can be whatever you deem appropriate for the image that you’re working with.
Step 4. Now, in to tool options bar, set the Sampling to Continuous, it is the first of the three icons located right after the brush size setting. Then, change the Limits setting to Find Edges, and adjust the Tolerance to around 20 to 25% for more accurate background removal.
Step 5. Begin removing the background around your subject by clicking and dragging the Background Eraser tool across the unwanted areas. Be careful to keep the crosshairs inside the brush from overlapping with your subject to avoid accidentally erasing it. If needed, zoom in for a closer view to help you work more precisely around detailed edges.
Step 6. If changing the brush size doesn’t help and it starts erasing your subject, undo the last action. Then, go to the tool options bar at the top and set Sampling to Once, Limits to Discontiguous, and Tolerance to about 10%.
When using the Background Eraser Tool, try enabling the Protect Foreground Color in the options bar and sampling a color from your subject first. This helps prevent the tool from accidentally removing important parts of your subject, especially around hair or soft edges.
Part 3. How to Edit Out a Background in Photoshop via the Pen Tool
Another method you can use to edit out a background in Photoshop is through its Pen Tool. This tool offers the most precision when removing a background, which is ideal for images with clean, defined edges. By manually plotting anchor points around your subject, you create a path that outlines the object. Once the path is complete, you can convert it into a selection and remove the background with exact control. It’s a go-to method for professional-level cutouts.
Here’s how to edit out a background in Photoshop:
Step 1. Open your image in Photoshop, duplicate the Background layer by clicking the Duplicate Layer, and hide the original by clicking the eye icon. Then select the Pen Tool from the toolbar.
Step 2. After that, zoom in and start clicking around your subject to outline it with anchor points. Click and drag to create curves if needed. Use the Direct Selection Tool to adjust any anchor points or curves as you go.
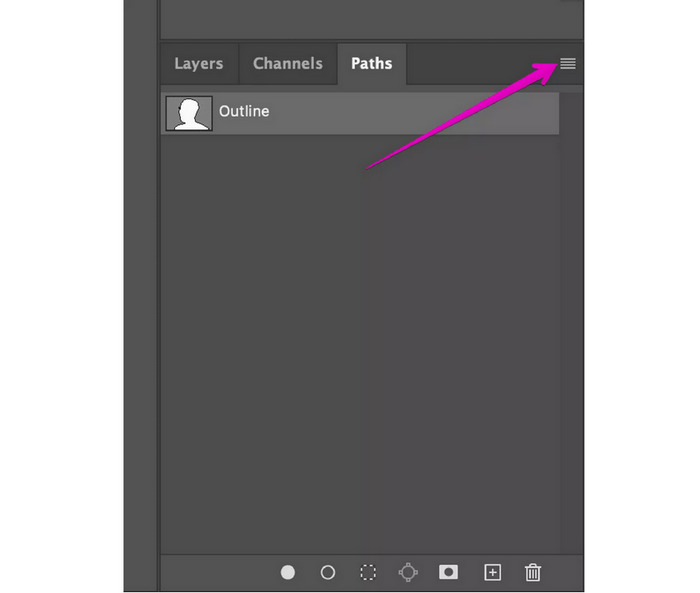
Step 3. Once you complete the path around your subject, go to Window and choose Paths to open the Paths panel. Click the menu icon, select New Path, and name it to save.
Step 4. Next, right-click your saved path in the Paths panel and choose Make Selection, then click OK.

Step 5. After that, go to Select and choose Inverse to change the selection from your subject to the background. This will highlight the background so you can delete it.
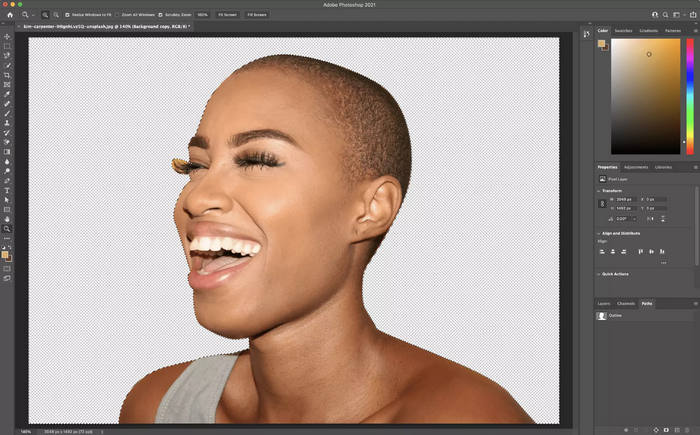
Step 6. Lastly, press Delete to remove the background. You’ll see a transparent checkered background in its place.
For extra precision, reduce the anchor points and create longer curves when tracing with the Pen Tool. Fewer, smoother points make editing easier and result in a cleaner, more natural selection.
Part 4. Perform Photoshop Background Removal with the Magnetic Lasso Tool
The last method that you can use to delete a background in Photoshop is through the Magnetic Lasso Tool. This tool helps you trace around your subject by automatically sticking to its edges as you move your cursor. It works by detecting the contrast between the subject and the background and adds anchor points along the way. This method is a quick and easy way to select objects with clear edges, making background removal faster and more accurate.
Here’s how you can use the Magnetic Lasso Tool to remove a background in Photoshop:
Step 1. Open your image in Photoshop. Right-click the Background layer, choose Duplicate Layer, and click OK. Then, turn off the original layer by clicking the eye icon.
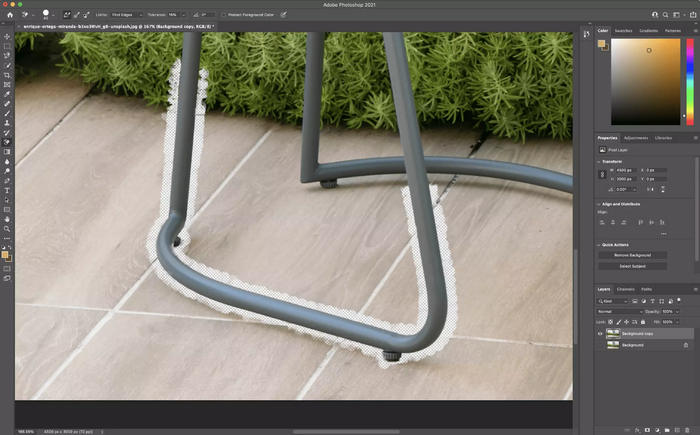
Step 2. After that, select the Magnetic Lasso Tool from the toolbar. Carefully trace around your subject, and the tool will automatically stick to the edges as you move your cursor.
Step 3. Now, you’ll need to go around your subject completely and connect to your starting point. Once done, click your starting point to complete the selection. You’ll see a moving dotted line marching ants around your subject.

Step 4. Next, to save your selection, go to the Selection and choose Save Selection.
Step 5. Lastly, to delete the background, go to Select and choose Inverse to invert the marching ants. After that, click Delete.
If the Magnetic Lasso Tool isn’t accurately snapping to edges, press the Caps Lock key to display the precise cursor and adjust the Width setting in the options bar to control how far Photoshop looks for edge contrast. A lower width works best on fine details.
Part 5. Simple and Free Alternative to Photoshop
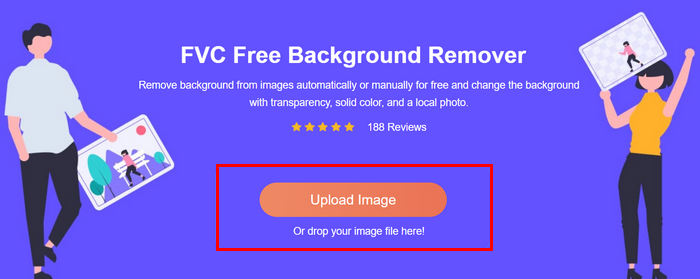
If you’re looking for a simple and free alternative tool to remove background in Photoshop, the best tool that you can use is the FVC Free Background Remover. With this tool, you can automatically or manually remove the background of your photo. You just need to import the photo that you want to edit. Moreover, you can see the preview of your photo while manually removing its background for you to visualize what it looks like before saving it. To use this tool, follow the steps below:
Step 1. First, you need to access the tool on their official website. To do that, on your search engine, search for FVC Free Background Remover.
Step 2. Once you’ve accessed the tool, click on the Upload Image and import the photo that you want to remove its background.
Step 3. After uploading, choose the Keep option above, adjust your brush, and start brushing the part that you want to keep. Alternatively, with the Erase option above, you can use that to directly remove the background of the photo. Both work in removing the background of the photo. Once done, just click the Download button below.
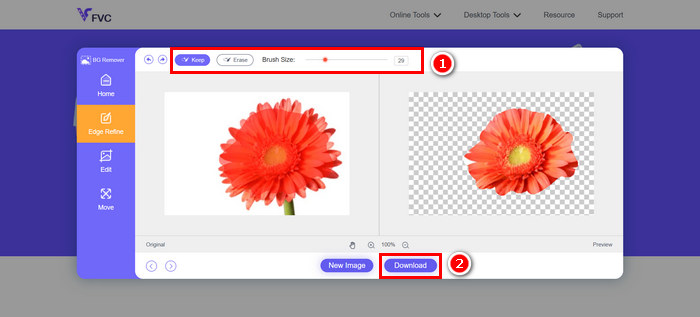
FVC Free Background Remover is indeed one of the best alternatives for removing background in Photoshop. It is simple, easy to use, and free. Moreover, it can easily be accessed online.
If you want to know how to add backgrounds to photo, read here.
Part 6. FAQs about Removing a Background in Photoshop
What is the easiest tool in Photoshop to remove a background?
The Quick Selection Tool is considered the easiest for beginners to remove background in Photoshop. It allows you to paint over your subject, and it will automatically detect and select it for you.
How can I remove the background from detailed images like hair or fur?
To remove a background in Photoshop, especially from detailed images like hair or fur, you can use the Background Eraser Tool in Photoshop. It’s ideal for images with fine details, as it erases pixels based on color sampling while preserving complex edges like hair or fur.
How can I remove a background in Photoshop for free?
Photoshop isn’t free. However, you can use a tool like the FVC Free Background Remover to remove backgrounds online for free. Just upload your image, erase the background, and download it.
Conclusion
Now that you know exactly how to remove a background in Photoshop, it’s time for you to explore which method and tool works for your needs. You just need to take time practicing if you’re new to Photoshop. Meanwhile, if you want a free and easy method, you can use the FVC Free Background Remover tool to remove the background of your photos. So, what are you waiting for? Start now!
-
 How to Crop in Photoshop: Beginner’s Guide [2025]
 Discover how to crop images in Photoshop with this easy-to-follow guide. Also, learn how to select areas, adjust aspect ratios, and more for photo cropping.
-
 How to Sharpen the Image in Photo Using 3 Ways [Quick Tutorial]
 Problem with the unsharpened image? Here, we will introduce how to sharpen images in Photoshop using the three ways we add.
-
 How to Add a Watermark in Photoshop [Beginner’s Guide]
 Want to know how to add a watermark to a video on Photoshop? In that case, this article will provide you with the thing or two you’ll need to know.